
Your Guide to Seasoning a Stainless Steel Frying Pan
Cooking enthusiasts often extol the virtues of seasoned cast iron pans, but what about stainless steel? While it's true that stainless steel doesn't require seasoning in the same way cast iron does, a well-seasoned stainless steel frying pan can still become a treasured tool in your kitchen arsenal. Seasoning a stainless steel pan can enhance its non-stick properties, improve its performance, and even prolong its lifespan. In this guide, we'll walk through the steps to properly season your stainless steel frying pan.
Step 1: Gather Your Materials Before you begin, make sure you have everything you need:
- Stainless steel frying pan
- Cooking oil with a high smoke point (such as vegetable oil, canola oil, or grapeseed oil)
- Paper towels or a clean cloth
- Stovetop
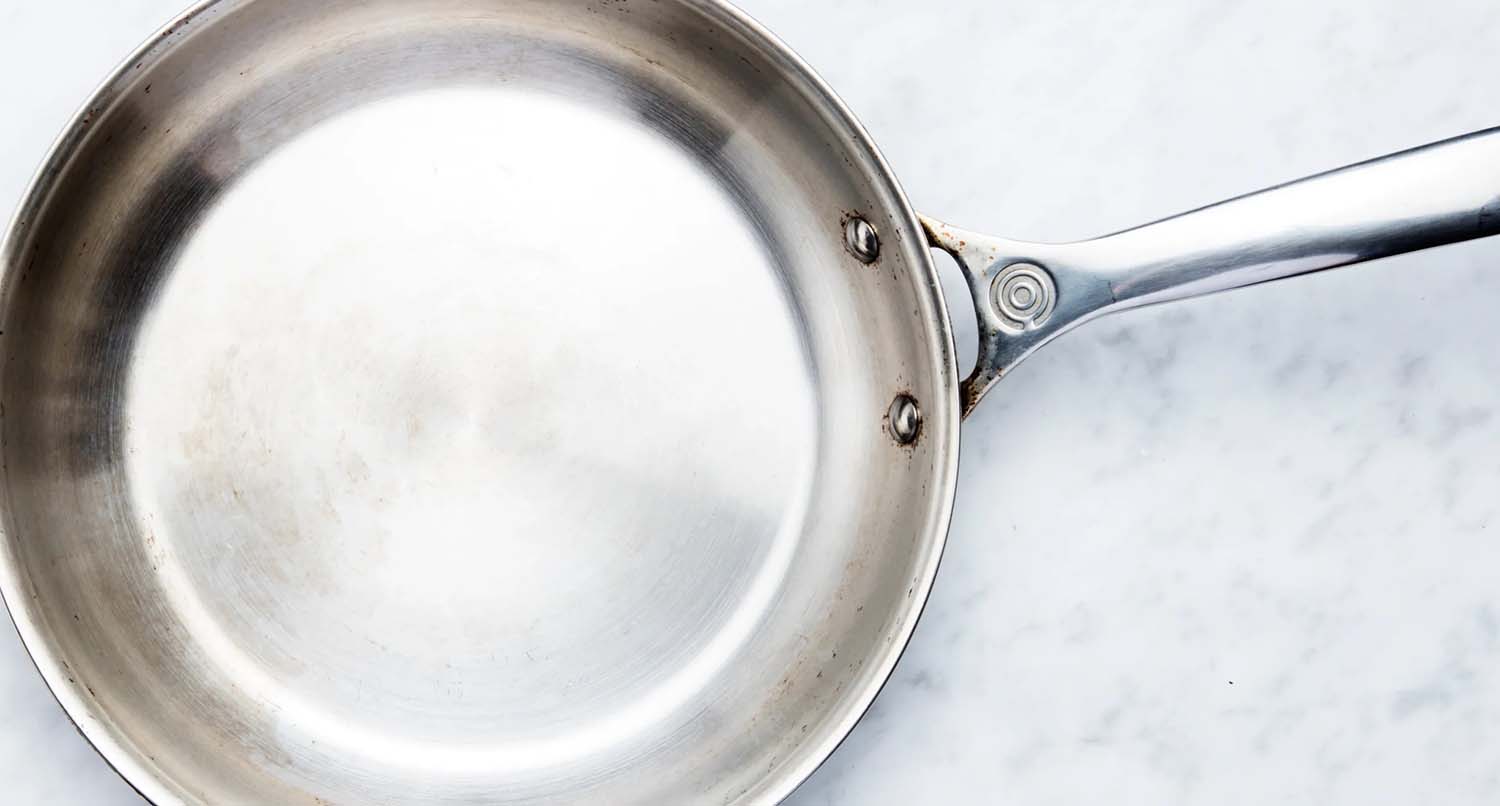
Step 2: Clean the Pan Start by thoroughly cleaning your stainless steel frying pan with warm, soapy water and a soft sponge or cloth. Rinse it well to remove any soap residue. It's important to start with a clean surface to ensure that the seasoning adheres properly.
Step 3: Dry Thoroughly Once the pan is clean, dry it thoroughly with a clean towel or paper towels. Any remaining moisture could interfere with the seasoning process.
Step 4: Apply Oil Next, pour a small amount of cooking oil into the pan, just enough to coat the bottom evenly. Use a paper towel or cloth to spread the oil around, making sure to cover the entire cooking surface, as well as the sides if desired. You want a thin, even layer of oil.
Step 5: Heat the Pan Place the oiled pan on the stovetop over medium heat. Allow it to heat up gradually; you don't want to overheat the oil, as this can cause it to break down and become sticky. Heating the oil helps to open up the pores of the stainless steel, allowing it to absorb the oil and create a non-stick surface.
Step 6: Let it Smoke As the pan heats up, you may start to see wisps of smoke rising from the surface. This is normal and indicates that the oil is reaching its smoke point. Let the pan continue to heat until the smoking becomes more pronounced.
Step 7: Cool and Repeat Once the pan has smoked for a few minutes, remove it from the heat and allow it to cool completely. Once cool, wipe away any excess oil with a paper towel or cloth. You may notice that the surface of the pan looks slightly darker and shinier than before. This is the beginning of the seasoning process.
You can repeat the oiling and heating process multiple times to build up layers of seasoning on your pan. Each time you season the pan, it will become more non-stick and develop a deeper, richer colour.
Maintenance Tips:
- Avoid using abrasive cleaners or scrubbers on your seasoned stainless steel pan, as this can remove the seasoning.
- After each use, wash the pan with warm, soapy water and a soft sponge or cloth. Dry it thoroughly to prevent water spots or rust from forming.
- If food becomes stuck to the pan, you can use a gentle scrubbing pad or a mixture of baking soda and water to remove it, being careful not to scrub too hard and remove the seasoning.
Seasoning a stainless steel frying pan may not be as widely discussed as seasoning cast iron, but it can still yield impressive results. With a little time and effort, you can transform your stainless steel pan into a versatile cooking tool that will serve you well for years to come. Whether you're frying eggs, searing steak, or sautéing vegetables, a properly seasoned stainless steel pan will make cooking a breeze.