
Baking with Kids Using a Stand Mixer NZ: Fun & Safe Recipes
There's something truly special about baking with kids. For New Zealand families, bringing out the stand mixer can turn a regular afternoon into a flurry of flour, laughter, and delicious creations. It’s the perfect way to make memories together, transforming tricky tasks like kneading and mixing into simple, safe fun.
Transform Your Kitchen Into A Family Bakery
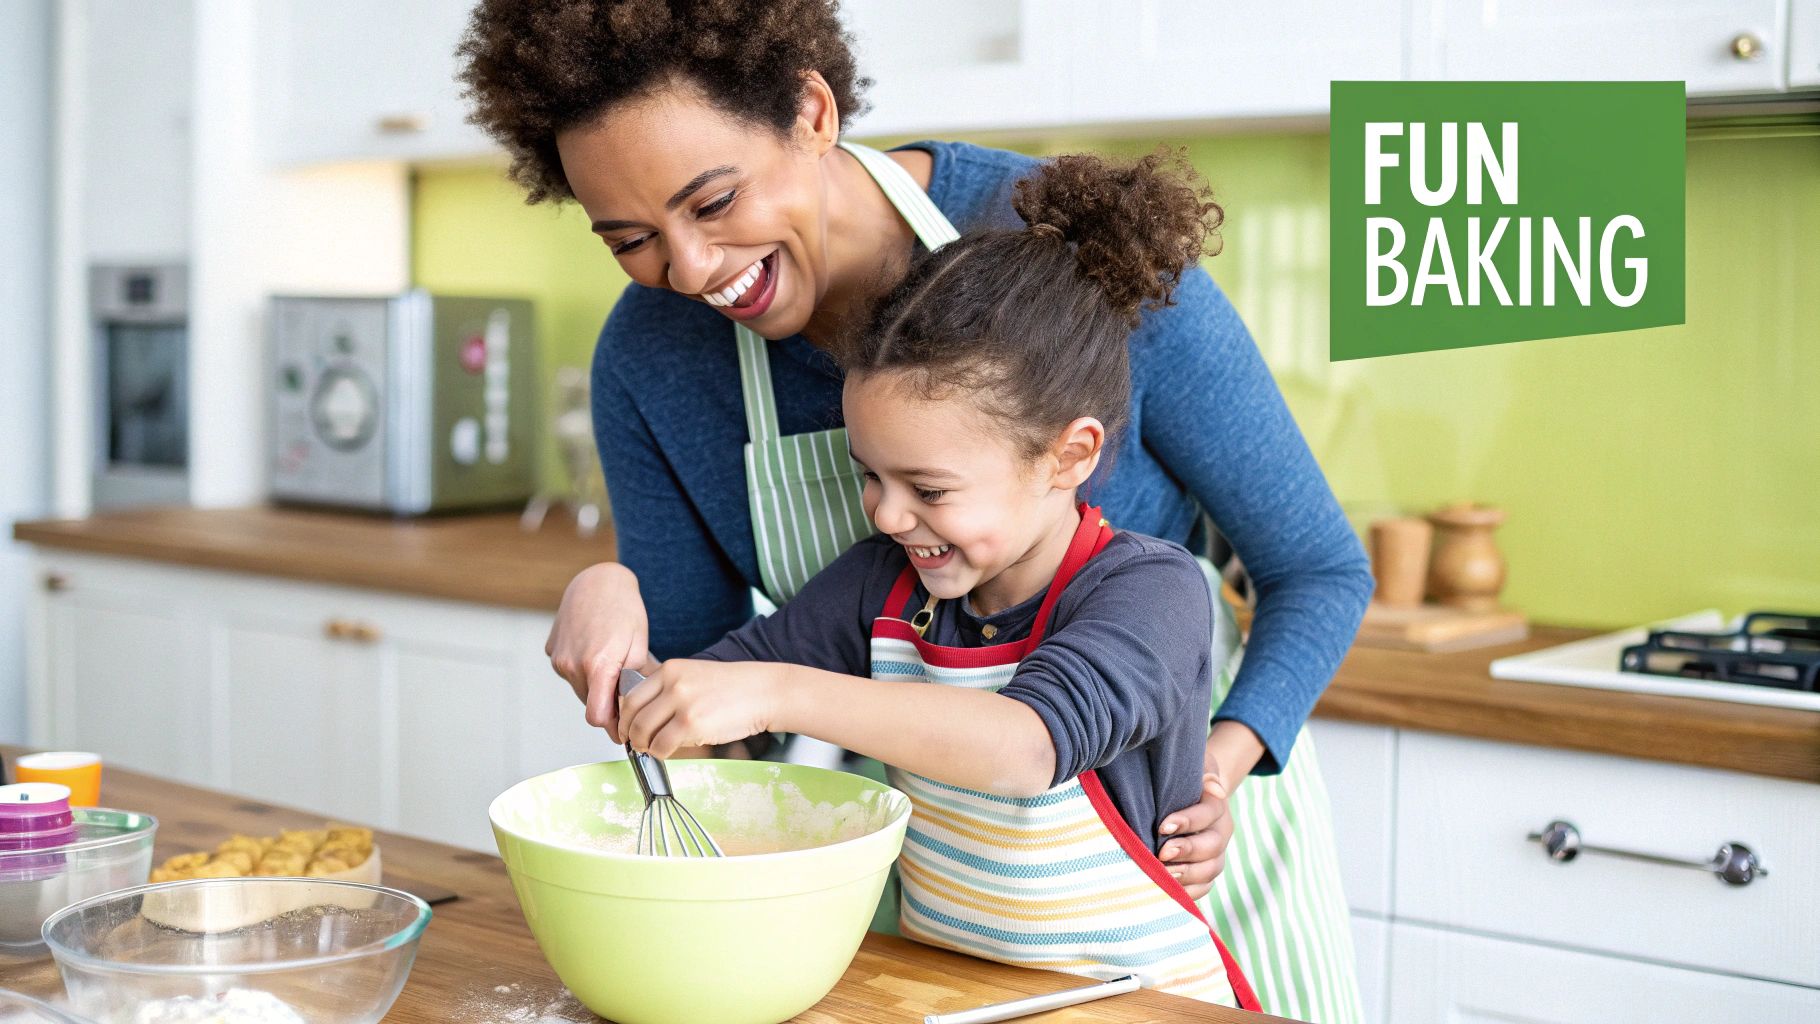
Picture this: your kitchen filled with the happy buzz of your little ones creating everything from gooey choc-chip cookies to warm, fluffy homemade bread. That’s the magic we’re aiming for. A good stand mixer is your best friend here, making baking an accessible and genuinely rewarding experience for the whole whānau.
Forget the usual stress and mess. With a stand mixer handling the heavy lifting, even the littlest hands can get involved. They can help by tipping in pre-measured ingredients or just watch in awe as the dough hook works its magic. It’s a brilliant way to teach them everything from following a recipe to the basics of food science, all while whipping up something tasty.
Why Baking Together Matters
Baking offers so much more than just a sweet treat at the end. It's a proper hands-on activity that helps kids develop fine motor skills, practise their maths with measuring, and build a real sense of confidence. Sharing the experience strengthens family bonds and fosters a positive attitude towards making food from scratch.
This move towards home baking is a big deal across the country. In fact, the bread and bakery market in New Zealand is projected to hit US$2.12 billion in revenue in 2025. A lot of that is driven by Kiwis wanting healthier, artisanal-style food they can make themselves. A stand mixer is ideal for this, easily handling dense doughs for those crusty, artisan loaves.
Turning your kitchen into a family bakery is about more than just food. You're nurturing creativity, patience, and a sense of accomplishment in your kids. It's the process that counts just as much as the final product.
From Novice to Family Pro
Don't worry, getting started is much easier than you might think. This guide is here to walk you through it all, from picking a great stand mixer you can buy right here in NZ to mastering kid-friendly recipes that are sure-fire hits. We'll focus on simple, practical steps to make baking with your children a joyful, regular part of your routine.
If you’re keen to take your family baking adventures to the next level, you could even check out some hands-on baking workshops. They can be a fantastic way to build confidence and discover new recipes as a team and have a fun time on holiday.
Ultimately, it’s all about creating a space for connection and fun. So, let's get stuck in and explore how you can make baking a cherished tradition in your home.
Finding the Right Stand Mixer for Your NZ Family
Picking out a stand mixer can feel like a big decision, but it doesn't have to be overwhelming. When you’re thinking about baking with the kids, a few key features can make all the difference. Get it right, and your mixer will quickly become the heart of your kitchen, not just another appliance collecting dust on the bench.
Think about what your family baking sessions really look like. Are we talking about a quick batch of biscuits on a rainy Saturday? Or are you dreaming of tackling big, chewy loaves of sourdough? Knowing this will help you narrow down the options straight away.
Bowl Size and Motor Power
First up, let’s talk about bowl size. For most Kiwi families, a standard 4.5-litre bowl is a brilliant starting point. It’s got plenty of room for a dozen cupcakes or a classic batch of choc-chip cookie dough. However, if you've got a bigger tribe or you're always the one supplying the school bake sale, stepping up to a 6-litre model (or even larger) is a smart move.
Next is the engine under the hood: the motor power. This is measured in watts, and more watts generally means more grunt. For heavy-duty jobs like kneading dense bread dough, you’ll want a mixer with over 500 watts to ensure it doesn’t strain. But for lighter tasks like whipping cream or mixing a simple cake batter, a 300-watt motor will do the job just fine. It’s all about matching the machine’s power to your baking ambitions.
Essential Attachments and Safety Features
Your new stand mixer will likely come with three trusty attachments. It’s a good idea to show the kids what each one does so they can start learning the ropes.
- The Flat Beater: This is your everyday workhorse. It’s perfect for creaming butter and sugar together, mixing up cake batters, and even mashing spuds for the Sunday roast.
- The Dough Hook: Shaped like a C or a spiral, this tool does all the hard work of kneading bread and pizza dough. It’s a real arm-saver!
- The Wire Whisk: When you need to add air, this is the tool. It's what turns egg whites into fluffy meringues and cream into perfect, stiff peaks.
When kids are involved, safety is obviously front of mind. Look for models with a locking tilt-head. This simple feature stops the head from bouncing around or dropping unexpectedly when you’re mixing. Another fantastic feature is overload protection, which automatically shuts the motor off if it starts to overheat. It’s a great way to protect your new machine.
For more general advice, have a look at our guide covering tips you need to know when buying appliances.
To help you decide, here’s a quick comparison of features to keep in mind for family-friendly baking here in NZ.
Stand Mixer Features for Family Baking in NZ
| Feature | Why It Matters for Kids | Recommended Specification (NZ Families) |
|---|---|---|
| Locking Tilt-Head | Prevents the mixer head from accidentally dropping while little hands are nearby. | A non-negotiable safety feature. Most quality brands include this. |
| Bowl Size | Needs to be big enough for family recipes but not so large that it's unwieldy for kids to handle. | 4.5 - 6 litres is the sweet spot for most households. |
| Motor Power | A stronger motor handles sticky dough without straining, avoiding frustrating stops and starts. | 300-500+ watts. Go higher if you plan on making lots of bread. |
| Splash Guard | Keeps flour and batter inside the bowl, not all over your kitchen (and your kids!). | Highly recommended. Some models include it; others offer it as an add-on. |
| Sturdy Base | A heavy, stable base stops the mixer from "walking" across the bench on high speeds. | Look for models with a solid metal construction and non-slip feet. |
Choosing the right mixer really comes down to finding that perfect balance between your family's needs, your baking goals, and the safety features that give you peace of mind.
Setting Up a Safe Baking Zone for Kids

Before a single grain of flour is measured, the first ingredient in any successful baking session with kids is a safe space. A little thought beforehand can transform your kitchen from a potential hazard zone into a fun, confidence-building workshop for your little one.
First, let's cover the essentials. Get everyone to wash their hands properly and tie back any long hair. Clear your benchtops of anything you don’t need; you’ll want plenty of room to spread out. And a quick check to ensure the floor is dry will prevent any unexpected slips or slides.
Stand Mixer Safety Rules
Your stand mixer is a brilliant piece of kit, but it’s powerful and needs to be treated with respect. Before you even think about plugging it in, give your child a tour. Show them how the tilt-head locks into place so it won't suddenly drop, and point out the speed dial.
The most critical rule is simple and non-negotiable: fingers, hair, and utensils must stay well clear of the bowl while the mixer is on. I always make this the number one ground rule. Show them how you can add ingredients while it’s stopped, then turn it on. If the bowl needs scraping, stop the mixer completely first.
A great habit to get into is always starting the stand mixer on its lowest speed. This avoids that classic "flour cloud" explosion and lets your child get used to the machine's power before you ramp it up.
Following these simple rules makes baking with a stand mixer in NZ a genuinely positive and fun experience, keeping the focus on creating delicious treats together.
Age-Appropriate Kitchen Jobs
Giving kids tasks that match their age and ability is the secret to keeping them both safe and engaged. It empowers them to feel like a real part of the process while you keep a handle on the trickier bits.
- Little Bakers (Ages 3-5): This age group are fantastic helpers for pouring pre-measured ingredients into the bowl (with the mixer firmly off!), stirring dry ingredients with a spoon, or the all-important job of adding sprinkles.
- Junior Chefs (Ages 6-9): As they get older, they can handle a bit more. Supervised, they can measure out ingredients, crack eggs (into a separate cup, just in case!), and even turn the mixer's speed dial once you give them the green light.
- The Adult's Role: Your job is to manage anything involving heat, sharp tools, or operating the machine. This means you’re in charge of the oven, using knives, and attaching or removing the mixer beaters.
Remember, an organised kitchen is a safer kitchen. Having everything laid out and tidy makes the whole experience much smoother and less stressful. If you want a few pointers on that, our guide on how to organise your fridge has some great tips for keeping ingredients fresh and easy to grab.
Kid-Approved Stand Mixer Recipes
Alright, now for the really fun bit—getting your hands dirty! Or, more accurately, letting the stand mixer do the heavy lifting for you. I’ve picked out a couple of recipes that are not only a blast to make but are also pretty straightforward, making them perfect for bringing the kids into the kitchen.
I'll show you exactly where your little ones can jump in and take charge, which is the best way to build their confidence.
We're kicking things off with two absolute crowd-pleasers. First, we’ve got some seriously colourful cookies that are almost too fun to eat, followed by a super simple pizza dough that will make your kids feel like proper little chefs.
Rainbow Sprinkle Cookies
These cookies are a guaranteed hit, every single time. Using the stand mixer to cream the butter and sugar is a game-changer; it makes the base so light and fluffy. This is a brilliant moment to let your child just watch the magic happen as the ingredients completely transform in the bowl.
But the best part for the kids? The sprinkles, of course. Once the dough is mixed, it’s their time to shine by folding in all that colour.
Kid-Friendly Jobs:
- Pouring: Let them add the pre-measured sugar and flour to the mixer bowl. Just make sure the machine is off!
- Adding Colour: Give them the very important job of pouring in the rainbow sprinkles.
- Taste-Testing: This is a non-negotiable step for any junior baker in my house. It's a serious business.
Pro Tip: For cookies that really pop with colour, go for the long, skinny jimmy-style sprinkles instead of the little round nonpareils. Jimmies hold their colour so much better when baked and don't bleed into the dough nearly as much.
The finished cookies are delicious and just the right size for popping into lunchboxes. For more creative ideas, check out our guide on top kids' lunchbox recipes for NZ families.
Five-Minute Pizza Dough
There’s something truly amazing about watching a few simple ingredients turn into proper dough. The stand mixer’s dough hook makes it happen right before your eyes, and this recipe is incredibly quick because the machine handles all the kneading.
This is a fantastic way to introduce kids to the magic of yeast. We've seen a real surge in home baking here in NZ, especially when it comes to amazing, artisanal-style breads. While commercial bread production has seen a slow decline over the last decade, Kiwi home bakers are getting more adventurous. This simple pizza dough perfectly captures that satisfying spirit of homemade goodness.
Kid-Friendly Jobs:
- Mixing: They can help tip the flour, yeast, and salt into the bowl.
- Watching: The sight of the dough hook swirling around and bringing everything together is pure kitchen wizardry for a kid.
- Topping: Once the dough is ready, unleash their creativity with all their favourite toppings.
Both of these recipes are designed to be winners, building your child's confidence with every delicious bake. Baking with your kids is all about creating joyful memories, and these recipes are the perfect place to start.
Getting to Know Your Stand Mixer Attachments
A good stand mixer is a true kitchen workhorse, but the real magic happens when you know which attachment to grab for the job at hand. Once you get the hang of the three main tools—the flat beater, the dough hook, and the wire whisk—you'll open up a whole new world of baking possibilities for you and your little helpers.
I like to think of them as a baking team. Each one has a very specific skill, and teaching your kids what each attachment does is a brilliant way to help them understand the entire baking process, from the first mix to the final product.
The Flat Beater: Your Everyday Go-To
The flat beater, which you might also hear called a paddle attachment, is the versatile hero of your stand mixer. It's the one you'll likely reach for most often, especially when you're baking with kids in your NZ kitchen. Its main purpose is to mix, cream, and beat ingredients together thoroughly without incorporating too much air.
It's absolutely perfect for jobs like:
- Creaming butter and sugar together until they're light and fluffy—the essential first step for amazing cookies.
- Mixing cake and brownie batters until they are perfectly smooth.
- Combining all the ingredients for a classic loaf. For a crowd-pleasing family favourite, check out this easy banana bread recipe that's ideal for this attachment.
- Shredding cooked chicken in seconds for sandwiches or pies (a great non-baking hack!).
Here’s a tip from my own messy experiences: always start on the lowest speed when you add flour or other dry ingredients. This simple habit will save you from a cloud of flour exploding across your benchtop and, more importantly, all over your little assistant.
The Dough Hook: For Perfect Breads and Pizzas
If you love the idea of homemade bread, pizza bases, or soft pretzels, the dough hook will quickly become your best friend. This spiral or C-shaped tool expertly mimics the push-and-fold motion of hand-kneading, which is crucial for developing the gluten that gives bread its wonderful chewy structure. Best of all, it saves little (and big) arms from a very tiring job.
You’ll know the dough is ready when it starts to pull away from the sides of the bowl, forming a smooth, elastic ball. A fun way to check with the kids is the "poke test"—just gently poke the dough with a floured finger, and if it springs back slowly, you're good to go.
A Quick Word of Caution: Dough hooks are designed to work at low to medium-low speeds, usually around speed 2 on most mixers. If you run it too fast, you risk the mixer overheating or even "walking" across the bench. Slow and steady wins the race here.
The Wire Whisk: For All Things Light and Fluffy
When you need to get some serious air into a mixture, the wire whisk is what you need. Those thin wires are designed to whip ingredients at high speed, creating the light, airy textures that are essential for certain bakes.
This is the attachment you’ll pull out for:
- Whipping egg whites into stiff, glossy peaks for pavlova or meringues.
- Transforming liquid cream into pillowy soft whipped cream to top a cake.
- Making beautifully light sponge cakes and angel food cakes.
The whisk does its best work at medium to high speeds. Your kids will be absolutely mesmerised watching a small puddle of cream expand to fill the entire bowl. It’s a fantastic, visual lesson in how adding air can completely change an ingredient.
Common Questions About Baking With Kids
Even with all the excitement, it’s completely normal to have a few questions swirling around before you dive into baking with your kids and a stand mixer. Let's be honest, the idea can be a little daunting! Getting a handle on these common queries first will make sure your time in the kitchen is more about fun and less about stress.
So, let's get into it.
One of the first things parents ask me about is the mess. And yes, baking with kids can get messy—that's part of the charm! But here's a little secret: a stand mixer is actually your best friend for containing the chaos. Because all the action happens deep inside the bowl, you're not dealing with the same level of flour explosions or batter splatters you'd get from a hand mixer. If you can, grab a model with a splash guard; it’s a game-changer.
What Is the Best Age to Start?
There’s no magic number here. It really comes down to your child’s personality and genuine interest. I've seen toddlers as young as three have an absolute ball doing simple things like tipping pre-measured ingredients into the bowl (always with the mixer off!) or going to town with the decorating. For them, it’s all about the sensory experience.
Once they hit that 6-9 age bracket, they can start taking on more of a role. This is the perfect time to teach them how to measure ingredients themselves, crack eggs (into a separate bowl first, trust me on this), and even manage the speed dial under your watchful eye. It's all about matching the job to their ability.
Remember, the goal isn't a picture-perfect bake. It's about making memories together. A bit of spilt flour and a few lopsided biscuits are just signs of a good time. Embrace the beautiful mess and focus on the fun.
Can We Make More Than Just Sweets?
Absolutely! While cakes and biscuits are the crowd-pleasers, your stand mixer is a powerhouse for all sorts of things. Don't forget about savoury baking—it's a brilliant way to get kids excited about different types of food.
The dough hook, for instance, is fantastic. It takes all the hard work out of kneading dough for things like:
- Homemade pizza bases
- Soft, chewy pretzels
- Fluffy burger buns
You can even use the paddle attachment for non-baking jobs like shredding cooked chicken for sandwiches or mashing a big batch of potatoes. Getting comfortable with savoury recipes opens up a whole new world. While a stand mixer might not be the star of every dish, learning the basics can build their confidence for trying other things, like helping with a tasty creamy artichoke, leek, and spinach pie.
What If My Child Gets Bored?
This is a really common worry, but it’s usually easy to solve. The trick is to keep your baking sessions short and snappy, especially when you've got little ones with short attention spans. Pick recipes with quick, satisfying steps and maybe avoid anything with a long dough-resting time until they're a bit older.
The best way to keep them hooked? Give them a real sense of ownership.
- Let them pick the recipe from a couple of options.
- Let them choose the colour of the icing.
- Put them in charge of the sprinkles or pizza toppings.
When kids feel like they're a key part of the project, they’re far more likely to see it through to the delicious end.
At Folders, we’re all about making home life that little bit easier and more enjoyable. Check out our fantastic range of stand mixers and kitchen appliances to kick-start your family's baking adventures today.
Find the perfect stand mixer for your family at Folders.co.nz