
DIY Dehydrated Fruit Snacks for School Lunches – DIY with Folders
Packing healthy dehydrated fruit snacks for school lunches is a game-changer for Kiwi parents, and it’s so much easier than you might think with a little help from Folders kitchenware. It’s the perfect way to give your kids nutritious, preservative-free treats, cut down on food waste, and know exactly what’s fuelling their day.
Rethinking Lunchbox Snacks For Kiwi Kids
Let's face it, the daily lunchbox grind can be a real challenge. You want to pack something healthy, but you also want them to actually eat it. Staring down the supermarket snack aisle, with its endless options full of hidden sugars and weird ingredients, is enough to make anyone's head spin. This is exactly why so many New Zealand families are taking back control and making their own snacks at home.
When you start dehydrating your own fruit with Folders appliances, you're not just cutting out the nasties; you're packing in more of the good stuff. It’s a simple, delicious, and energy-packed snack you can genuinely feel good about giving your kids.
It's also a brilliantly practical solution to a few common household headaches:
- Beating Food Waste: That fruit bowl of apples or pears looking a bit past their best? Don't toss them! Dehydrating transforms them into a long-lasting, delicious snack.
- Budget-Friendly Bites: Buying seasonal fruit in bulk and preserving it yourself is so much kinder on the wallet than buying those little pre-packaged snacks every week.
- Total Ingredient Control: You are the boss. No added sugars, no sulphites, no ingredients you can't pronounce. Just pure, wholesome fruit.
Why Homemade Makes a Real Difference
The difference between a store-bought fruit snack and one you've made yourself is night and day. Here's a quick look at why going DIY with Folders is such a win.
Store-Bought vs Homemade Dehydrated Fruit
| Feature | Store-Bought Snacks | DIY with Folders |
|---|---|---|
| Ingredients | Often contain added sugars, sulphites, and preservatives. | 100% fruit. You control everything. |
| Cost | Can be expensive, especially for organic or premium brands. | Very cost-effective, especially when using seasonal fruit. |
| Flavour | Sometimes tastes artificial or overly sweet. | Intensely fruity and natural. You can even mix flavours! |
| Waste | Comes with single-use plastic packaging. | Minimal waste; you can use reusable containers. |
Making the switch is a simple way to upgrade your lunchbox game, save money, and give your kids a snack you can trust.
Bridging The Nutrition Gap
We all know kids need good fuel to learn and play, but sometimes they aren't getting enough. Even with fantastic initiatives like Ka Ora, Ka Ako, recent research from the University of Auckland highlighted a surprising gap. The study found some school-provided lunches deliver only about 15% of a child's required daily energy—which is nearly half of what was intended.
This is where a nutritious, energy-dense snack like homemade dehydrated fruit becomes so important for topping up their tanks. By making your own, you're not just whipping up a treat; you're actively boosting your child's nutrition with something delicious and easy to pack.
For even more lunchbox ideas, check out our guide to the top kids' lunchbox recipes popular in NZ. It's also worth exploring other gut-friendly snack options to add even more variety and cater to sensitive tummies.
Honestly, the best part is seeing your kids wolf down a healthy snack that you made with your own two hands. It turns lunch prep from a daily chore into something genuinely rewarding, and you get complete peace of mind knowing exactly what’s in their lunchbox.
Your Dehydrating Toolkit
Having the right gear on hand can take making dehydrated fruit snacks for school lunches from a chore to a genuinely enjoyable kitchen project. You don't need a whole commercial setup, but a few key pieces of Folders kitchenware will make the entire process smoother and far more successful.
The star of the show, of course, is the Sunbeam Food Lab dehydrator. When you’re choosing one, make sure it has adjustable temperature controls and a timer. Honestly, I consider these two features non-negotiable for getting perfectly dried fruit every time. Different fruits need different temperatures to lock in their unique flavours and nutrients, so having that precise control is everything.
A few other tools from Folders will quickly become your best friends in the kitchen. For even drying, consistency is your goal. Nothing gets you perfectly uniform slices quite like a good, sharp knife or, even better, a mandoline. Using a mandoline ensures every single slice is the same thickness, meaning they all finish dehydrating at the same time. No more half-chewy, half-crispy batches!
Essential Supporting Tools
If you really want to get into a good rhythm with your snack-making, I’d recommend adding these items to your Folders toolkit:
- Sharp Knives: A top-quality chef's knife makes prepping bigger fruits like apples and pears an absolute breeze. Keeping your knives sharp is also a safety essential, and it creates clean cuts that help the fruit keep its colour and dry more efficiently.
- A Reliable Mandoline: This is my secret weapon for things like kiwifruit, strawberries, and bananas. A mandoline gives you those paper-thin, even slices that are just impossible to get by hand, and it’s the key to achieving that perfect leathery texture.
- Airtight Containers: Once your fruit snacks are perfectly dried and have cooled down, storing them correctly is crucial. A good set of Folders airtight containers will keep them fresh and chewy for weeks by protecting them from humidity and locking in all that concentrated flavour.
Choosing Your Appliances Wisely
I get it – investing in quality kitchen appliances is a big decision. But it’s about more than just the price tag. The right tools can genuinely inspire new kitchen adventures and make healthy eating so much easier for the whole family. They need to be reliable, simple to use, and a good fit for what you actually want to do.
When you're picking out your gear, try to think about long-term value. A good dehydrator isn't just for fruit. You can use it for making jerky, drying herbs from the garden, or creating crunchy vegetable chips. It really can become a versatile workhorse in your kitchen.
Before you make a final decision on your toolkit, it’s always a good idea to do a bit of homework. For some really practical advice, have a read through these tips you need to know when buying appliances. It’ll help you make an informed choice that you’ll be happy with for years to come.
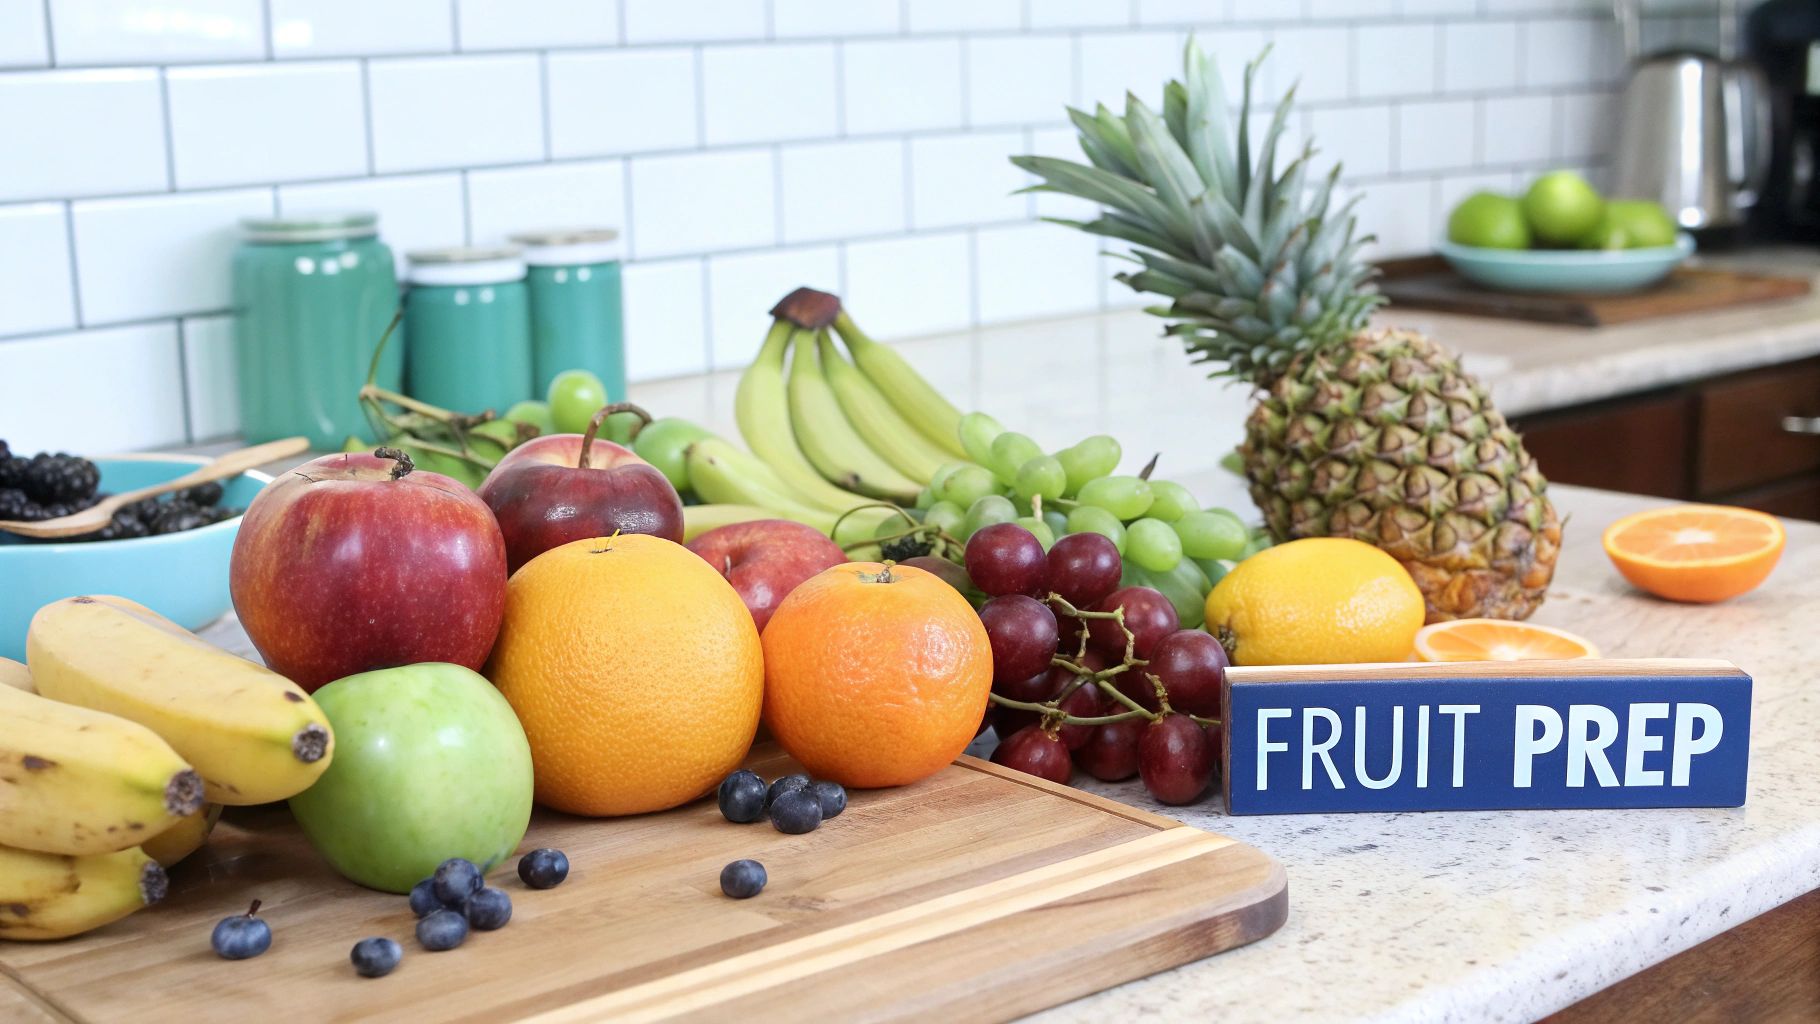
Selecting and Preparing Your Fruit
The secret to truly delicious dehydrated fruit isn't just about the machine you use—it all starts with the fruit you choose. Honestly, getting this first step right makes all the difference in creating those perfectly chewy, flavourful snacks your kids will actually want to find in their lunchboxes.
When you're at the market or supermarket, look for fruit that's perfectly ripe but still has a bit of firmness. This is the sweet spot. You get all that natural sweetness, but the fruit is sturdy enough to hold its shape when you slice it. Overly ripe or bruised fruit tends to go mushy and sticky, which is just a headache to work with.
Living in New Zealand, we're spoilt for choice. Think crisp apples, tangy kiwifruit, and sweet summer berries—they all work beautifully.
Perfecting Your Fruit Prep
Once you've got your fruit haul home, a little bit of prep work is key to getting great results. Give everything a good wash under cool running water to get rid of any dirt. The next question is always: to peel or not to peel? It really depends on the fruit and your own preference.
- Apples and Pears: I almost always leave the skin on. It adds extra fibre, a bit of colour, and a nice rustic feel to the finished snack. Just make sure you core them first.
- Kiwifruit and Bananas: These are a definite "peel first" situation. That fuzzy kiwifruit skin isn't very pleasant when dried, and well, banana peels aren't edible.
- Berries: For strawberries, all you need to do is hull them (remove the green leafy top). Blueberries are even easier; you can just dehydrate them whole.
My Go-To Tip: To stop fruits like apples, pears, and bananas from going that unappetising brown colour, I give the slices a quick dunk in a bowl of cold water with a good squeeze of lemon juice. It’s a simple trick that works wonders to keep them looking bright and fresh.
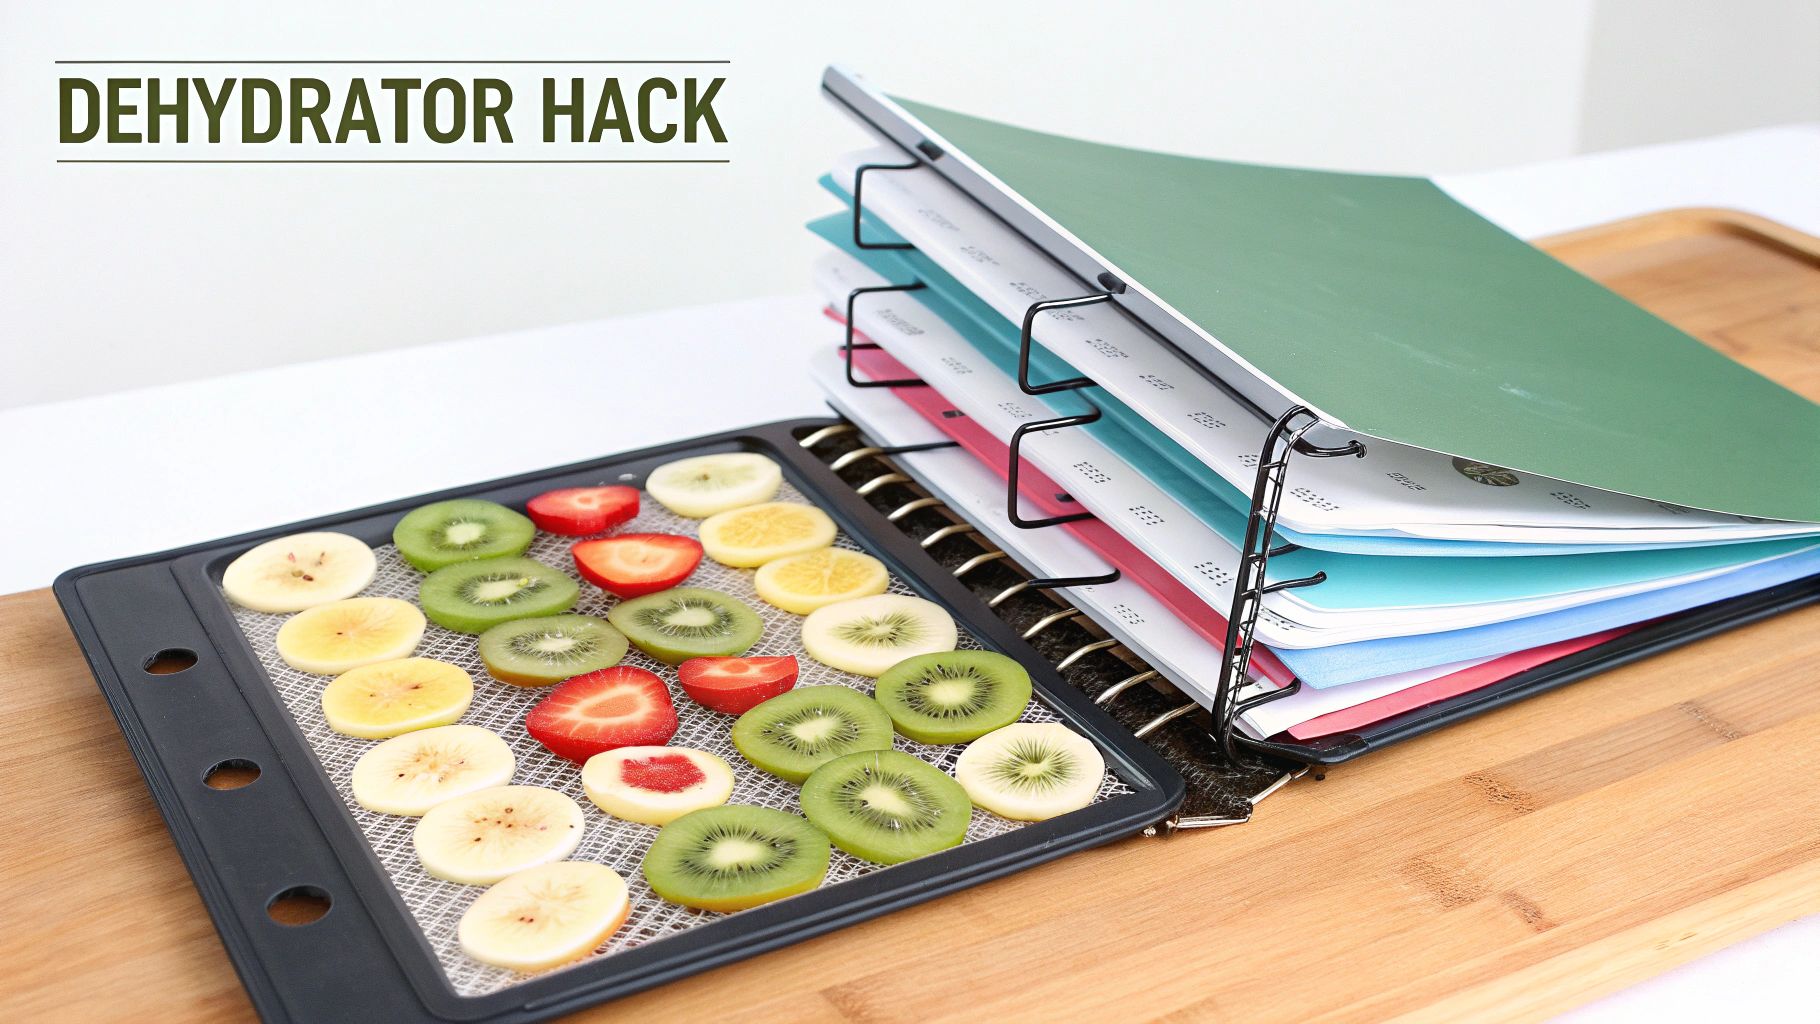
The Importance of Uniform Slices
Now, this is probably the most critical part of the whole prep stage. If your fruit slices are all different thicknesses, they’ll dry at completely different rates. You'll end up with a frustrating batch where some pieces are still damp, some are perfect, and others are brittle and over-done.
To get that all-important consistency, a Folders mandoline is an absolute lifesaver. It lets you create perfectly even slices—I find about 5-6mm is the ideal thickness—in no time at all. This one step guarantees that every piece of fruit dries evenly, giving you a perfect batch of dehydrated fruit snacks for school lunches every single time.
These homemade snacks are such a great addition to the lunchbox. With more parents looking for nutritious and affordable options to complement school food programmes, simple DIY solutions like this are fantastic. Dehydrated fruit is an easy way to boost your child's caloric and micronutrient intake for the day.
If you're keen to get started, checking out these 10 easy food dehydrator recipes for Kiwi homes is a brilliant way to find some inspiration beyond the basics.
The Dehydrating Process Using a Sunbeam Dehydrator
Right, this is where the magic happens. You’ve done the prep, and now it’s time to turn that fresh, vibrant fruit into snacks your kids will actually ask for. Using your Sunbeam dehydrator from Folders is a breeze, and honestly, there's something so satisfying about seeing the final result. The whole point here is to gently remove the water while locking in all that natural flavour and goodness.
Loading Up the Trays
The first, and most important, lesson I learned was about spacing. It's so tempting to cram as much fruit as you can onto each tray, but you have to resist!
Give each slice its own little bit of personal space. This lets the warm air from your Folders dehydrator circulate properly around every single piece, which is crucial for even drying. If you overcrowd the trays, you’ll end up with some bits that are perfectly leathery and others that are still damp and squishy. Trust me, it’s worth the extra tray.
This is a great visual of the simple path from fresh fruit to a finished, lunchbox-ready snack.
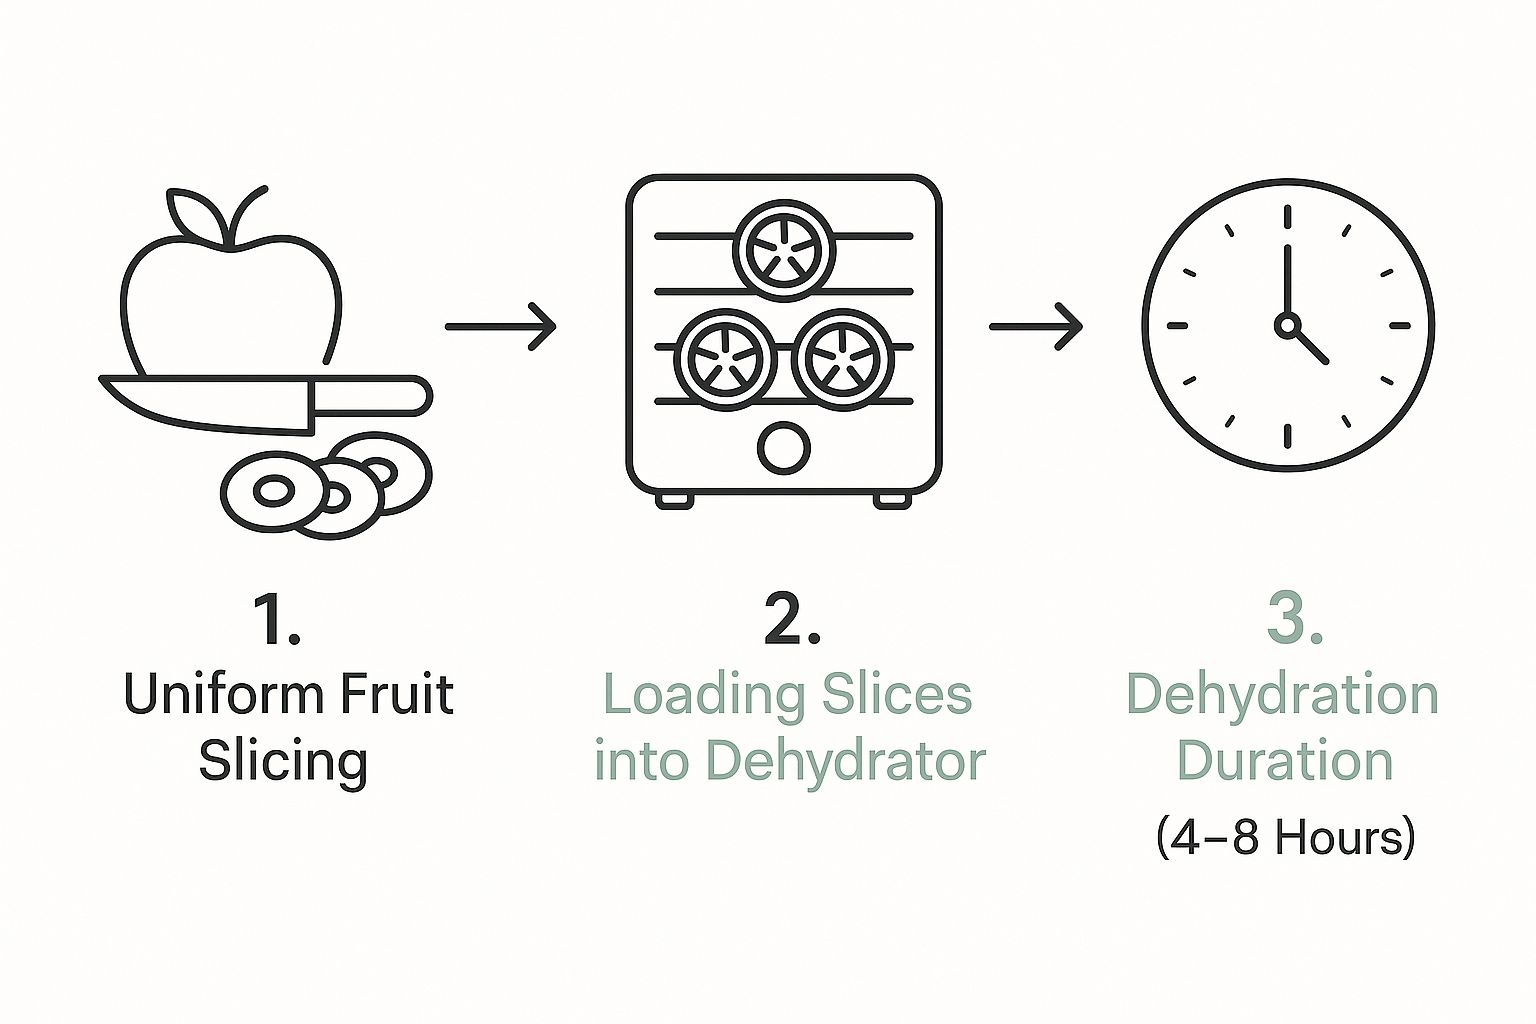
As you can see, it all comes down to consistent slicing, smart loading, and a bit of patience while the dehydrator does its thing.
Finding the Sweet Spot: Temperature and Time
Once the trays are loaded and slotted in, it’s time to set the temperature. There isn't a single "correct" setting, as different fruits need different temperatures to get that perfect chewy texture without being cooked or turning brittle.
For most common fruits like apples, pears, and bananas, I find that 57°C (135°F) is the sweet spot on my Folders dehydrator. For more delicate things like berries, or if you're making fruit leather, you might want to dial it back a bit.
Drying time is the other big variable. It can take anywhere from 4 to 12 hours, depending on what fruit you're using, how thick the slices are, and even how humid it is that day. I usually start peeking after about 4 hours for thinner things like apple slices, and then I'll check every hour or so from there.
How do you know when it's done? It’s all in the touch. You're aiming for a leathery and pliable texture. The fruit should bend easily without snapping, and it shouldn't feel sticky or wet. If it snaps, it's over-dried. Still squishy? It needs more time.
A Handy Dehydrating Guide
To help you get started, I've put together a quick reference table for some Kiwi favourites. Think of these as a starting point—you'll soon get a feel for what works best in your kitchen with your specific fruit.
Here are some recommended settings to take the guesswork out of your first few batches.
Fruit Dehydrating Guide for Your Folders Dehydrator
| Fruit | Preparation | Temperature (°C) | Approximate Drying Time (Hours) |
|---|---|---|---|
| Apples | Core and slice 5-6mm thick. Dip in lemon water. | 57°C | 6–10 |
| Bananas | Peel and slice 5-6mm thick. Dip in lemon water. | 57°C | 6–10 |
| Kiwifruit | Peel and slice 5-6mm thick. | 57°C | 6–9 |
| Strawberries | Hull and slice in half or into 6mm slices. | 57°C | 7–12 |
| Pears | Core and slice 5-6mm thick. Skin on is fine. | 57°C | 7–11 |
Remember, these are just guidelines. The real secret ingredient here is patience. After you've done a couple of batches, you’ll develop an instinct for it and know exactly what to look for.
Keeping Your Dehydrated Snacks Perfectly Fresh
You’ve spent the time creating a beautiful batch of healthy, homemade snacks. The final, crucial step is making sure they stay that way. How you store them makes all the difference in preserving that fantastic chewy texture and concentrated flavour you worked so hard for.
First things first: let your fruit cool down completely before you even think about putting it away. I can't stress this enough. Warm fruit will release moisture inside a sealed container, and that's a recipe for mould. My tried-and-true method is to spread the finished fruit out on a wire rack for at least an hour, making sure it’s totally cool to the touch before it gets packed.
Finding the Right Home for Your Snacks
Once they’re cool, your dehydrated fruit needs an airtight home. This is where a good set of Folders containers really shines. I find that glass jars or quality airtight plastic containers are the best defense against humidity—the ultimate enemy of long-lasting, chewy snacks.
If you store them in a cool, dark cupboard or pantry, your creations can easily last for weeks, sometimes even months.
Keeping all your food fresh is key, not just your dehydrated snacks. For more tips on optimising your kitchen's storage, our fridge buying guide for NZ homes has some great insights.
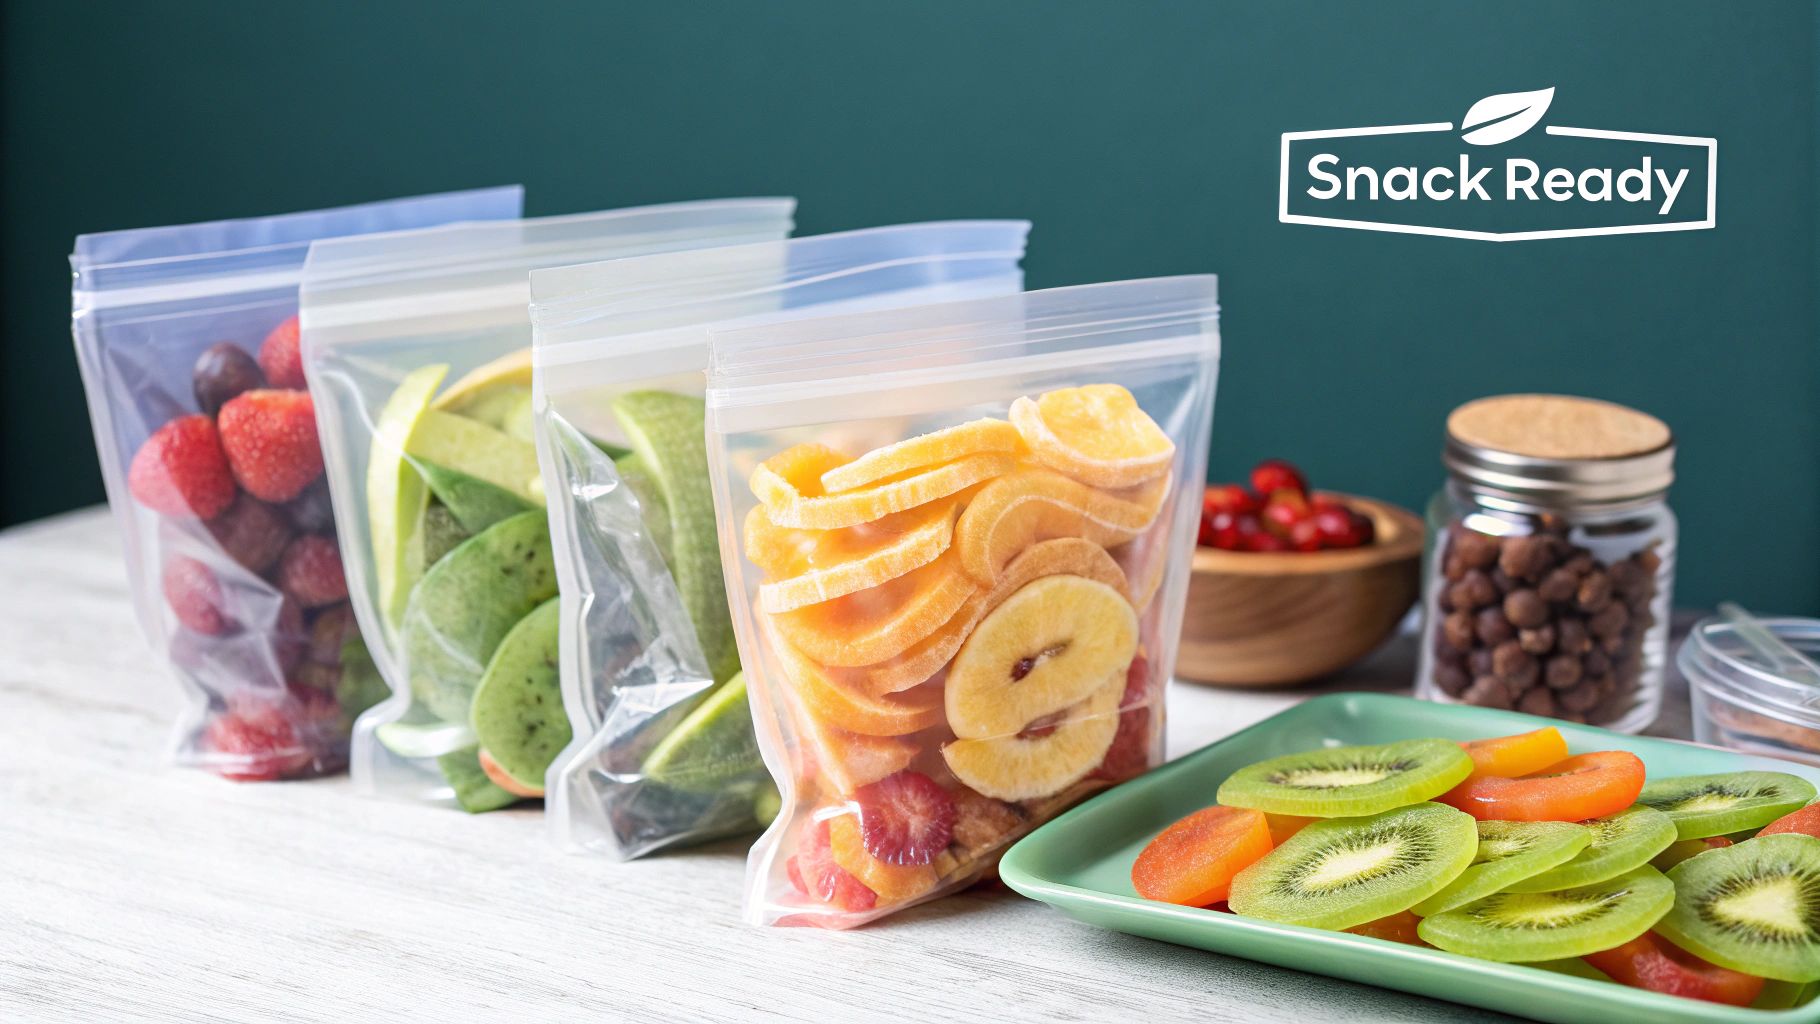
Packing for the Perfect School Lunch
When you're packing dehydrated fruit snacks for school lunches, the main goal is to make sure they're still perfect by lunchtime. Here are a few simple tricks I've picked up over the years:
- Bento Boxes are Your Friend: Those little compartments are brilliant for keeping dried fruit separate from soggier items like sandwiches or yoghurt.
- Small Reusable Pouches: A little fabric or silicone pouch is perfect for a grab-and-go portion and helps you keep an eye on how much they're eating.
- Silicone Muffin Cups as Dividers: Pop one of these into a larger lunchbox. It creates a perfect, protected little spot just for the dried fruit.
Smart packing ensures the snack your child pulls out at school is just as tasty as when it first came out of the dehydrator. It’s a small effort that really elevates their midday meal.
Having a healthy, homemade snack ready to go gives you real peace of mind. While it's great that New Zealand's government-funded lunch programme has seen major improvements in 2025—with on-time deliveries hitting over 98% and complaints falling by 92%—we all remember the initial challenges. Those early days showed how tough it can be to get consistent quality on a massive scale. Having your own nutritious snacks on hand is always a smart move.
Your Dehydrating Questions, Answered
Diving into making your own dehydrated fruit snacks for school lunches is exciting, but it’s natural to have a few questions pop up. I’ve been there! When you’re trying something new in the kitchen, a little expert advice can make all the difference.
So, let's walk through some of the most common queries I hear from other Kiwi parents. Getting these details sorted will help you go from a curious beginner to a confident lunchbox-packing pro in no time.
How Long Will My Homemade Fruit Snacks Last?
This is probably the most practical question I get asked, and the answer is a game-changer for busy families. If you've done a thorough job drying your fruit and—this is crucial—let it cool completely before packing it away, your snacks can last for a surprisingly long time.
Stored in a properly airtight container (like the ones from our Folders range) and tucked away in a cool, dark spot like the pantry, your creations will stay perfectly delicious for 6 to 12 months. The trick is to completely banish moisture and air, as they’re the enemies of long-lasting freshness.
Are Dehydrated Snacks as Healthy as Fresh Fruit?
A brilliant question! While nothing beats a piece of fresh fruit straight from the bowl, dehydrated fruit is a fantastic and nutritious alternative.
When you dehydrate fruit, you're just removing the water. This process actually concentrates the good stuff like fibre and minerals. You might lose a little bit of the heat-sensitive vitamins, like Vitamin C, but you’re left with a nutrient-dense, natural energy booster. Just remember, the natural sugars get concentrated too, so they're best enjoyed in sensible, lunchbox-sized portions.
I like to think of it this way: you’re packing all the goodness of a whole piece of fruit into a smaller, chewier, and much more convenient form. It's an easy win for adding a burst of healthy energy to the school day, without any of those nasty refined sugars or additives.
Can I Make Fruit Leather with My Folders Dehydrator?
You absolutely can! Your Folders dehydrator is your best friend for making delicious fruit leathers, and trust me, kids go wild for them. It’s a wonderfully simple process and a perfect way to use up fruit that’s looking a bit soft.
All you need to do is blend your fruit into a smooth purée. I always add a little squeeze of lemon juice if I'm using apples or pears; it works wonders to stop them from going brown. Next, pour the purée onto the solid fruit leather sheets that come with many Folders dehydrators (or just a sheet of baking paper will do) and spread it out nice and thin.
Pop it in the dehydrator at around 57°C (135°F) and let it run until it’s dry to the touch and no longer sticky. It’s a really fun kitchen project and a great change from standard dried fruit slices.
What Are Some Common Mistakes to Avoid?
We all make mistakes, even those of us who have been dehydrating for years! Knowing the common pitfalls ahead of time can save you a world of frustration. From my experience, the biggest issues are usually the easiest to fix.
Here are the main things to watch out for:
- Uneven Slicing: This is the #1 culprit behind a batch that's half-burnt and half-soggy. Using a mandoline to get perfectly uniform slices is a total game-changer.
- Overcrowding the Trays: It’s tempting to squeeze as much on as possible, but you have to resist! The fruit needs space for air to circulate properly and dry everything evenly.
- Storing Too Soon: Whatever you do, don't pack your fruit away while it's still warm. It creates condensation inside the container, which is a fast track to mould. Let it cool on the counter completely first.
Steering clear of these simple slip-ups will help ensure your DIY dehydrated fruit snacks for school lunches come out perfectly every time. And if you're on the hunt for more fun snack ideas, you might love our guide on how to make easy watermelon snacks—another great way to celebrate seasonal fruit.
Ready to kickstart your dehydrating journey and completely transform the school lunch routine? Having the right tools makes all the difference. Explore the full range of kitchenware and appliances at Folders and find everything you need to create healthy, homemade snacks your kids will absolutely love. Visit us at https://folders.co.nz to get started.