
How to Sharpen Kitchen Knives for a Perfect Cut
Sharpening your kitchen knives really comes down to a few key actions. You'll need to prepare your sharpening tool (like a whetstone), find and consistently hold the right angle—usually somewhere between 15 and 20 degrees—and then use smooth, even strokes. The whole idea is to grind a new, fine edge onto the blade, which makes your knife not just more effective, but a whole lot safer. Honestly, it's a skill any home cook can get the hang of with a bit of practice.
Why a Sharp Knife Is Your Best Kitchen Tool
Let’s be honest, trying to cook with a dull knife is frustrating and downright dangerous. It squashes your delicate tomatoes instead of slicing them, forces you to use scary amounts of pressure, and just turns kitchen prep into a real chore. A properly sharp knife, on the other hand, is the secret to making cooking feel effortless, safer, and much more enjoyable.
This guide is here to bust the myth that knowing how to sharpen kitchen knives is some complex art reserved only for professional chefs. With the right tools and a little guidance, any home cook can get a razor-sharp edge that completely transforms their time in the kitchen.
The Real Dangers of a Dull Blade
A blunt knife is an unsafe knife. It's a simple fact. A dull blade can actually require up to 70% more force to cut through food, which dramatically increases the chances of it slipping and causing a nasty accident. If there's one single reason to keep your blades in top shape, this is it.
A common misconception here in New Zealand is that the edge a knife has from the factory is the best it will ever be. In reality, a professionally resharpened edge, which often has a more durable arch profile, is actually stronger and holds its sharpness for longer than the standard V-shape it came with.
Beyond Safety: The Benefits of a Sharp Edge
Looking after your knives is about more than just avoiding accidents. A truly sharp blade gives you incredible precision and control, which leads directly to better-looking and better-tasting food.
- Effortless Slicing: You'll find yourself gliding through vegetables, meats, and fruits without crushing them.
- Enhanced Flavours: Clean cuts on herbs release their essential oils without bruising, which means more vibrant flavours in your dishes.
- Longer Knife Lifespan: Regular sharpening and proper care prevent serious damage and extend the life of your investment. Speaking of care, you can also learn more from our guide on properly cleaning kitchen knives to keep them in pristine condition.
Choosing the Right Sharpening Tools

Walking into the world of knife sharpening can feel a bit overwhelming at first. There are so many gadgets and stones, but it really boils down to a few key choices. Let's cut through the noise and figure out what gear makes sense for your kitchen, your knives, and your time.
The Classic: Whetstones
For a truly sharp edge, nothing beats a good old-fashioned whetstone. Also known as sharpening stones, they come in different "grits," which is just a measure of how coarse the surface is. Think of it like sandpaper for your knife blade.
- A low grit number (like #400) means a coarse stone. This is what you'll use to fix a chipped edge or bring a seriously dull knife back to life.
- A high grit number (like #3000 or more) means a fine stone. This is for honing and polishing the edge to a razor-sharp finish.
For most of us at home, a dual-sided stone is the perfect starting point. A combination of a medium #1000 grit and a fine #3000 grit gives you everything you need to set a great edge and then refine it.
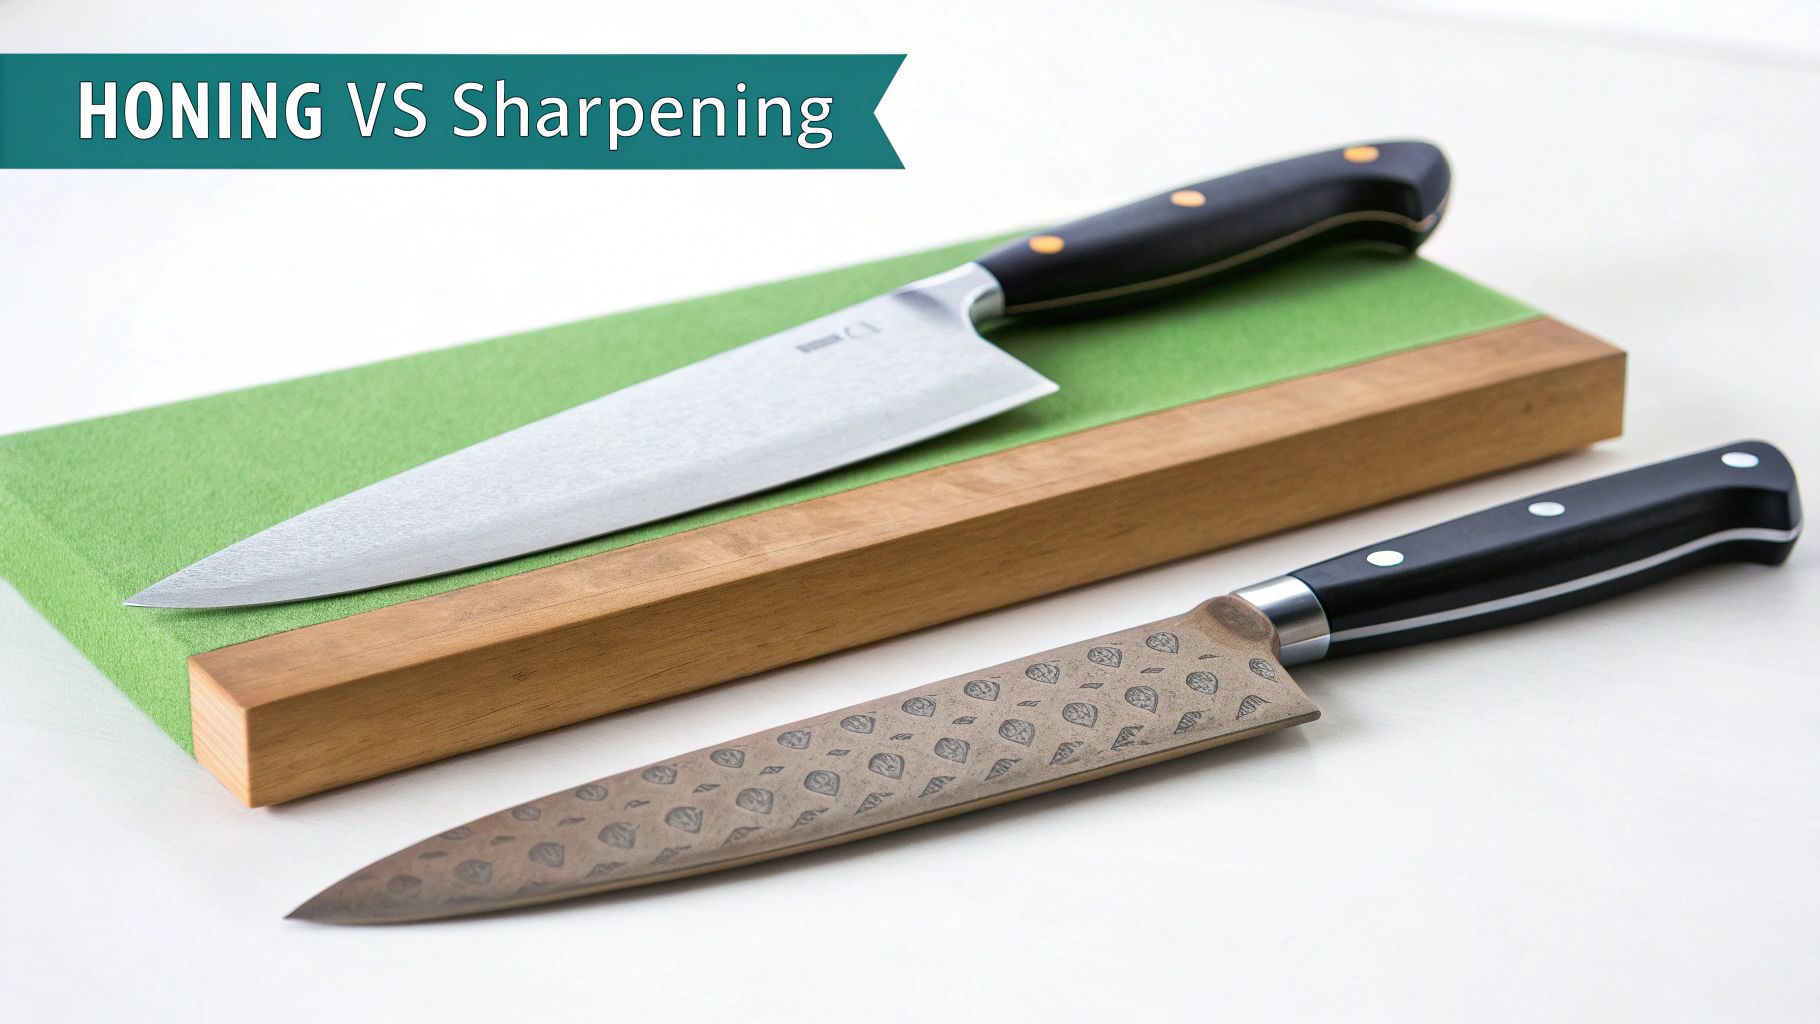
Whetstones vs. Honing Steels
Here’s a common point of confusion: a honing steel doesn’t actually sharpen your knife. Sharpening involves grinding away a tiny amount of metal to create a brand-new edge. A honing steel simply straightens out the existing microscopic edge, which gets knocked out of alignment with daily use.
Use your honing steel regularly—maybe once a week—to keep the blade straight. You'll only need to pull out the whetstone a couple of times a year for a proper sharpening session. This simple routine makes a massive difference.
Other Great Options
Another fantastic tool, especially popular in New Zealand for its toughness, is the diamond sharpening plate. Diamond plates cut fast and always stay perfectly flat, making them incredibly efficient. A good dual-grit plate, for instance, can restore a dull high-carbon knife in under a minute on its coarse side. In fact, many people find it can reduce their sharpening effort by up to 50% compared to traditional stones.
Of course, the right tools also depend on the knives you own. If you've invested in quality blades, our guide to buying Global knives in NZ might offer some helpful insights into caring for them.
Sharpening Tool Comparison For Home Cooks
To help you decide, here’s a quick breakdown of the most common sharpening tools. Each has its place, and the best one for you depends on your comfort level and how much time you want to spend.
| Tool Type | Best For | Skill Level | Pros | Cons |
|---|---|---|---|---|
| Whetstones | Achieving the sharpest possible edge; full control over the angle. | Intermediate | Superior results, versatile for different knives, long-lasting. | Requires practice to master the angle; can be time-consuming. |
| Honing Steels | Daily or weekly maintenance to keep an already sharp edge aligned. | Beginner | Quick and easy to use, extends time between sharpenings. | Doesn't actually sharpen a dull blade. |
| Pull-Through Sharpeners | Quick, convenient sharpening for basic kitchen knives. | Beginner | Very easy to use, fast, and affordable. | Less precise angle, can remove more metal than necessary. |
| Diamond Plates | Fast and aggressive sharpening, especially for hard steels or damaged knives. | Intermediate | Extremely efficient, durable, and stays flat. | Can be too aggressive for fine polishing; higher initial cost. |
Ultimately, the goal is to find a system that you'll actually use. Whether it's the zen-like process of a whetstone or the quick convenience of a pull-through sharpener, the right tool is the one that keeps your knives sharp and ready for action.
Setting Up Your Sharpening Station
Before your blade even meets the stone, a bit of prep work is essential. Setting up your sharpening station correctly isn't just about being tidy; it’s the foundation for getting a fantastic result safely and efficiently. Get this right, and the rest of the process becomes so much smoother.
First things first, let's get that whetstone ready. Most stones need a good soak in water for about 5-10 minutes before you start. The goal is to fully saturate it. You'll know it's ready when it stops releasing those tiny air bubbles. This water is crucial—it acts as a lubricant, floating away the metal filings (known as swarf) and preventing the stone from getting clogged.
Creating a Stable and Safe Workspace
Next up is creating a solid, stable base for your stone. This is non-negotiable. A slipping stone is the number one cause of accidents when sharpening, and trust me, you don’t want that razor-sharp blade going anywhere you don't intend it to.
My go-to trick is incredibly simple but works a treat: lay a damp tea towel flat on your benchtop and place the stone (or its holder) right on top. The damp fabric gives it an amazing amount of grip and stops it from sliding around.
It's a small thing, but it makes a world of difference. It allows you to put all your focus into your technique, not into wrestling with a wandering whetstone.
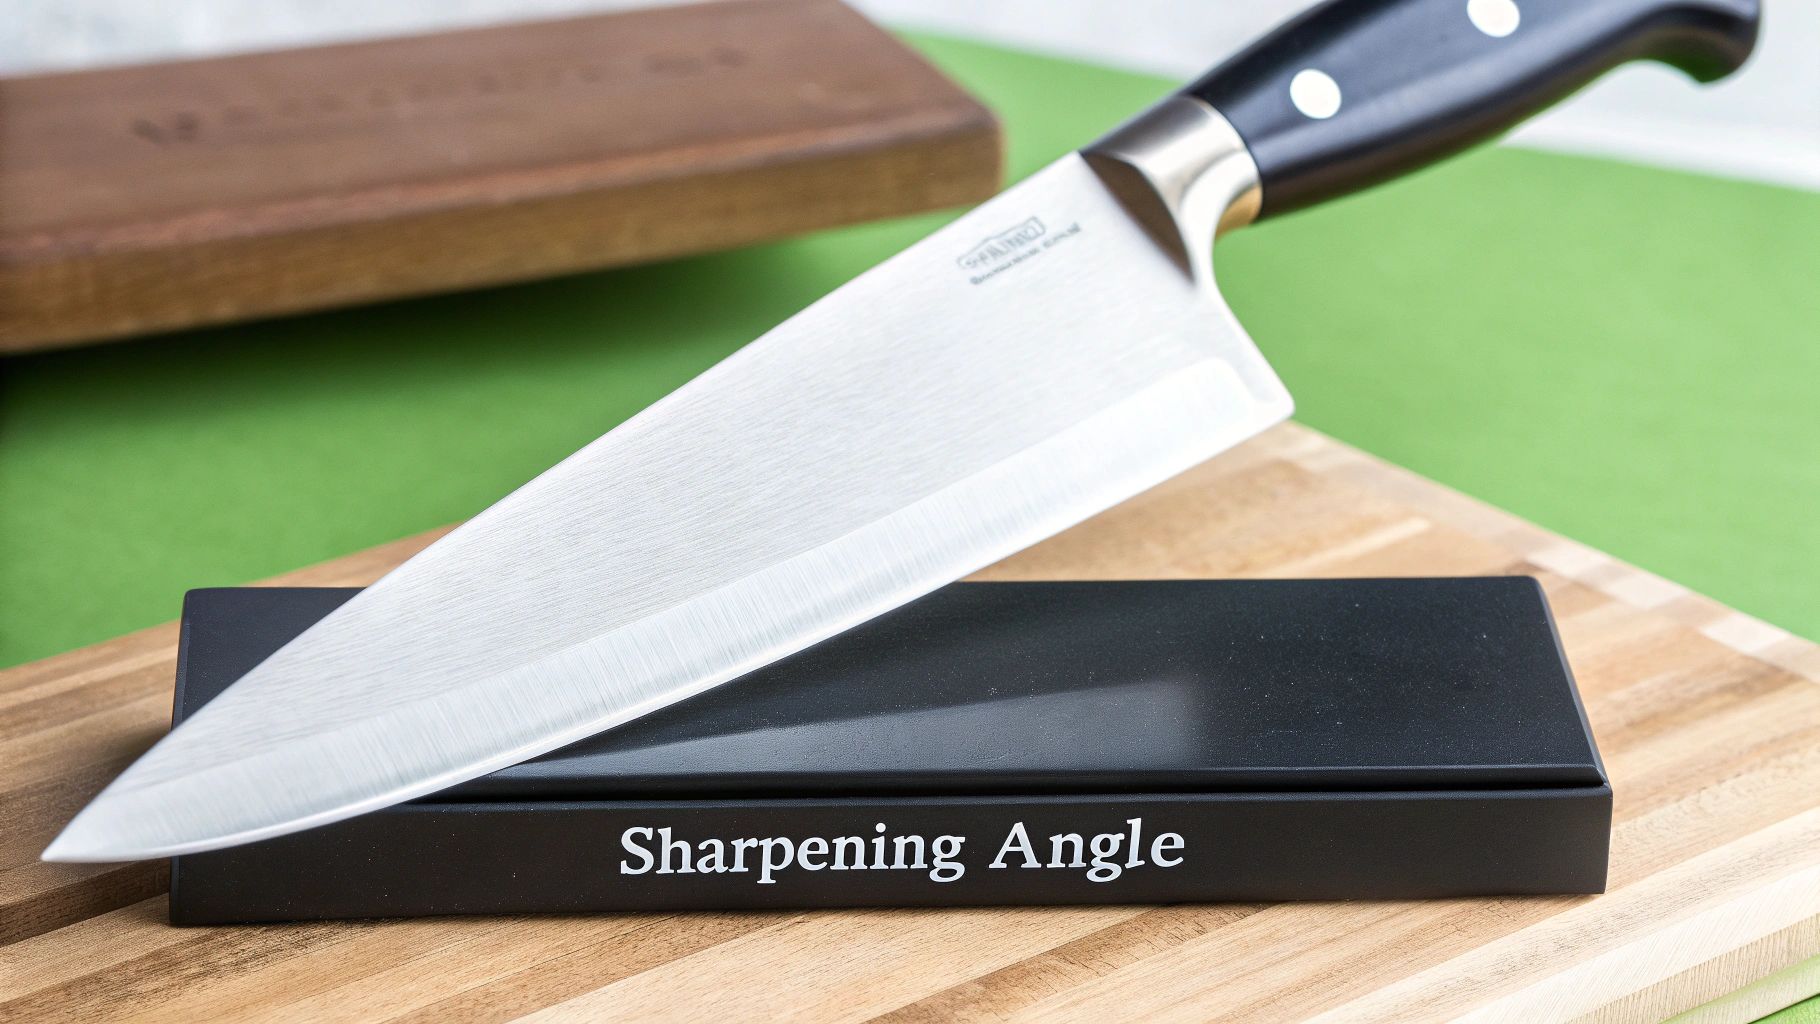
Finding the Perfect Sharpening Angle
Now for what is arguably the most critical part of the whole setup: the sharpening angle. For most Western-style kitchen knives, you’re aiming for a 15 to 20-degree angle on each side of the blade. A lower angle gives you a ridiculously sharp edge, while a slightly higher one offers more durability.
The real trick is maintaining that angle consistently with every single stroke. It’s all about muscle memory. Here are a couple of ways to find your groove:
- The Coin Trick: Try stacking two or three coins (a couple of Kiwi two-dollar coins work well) on the stone. Rest the spine of your knife on the stack, then lift it just off the coins to feel what that 15-20 degree angle is like.
- The Knuckle Guide: Some people find it helps to make a fist on the stone. The angle between your first two knuckles and the stone is a decent approximation to start with.
Experiment a little and see what feels natural. Taking a moment to get this right builds the confidence and muscle memory you need before the real work begins.
Mastering the Whetstone Sharpening Method
Alright, this is where the real magic happens. Getting the hang of sharpening your kitchen knives on a whetstone is an incredibly satisfying skill, and it really just comes down to a few simple, repeatable motions. Once you've got it, you'll be putting a razor-sharp edge on your blades that makes all your kitchen prep feel effortless. The whole idea is to work your way from a coarser grit stone to a finer one, refining the blade's edge as you go.
For a knife that’s really dull or has a few minor nicks, you’ll want to start with a coarse grit stone. This is the grunt work, where you're essentially reshaping the edge and getting it back into a good starting condition. After that, you'll move to a medium grit for the main sharpening, and finally to a fine grit stone to polish that edge to a beautiful, keen finish.
The Sharpening Stroke and Finding the Burr
Remember that 15-20 degree angle we practised? Now's the time to hold it steady. With your fingertips resting on the flat of the blade, apply some gentle, even pressure. Push the knife away from you across the stone, sweeping from the heel all the way to the tip in one fluid movement. Imagine you're trying to shave off an incredibly thin slice of the stone itself.
Now for the most crucial part of this whole process: feeling for the burr. After you’ve made several passes on one side, very carefully run your thumb across the opposite edge—never slide it along the blade. You should feel a tiny, rough lip of metal. That’s the burr. It's the sign that you've successfully ground the steel down to a fine new point. Once you feel it, it’s time to flip the knife over and do the exact same thing on the other side.
The burr is your ultimate progress report. If you don't raise a burr, you're just polishing the side of the knife, not actually sharpening it. Finding this little metal ridge, and then removing it, is the true secret to whetstone sharpening.
This image breaks down the key stages for you.
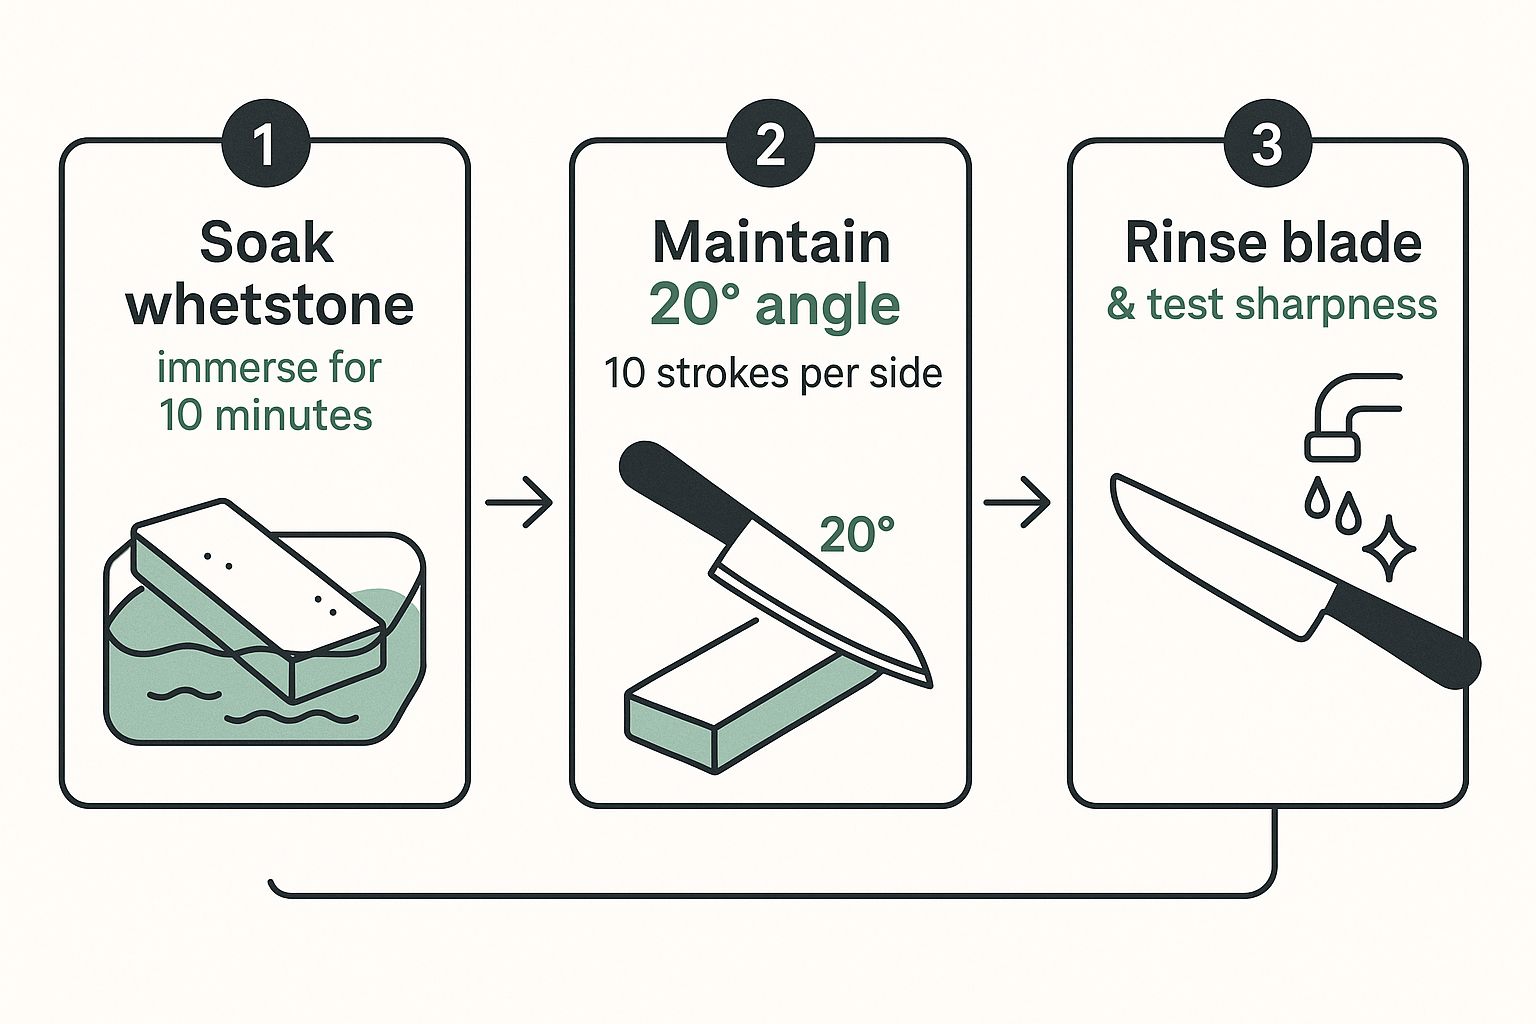
As you can see, it really boils down to soaking the stone properly, maintaining your angle, and then testing your work.
Once you've managed to raise a burr on both sides of the blade using your medium-grit stone, you’re ready to switch to your fine-grit stone. The goal here is different; you'll use much lighter strokes to gently remove the burr and polish the edge to a mirror-like finish. The technique is identical, but your focus shifts from grinding away metal to refining what’s already there.
The great thing is, this method works on almost any knife, from your go-to chef's knife to something more specialised. Speaking of which, if you're curious about different blade styles, our post on the versatile Santoku knife is a great place to start. It takes a bit of patience to master this, but trust me, the incredible results are more than worth the effort.
Testing Sharpness and Maintaining Your Edge
So, you’ve put in the time on the whetstone. Now for the moment of truth: is it actually sharp? Before you do anything else, let me be clear – never, ever test an edge with your thumb. It’s a classic mistake, and a painful one at that. There are much safer and more reliable ways to see the results of your work.
The first, and my personal favourite, is the paper test. It’s simple. Just hold a single sheet of standard printer paper by a corner and slice downwards. A properly sharpened knife will glide through it like butter, leaving a clean, smooth cut with absolutely no tearing or snagging. If it catches, you've got more work to do.
Another fantastic real-world test is the humble tomato. A dull blade will just squash the soft fruit and mangle the skin. But a truly sharp knife? It’ll slice right through with barely any pressure, giving you perfect, clean cuts.
Keeping Your Edge Perfectly Aligned
Getting your knife sharp is one thing; keeping it that way is another. This is where your honing steel becomes your best friend. It’s important to realise that honing isn't the same as sharpening. Honing simply realigns the microscopic "teeth" on your blade's edge that get knocked out of place during everyday chopping and slicing.
I find a quick touch-up with a honing steel about once a week is usually enough to keep my knives in peak condition between proper sharpening sessions.
The real secret to a long-lasting sharp edge isn’t just about sharpening twice a year—it’s about the small, consistent maintenance tasks you do in between. Proper care is just as vital as a great sharpening technique.
Good habits around cleaning and storage are just as crucial. Always hand-wash your knives right after you use them, and dry them completely before putting them away. Tossing them in a drawer is a recipe for disaster; they'll get dulled and damaged knocking against other utensils. A good knife block or a magnetic strip is a much better choice. These simple steps don't just protect the blade, they also maintain the polished, stylish look of your kitchen. If you're looking for a great kitchen knife, have a look at Folders knife collection.
Common Knife Sharpening Questions
Even with a solid guide, a few questions always seem to come up when you're getting the hang of sharpening your own kitchen knives. Let's tackle some of the most common queries I hear, so you can feel completely confident when you put steel to stone.
One of the first things people ask is about timing. How often should you actually be sharpening your knives? For most of us cooking at home, a full-on whetstone sharpening session is only really necessary once or twice a year.
The real secret to a long-lasting edge is regular maintenance. A quick touch-up with a honing steel once a week will keep the blade's edge straight and true, preserving that sharpness for much longer. You’ll know it’s time for a proper sharpen when honing just doesn’t seem to bring back that bite anymore.
Can You Ruin Your Knives?
I get it – the biggest fear for anyone starting out is permanently wrecking a favourite knife. The good news is, it's incredibly difficult to truly ruin a quality blade. The most common pitfall is simply holding an inconsistent angle during sharpening. This might create a slightly uneven edge, but it's nothing that can't be fixed on your next go.
My best advice? Grab an older, less precious knife from your collection to practise on first. It's the perfect way to build up your muscle memory without any pressure. Remember, sharpening only removes a minuscule amount of metal each time, so you have plenty of opportunities to get it right.
It's crucial to understand the difference between sharpening and honing. Sharpening physically grinds away a tiny bit of steel to forge a completely new, sharp edge. Honing, on the other hand, just pushes the existing microscopic edge—which gets bent and wavy with use—back into alignment.
Storing and Caring for Your Sharp Knives
Once you've got that perfect edge, you need to protect it. Just chucking your sharp knives into a utensil drawer is the fastest way to dull them and create dings and nicks. A proper wooden knife block or a magnetic wall strip are far better choices for keeping that edge pristine.
Always make a habit of hand-washing and immediately drying your knives after you use them. This simple step prevents rust and keeps them in fantastic condition for years. Good maintenance routines are key all over the home, not just in the kitchen.
At Folders, we believe having the right tools makes all the difference in your home. Explore our wide range of quality kitchenware and appliances to find everything you need to make your home feel great. Visit us online today!