
Guide to Stacking Washing Machine and Dryer Securely
Absolutely. Stacking your washing machine and dryer is a fantastic way to win back some floor space, but only if you use a manufacturer-approved stacking kit. This vertical arrangement is a real game-changer for small laundries, cupboards, or apartments where every square centimetre is precious.
Why Stacking Appliances Is a Smart Space Saver
Before we get into the nuts and bolts, let's talk about why stacking your laundry duo has become so popular. In many Kiwi homes, especially city apartments and compact new builds, space is at a premium. Going vertical with your appliances is easily the most effective trick to reclaim that valuable floor area.
This isn't just about squeezing machines into a tight corner; it's about clever home organisation. A stacked pair can take a cluttered, awkward space and turn it into a streamlined, functional utility zone. Instead of two bulky machines eating up your floor, you suddenly have room for a laundry basket, a storage cabinet, or just more breathing room to move around.
Maximising Your Laundry Layout
The perks of stacking go well beyond just saving a bit of floor. Think about the practical benefits:
- Better Workflow: Moving wet clothes from the washer up into the dryer is one smooth, easy motion. For many people, this feels much more natural and less strenuous than lugging a heavy, wet load sideways between two machines.
- A Tidy Look: A matched, stacked pair just looks clean and intentional. It creates a single, sleek tower of laundry power, making the whole room feel more organised and modern.
- Room for More: With the floor space you've just saved, you could finally add that small sink for hand-washing delicates, a proper folding counter, or some much-needed shelving for all your detergents and supplies.
The move towards stacking is a direct response to modern living. As our homes have become more compact, the demand for space-saving solutions has skyrocketed, and manufacturers have responded with smart designs that fit our lives.
Is Stacking Right for You?
Ultimately, stacking is a strategic choice that blends practicality with good design. It’s an option exclusively for front-loading washers, as top-loaders obviously can't have anything placed on top of them.
If this setup sounds like it could work for you, a great first step is to check out our washing machine buying guide for NZ to make sure you're looking at compatible models from the get-go. To weigh up the pros and cons for your specific space, this guide on Stacked Vs Side By Side Washer Dryer Which One Is Right For You offers some excellent insights. It's all about creating a laundry system that works smarter, not harder, within the space you have.
Getting Set for a Safe Installation

Before you even think about lifting that dryer, a bit of prep work is crucial. Getting this part right is the difference between a smooth, successful installation and a whole lot of frustration. Think of it as your mission prep – doing the groundwork now saves you from potential damage, headaches, and having to start all over again.
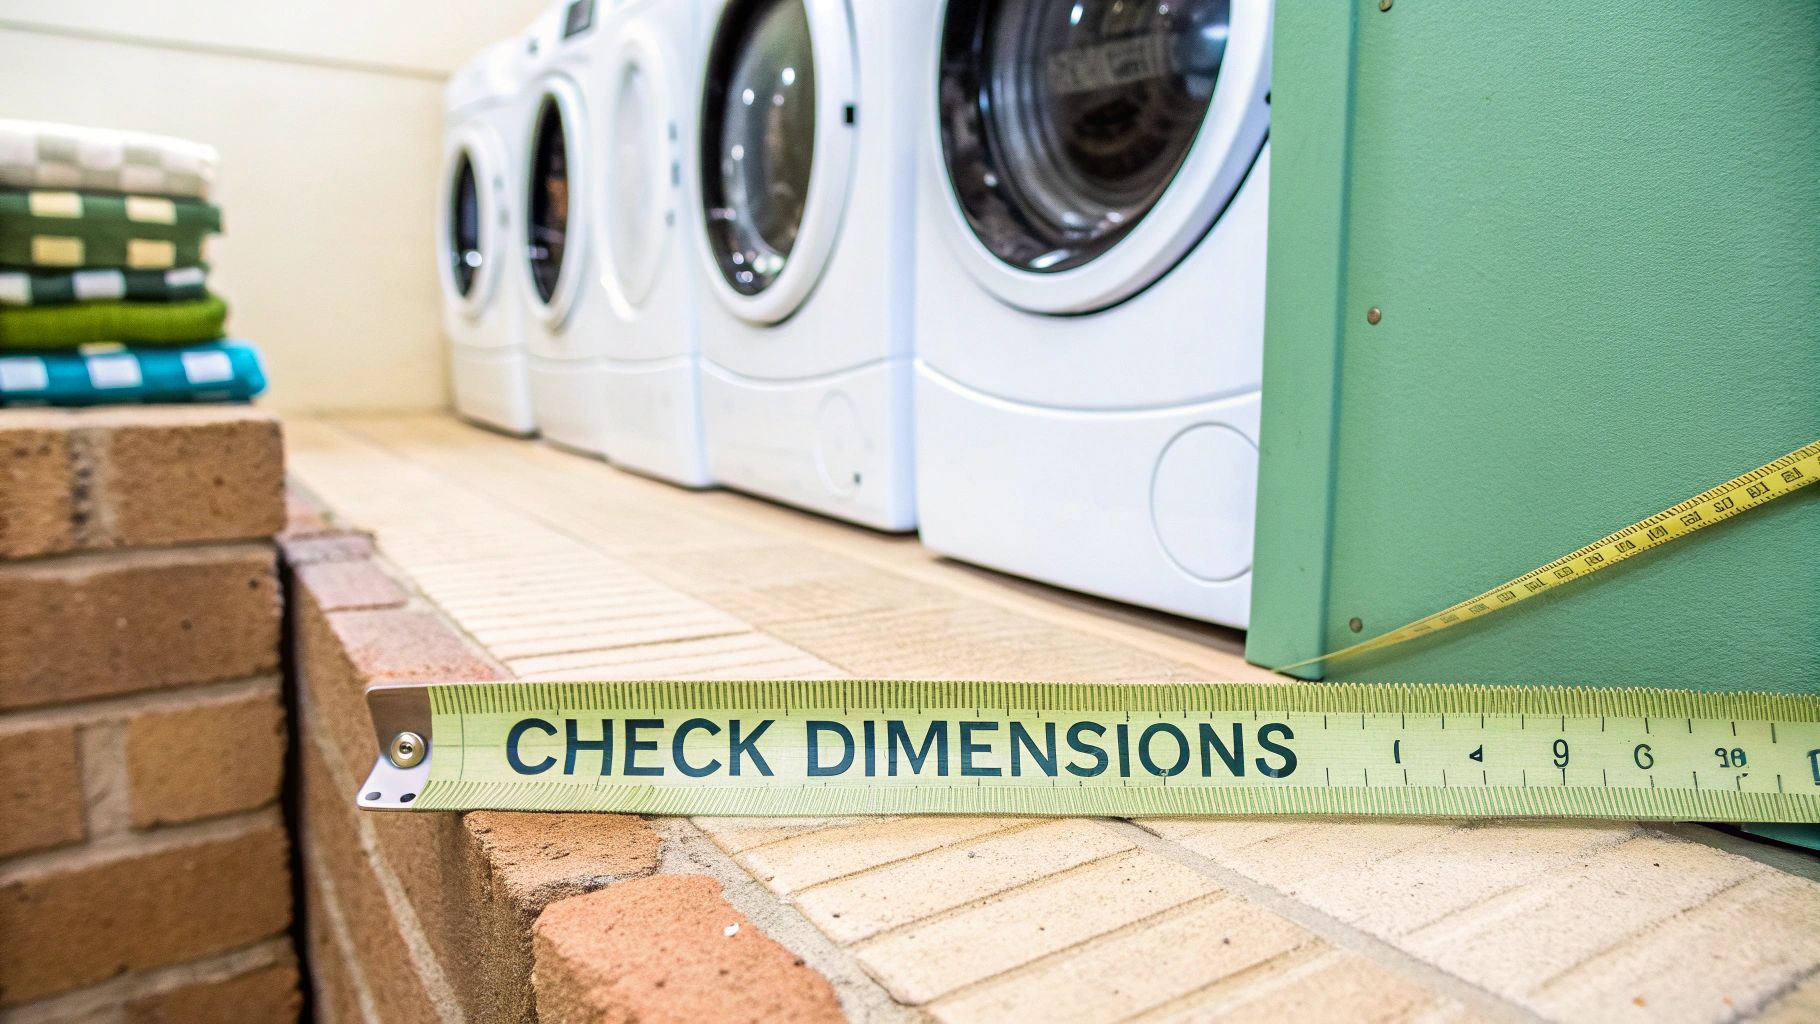
First things first, grab your tape measure. You need the exact height, width, and depth of your laundry space, whether it's a dedicated nook or a cupboard. And don't just measure for the machines themselves; you'll need a bit of breathing room for connections and airflow. A good rule of thumb is to leave at least 25mm on each side and about 150mm at the back for all the hoses, vents, and plugs.
For instance, if your stacked pair measures 685mm wide, your space needs to be at least 735mm across. This little bit of buffer is what stops the appliances from overheating and makes hooking everything up much less of a battle.
Making Sure Your Appliances Are a Match
This is the one step you absolutely cannot afford to skip. You can’t just pop any old dryer on top of any washing machine. Only front-load washers are suitable for stacking, and even then, they must be specifically designed by the manufacturer to be a compatible pair.
The dryer's weight, its dimensions, and even where its feet are placed are all engineered to sit perfectly and securely on its matching washer. Trying to stack incompatible brands or models is a recipe for disaster. You're looking at severe vibrations, potential damage to both machines, and a serious safety risk. Always, always check the user manuals for both your washer and dryer to confirm they're designed to be stacked together.
The most common mistake we see is people assuming that because two machines are the same brand and width, they can be stacked. You must verify the specific model numbers against the manufacturer's guidelines to guarantee a secure fit.
If you’re just starting to look for new appliances, our clothes dryer buying guide for NZ is a great resource. It can help you spot models that are designed to be paired up, making this step much simpler from the get-go.
Getting Your Tools and Materials Ready
There's nothing worse than being mid-lift with a heavy dryer, only to realise the tool you need is at the other end of the house. Having everything you need on hand before you start makes the whole process go smoothly.
Before you get started, take a moment to gather everything you'll need.
Essential Tools and Materials Checklist Gather these items before you begin the installation to ensure a smooth and safe process.
| Item | Purpose | Pro Tip |
|---|---|---|
| Manufacturer-Approved Stacking Kit | Safely locks the two appliances together. This is not optional. | A kit made for your specific models is always the safest bet over a universal one. |
| Spirit Level | Ensures the washing machine is perfectly level to prevent rocking during spin cycles. | A rocking washer is the number one cause of excessive noise and vibration. |
| Tape Measure | To double-check your space and appliance dimensions one last time. | Measure twice, install once! |
| Screwdriver or Wrench | Securing the stacking kit brackets to the appliances. | Check your kit's instructions to see if you need a Phillips head, flat head, or a specific wrench size. |
| A Second Person | Lifting a dryer is a two-person job. Don't risk injury. | Plan ahead and ask a friend or family member for help. Your back will thank you. |
With these items laid out and ready to go, you're all set to begin the physical installation with confidence.
Choosing the Right Stacking Kit for Your Models
So, you've confirmed your washer and dryer are a compatible pair. The next step is a big one: getting the right stacking kit. This bit of hardware is the single most important component for a safe and stable setup. It’s what physically locks your two heavy appliances together.
I can’t stress this enough: never, ever try to stack your machines without a proper kit. It's a recipe for disaster. The vibrations from a washer’s spin cycle are powerful enough to make an unsecured dryer creep to the edge and fall. That’s a dangerous situation and a very expensive accident waiting to happen.
Think of the stacking kit as a small, crucial investment to protect the much larger one you made in your appliances.
Manufacturer-Specific vs Universal Kits
Out in the market, you'll find two main options: kits made by the appliance brand itself, and so-called "universal" kits. While a universal kit might sound tempting, it is always, without exception, safer to use the kit designed by the manufacturer for your specific models.
Why the hard line? Appliance brands engineer their kits to fit the exact dimensions, foot placement, and weight distribution of their machines. A genuine kit from LG, for instance, is built to perfectly align with the locking points on an LG washer and dryer, creating an incredibly secure connection.
Universal kits, on the other hand, often just use generic brackets or adhesive pads. They simply can’t provide the same level of engineered stability.
A manufacturer-approved stacking kit is specifically designed to handle the unique vibration patterns and forces of your particular washer. A generic kit can't replicate that tailored fit, which is absolutely essential for long-term safety and stability.
Key Features to Look For
Beyond just holding things together, many modern stacking kits have some genuinely useful features that can make laundry day a bit easier. These are the little details that really elevate the setup from just functional to fantastic.
Here’s what I recommend looking out for:
- A Secure Locking System: This is the absolute bare minimum. The kit must physically lock the dryer’s feet to the washer's top. Don't settle for anything that relies only on sticky pads or friction.
- Anti-Vibration Pads: Good kits come with rubberised components that absorb and dampen the washer's vibrations. This makes for a much quieter laundry room.
- A Pull-Out Shelf: This is my favourite feature. Many kits include a sturdy, retractable shelf. It’s perfect for resting your laundry basket on while you load or unload the dryer, or for giving you a convenient surface to fold clothes right there.
Getting your hands on the right kit is straightforward. Most appliance retailers who sell the washer and dryer sets also stock the corresponding stacking kits. For more general advice, have a look at our tips you need to know when buying appliances. You can usually find the correct kit on the manufacturer's website or from trusted retailers like Folders.
A Practical Guide to Safe Installation
Right, you’ve got your matching appliances and the manufacturer's stacking kit in hand. Now for the main event. This is where a little bit of careful prep work really pays off, turning what looks like a big job into something you can absolutely handle. The secret is to be methodical and, above all, safe.
The entire stability of your stacked setup rests on one thing: a perfectly level washing machine. I can't stress this enough. Even a tiny wobble can turn into a violent shake during a fast spin cycle, which is bad news for your appliances and the stacking kit. Before you do anything else, grab a spirit level and place it on top of your empty washer. Check it front-to-back and side-to-side. You'll need to adjust the machine's feet until that bubble is sitting dead centre, no matter which way you check it.
Attaching the Stacking Kit Hardware
Once your washer is rock-solid and level, it's time to get the stacking kit on. Most kits are a simple set of rails, brackets, or pads that you'll attach to the top of the washer. Always, always follow the specific instructions that came with your kit, because the exact method can differ a bit from one brand to another.
Usually, you'll be removing a couple of screws from the back panel of the washer, lining up the kit’s brackets, and then fixing them in place with the new screws provided in the kit. The whole idea is to create a secure, grooved platform that the dryer's feet will lock into.
Here's a pro tip from experience: lay a soft blanket or a big towel over the top of the washing machine before you even think about lifting the dryer. It's a simple move that prevents any accidental scratches or dings while you're getting the dryer into place. It’s a small thing, but it keeps your new machines looking pristine.
The All-Important Lift
This is the make-or-break moment of the installation, and it is absolutely a two-person job. A modern dryer can weigh anywhere from 45 to 90 kilograms. That’s far too heavy and awkward for one person to lift safely. Trying this on your own is a recipe for serious injury or a very expensive dent in your new appliance.
Before you lift, get a clear plan with your helper. Here’s how to do it safely:
- Have one person on each side of the dryer.
- Bend at your knees, not your back, and get a solid grip on the bottom edges of the dryer.
- On a count of three, lift together, keeping your backs straight.
- Carefully shuffle the dryer over and gently lower it onto the washing machine. You're aiming to land the dryer's feet squarely into the grooves or designated spots on the stacking kit.
Once the dryer is down, slide it back until it sits flush with the front of the washer and you feel the stacking kit's locking mechanism engage. This whole process is laid out visually below, breaking it down into its key stages.
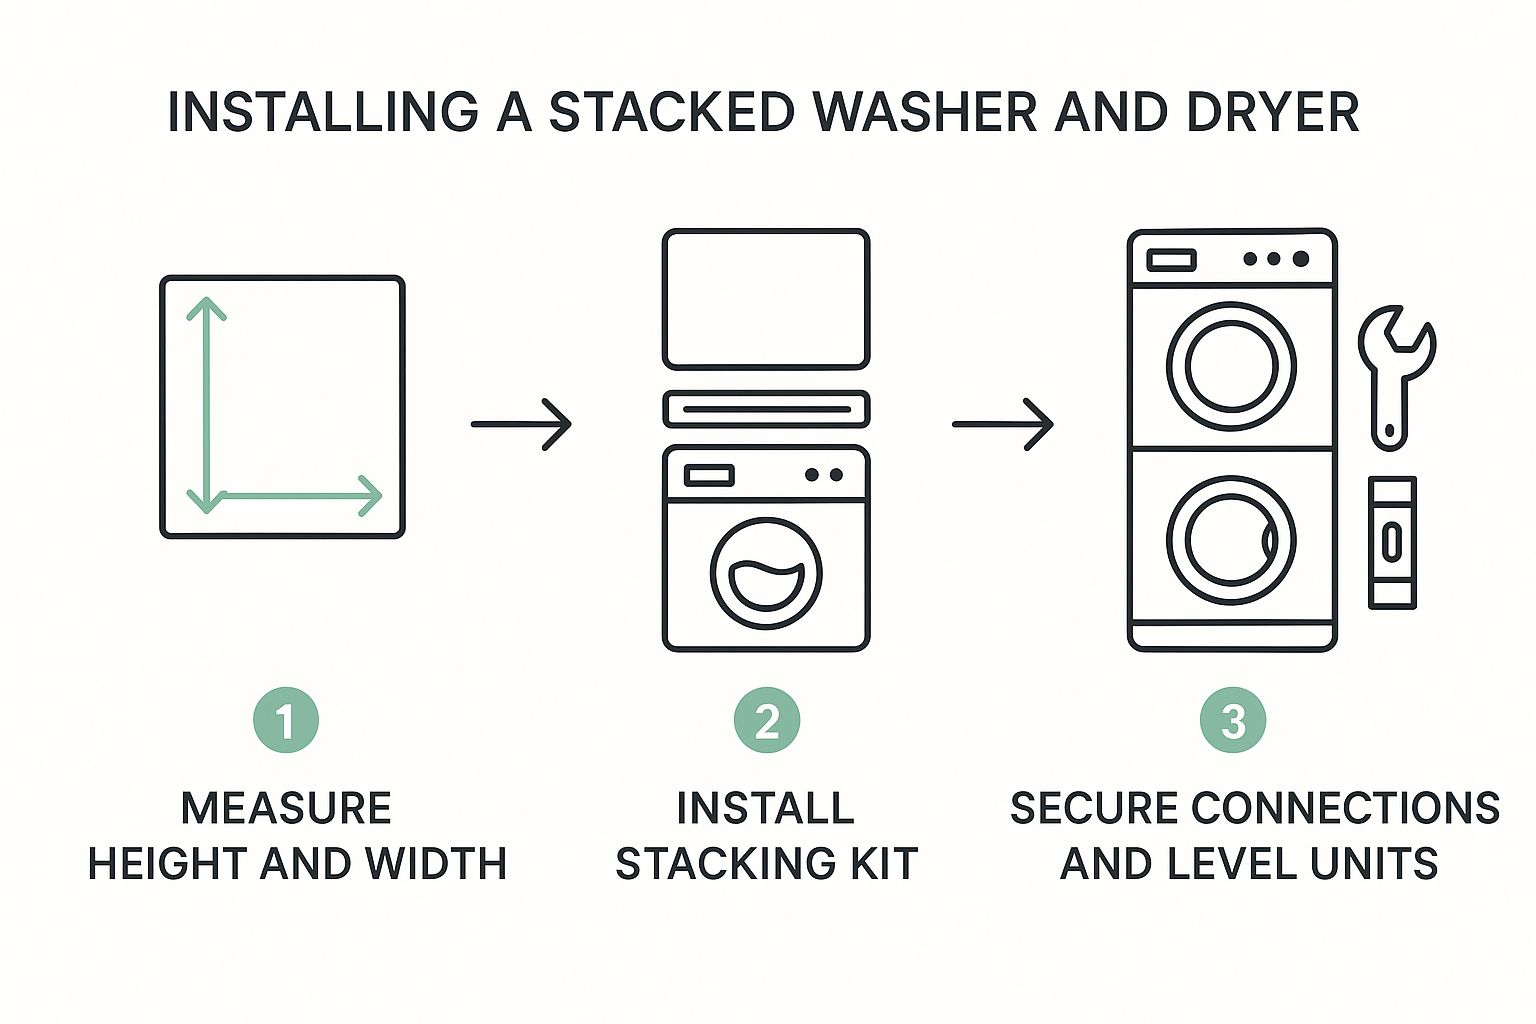
As you can see, a successful installation really comes down to those three key phases: getting your measurements right, installing the kit properly, and then safely securing the units together.
Final Checks and Connections
With the dryer sitting securely, the last job is to physically fasten it to the stacking kit. This typically involves brackets that screw into the back of both the washer and dryer, effectively making them one single, solid unit.
Now, give the stacked pair a firm but gentle push from all sides. You’re testing for any wobble or movement. If you feel any instability, go back and double-check that the washer is still perfectly level and that every single fastener on the kit is properly tightened.
Once you’re happy that everything is stable, you can hook up the power cords, water hoses, and the dryer vent. While we've walked you through the DIY side of things here, it's also crucial to know your limits. It's well worth your time in understanding the distinction between DIY plumbing projects and when to call a professional to make sure all your connections are safe and up to code. And if you're curious about different machine types, have a look at our guide comparing front versus top-loading washing machines.
Post-Installation Checks and Performance Tips
Alright, the heavy lifting is done and your appliances are stacked. Before you toss in that first load, let's run through a few quick checks. Taking a moment now to make sure everything is spot-on will save you a world of headaches later.
The All-Important Test Run
First up, let’s test the washer. Run it on an empty cycle, preferably one with a high-speed spin. Just stand nearby and listen. What are you listening for? Anything out of the ordinary—loud clanking, major vibrations, or excessive rattling. A gentle hum is perfectly fine, but if it sounds like it's trying to dance its way out of the laundry, the machine probably isn't quite level.
Once the washer is done, give the dryer a spin. Run it empty on a normal cycle for a few minutes. Again, just listen. A faint rattle might just be a screw on the stacking kit that needs one final tighten. It’s these little tweaks that ensure your stacked setup remains stable and quiet for the long haul.
Maximising Long-Term Performance
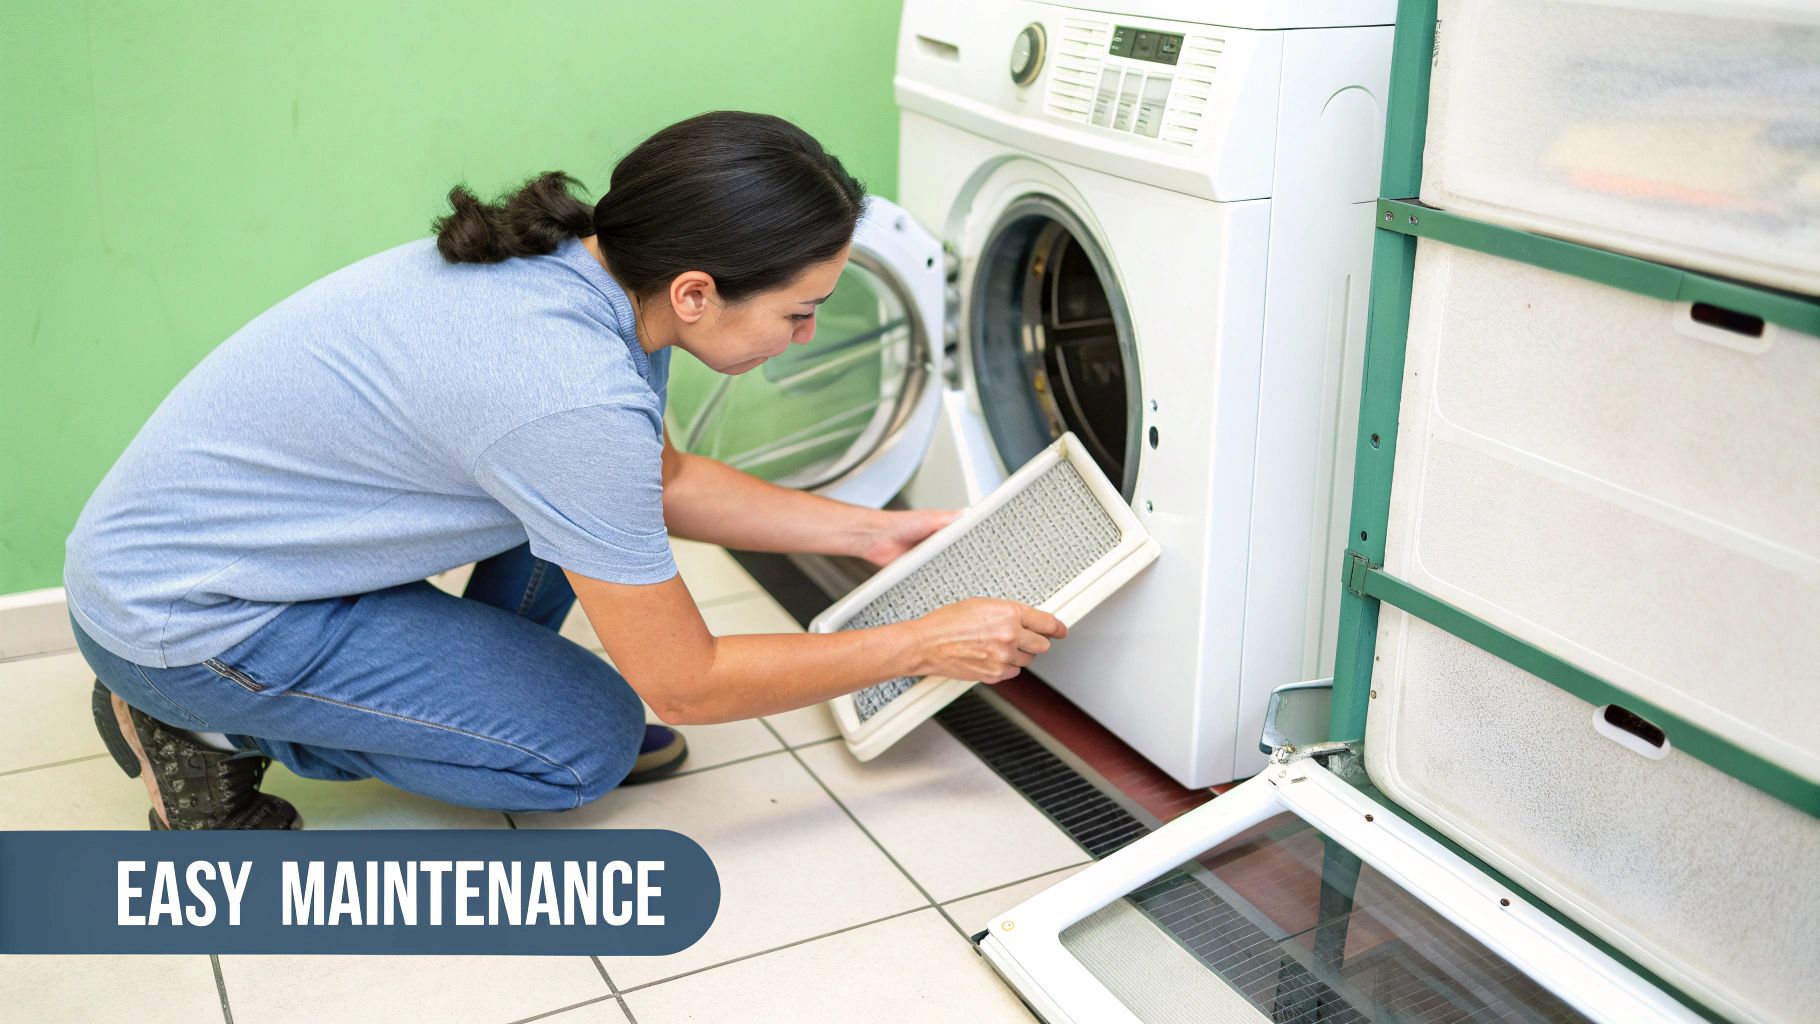
You've got a smart, efficient system now, so let's keep it that way. The secret to getting the best out of your stacked pair is simple: consistent, basic maintenance.
The single most important habit you can form is cleaning the dryer's lint filter after every single load. I can't stress this enough. A clogged filter is a huge energy hog because it blocks airflow, making your dryer work much harder than it needs to. It's also a fire hazard. Cleaning it takes two seconds and makes a massive difference.
Taking care of your stacked washer and dryer isn't just about making them last. It's about saving money. An efficient machine uses less power, which means lower power bills month after month.
Embracing Energy Efficiency
Modern appliances are built to be kind to your wallet and the planet, and stacked units are right up there with the best of them. We know energy efficiency is a huge deal for Kiwi shoppers, with a massive number of dryers sold in New Zealand now carrying high energy ratings.
This is great news because it means you don't have to trade performance for a space-saving design. To really lean into this, get to know your machine’s eco-friendly cycles. These settings are cleverly designed to use lower temperatures and just the right amount of water, getting your clothes perfectly clean while using far less energy.
For more great ideas on looking after both your clothes and your appliances, have a read of our guide on laundry tips to make clothes look good and last longer. When you combine a smart setup with smart habits, your laundry day becomes more efficient in every sense of the word.
Common Questions About Stacking Appliances
Even with all the space-saving benefits, the thought of putting a heavy dryer on top of a washing machine can naturally bring up a few questions. It’s a bit of a commitment, so it’s smart to get clear, straightforward answers before you start. Let’s tackle some of the most common queries we hear from customers.
A big one is noise. Will stacking my machines make my laundry room sound like an airport runway? Surprisingly, the opposite can be true. When they’re installed correctly, a stacked pair can actually run quieter than two machines side-by-side. The secure stacking kit and the combined weight of both appliances work together to absorb and dampen vibrations.
The catch, of course, is that the installation has to be perfect. If the washer isn’t dead-level or the stacking kit isn't properly secured, you’ll definitely hear about it. This is why getting that initial setup right is so crucial for a peaceful laundry day.
Can I Stack a Dryer from a Different Brand?
This is a question we get all the time, and the answer is a firm no. You should never, ever stack appliances from different brands, even if they look like they’re the same size.
Manufacturers design their washers and dryers to work as a system. They have specific weight tolerances, unique vibration patterns, and locking points that are designed to align perfectly. A stacking kit is engineered for a specific dryer to connect to its matching washer—and nothing else.
If you try to mix and match brands, you’re creating a recipe for disaster. You’re looking at:
- Intense vibrations that can wreck the internal components of both machines.
- Instantly voided warranties on both of your appliances.
- The very real danger of the dryer vibrating itself right off the washer during a spin cycle.
It’s just not worth the risk. Always stick to the same brand and use the stacking kit made specifically for your models.
"Think of a stacking kit less like an accessory and more like a crucial safety device. It’s precision-engineered to lock the two units into a single, stable structure, distributing the dryer's weight and preventing the kind of movement that could lead to catastrophic failure."
Do I Really Need a Stacking Kit?
Yes, 100%. There are no shortcuts here. Attempting to place a dryer directly on top of a washer without a kit is incredibly dangerous. The smooth, enamelled surface of a washer provides zero grip, and the powerful vibrations from a spin cycle will inevitably cause the dryer to shift, wobble, and eventually fall.
A proper stacking kit is the only thing that creates a secure physical bond between the two machines. It’s a small investment that protects your appliances, your floors, and your family from serious damage or injury.
What if My Floor Is Carpeted?
Stacking your laundry pair on carpet is a tricky situation. Carpet is soft and has too much 'give', which makes it almost impossible to get the washer perfectly stable. That lack of a solid foundation leads to excessive shaking, putting a massive amount of strain on the machines and the stacking kit.
If putting them on a hard floor isn't an option, you'll need to create a stable platform. The best workaround is to place a sturdy sheet of non-slip plywood (at least 20mm thick) under the washer. Make sure the board is large enough to support the machine's entire footprint. This gives you the firm, level surface you need for a safe and secure stack.
At Folders, we're committed to helping you create a home that’s both functional and stylish. For expert advice on choosing the right pair or to explore our range of compatible washers, dryers, and stacking kits, come and see us at Folders.