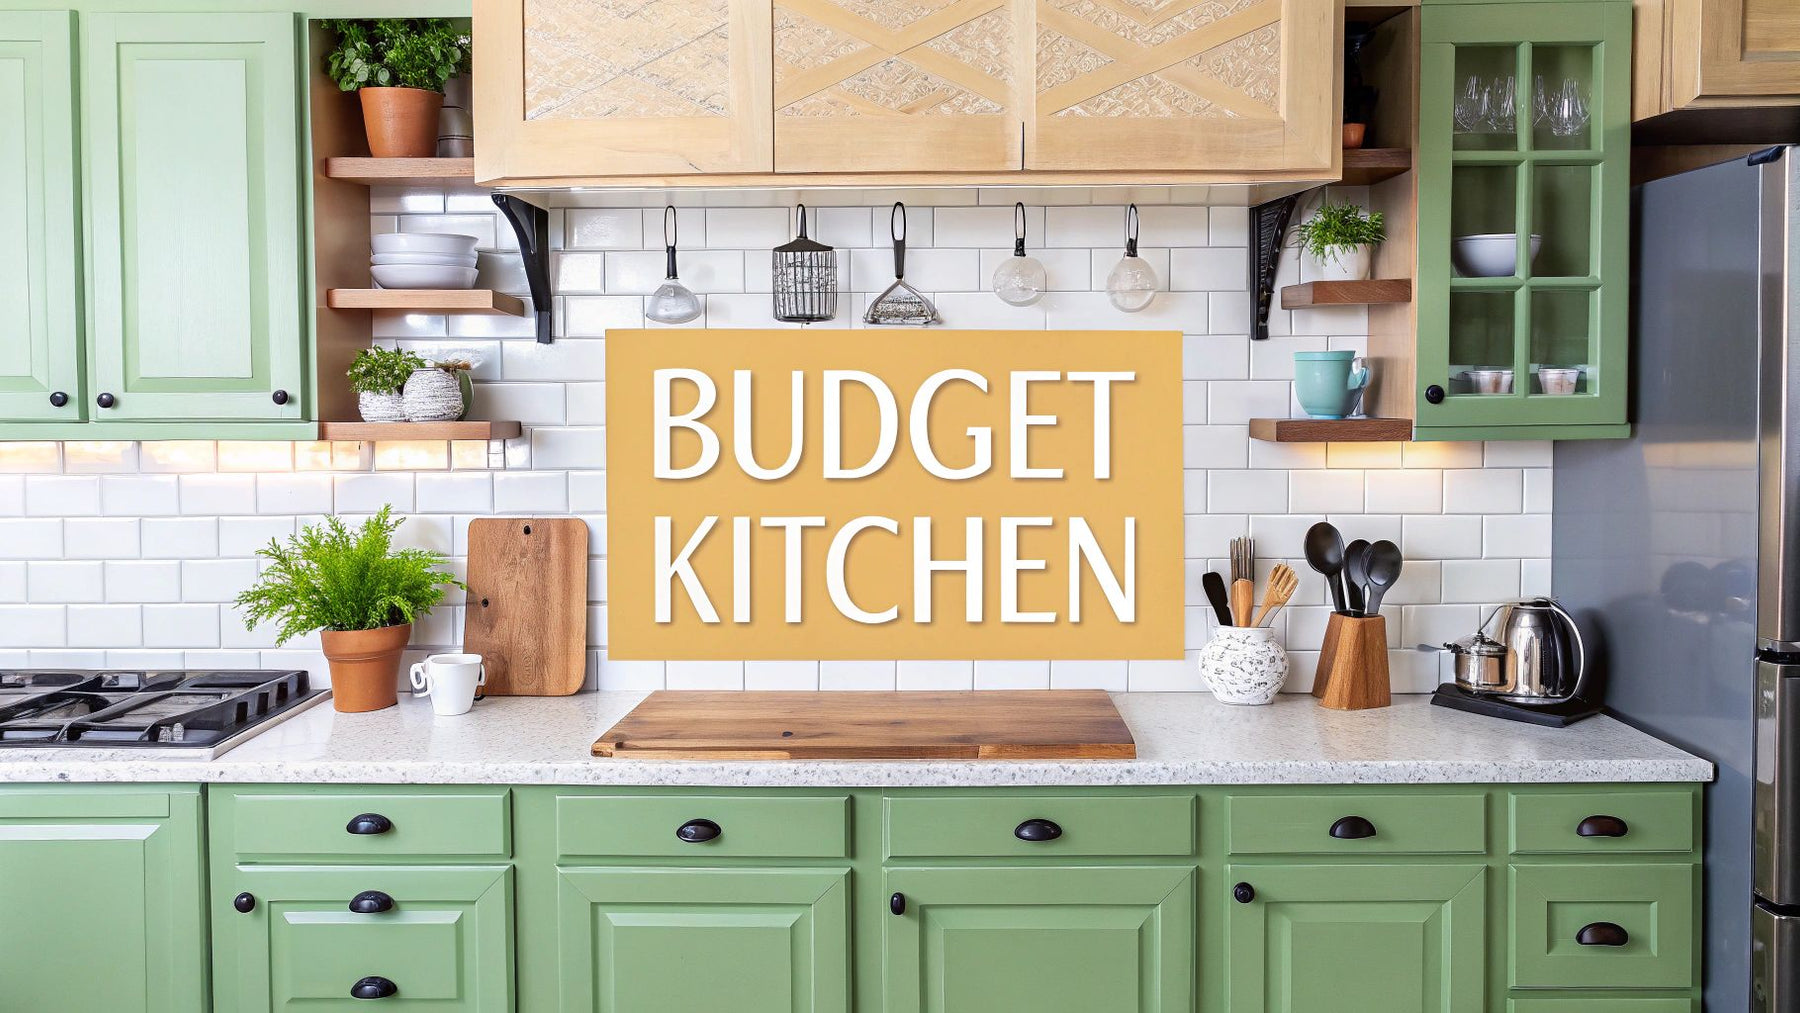
Top Kitchen Renovation Ideas on a Budget for 2025
Want a stunning kitchen without breaking the bank? This listicle reveals eight budget-friendly kitchen renovation ideas perfect for NZ homeowners. Discover how simple changes like a fresh coat of paint, open shelving, or new hardware can transform your space. We'll also cover DIY projects like peel-and-stick backsplash, countertop refinishing, vinyl flooring, and even concrete countertops. These kitchen renovation ideas on a budget will help you achieve the kitchen of your dreams without emptying your wallet. Let's get started!
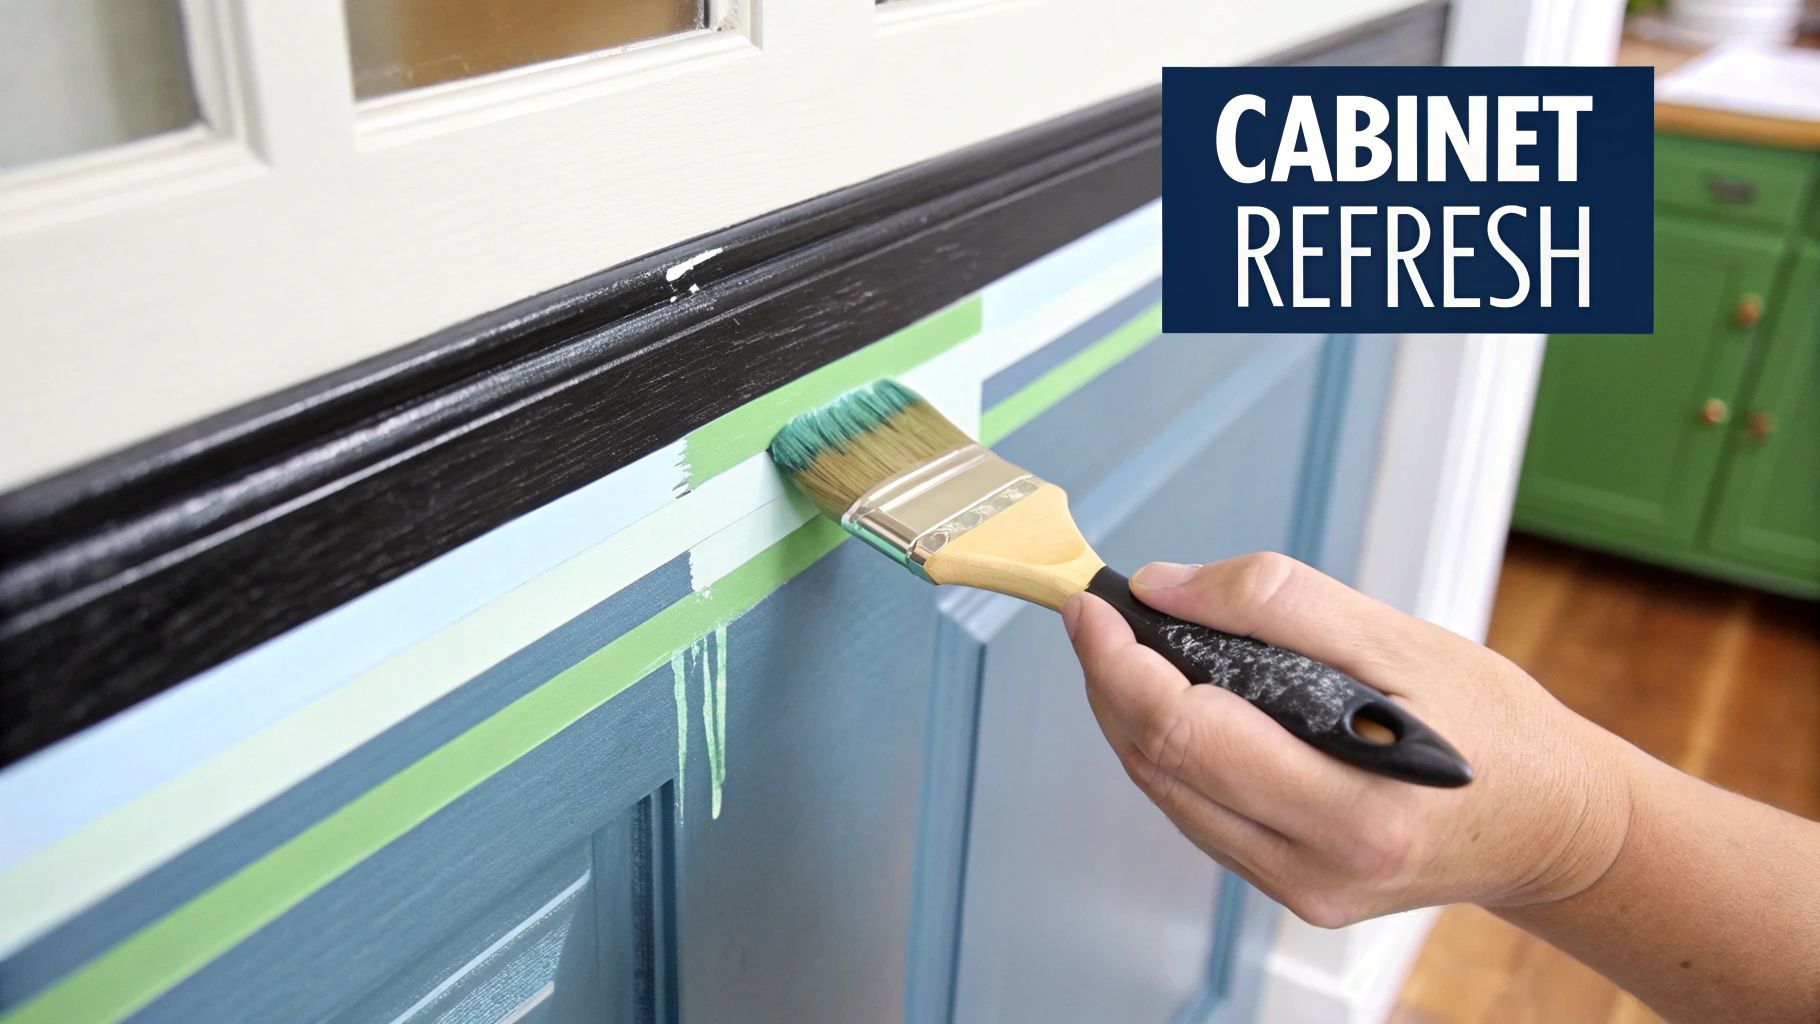
1. Paint Cabinet Refresh
One of the most impactful kitchen renovation ideas on a budget is a cabinet refresh with paint. This DIY-friendly project can dramatically transform your kitchen's appearance without the hefty price tag of new cabinetry. Instead of replacing the entire structure, which can cost thousands of dollars, painting allows you to update the look for a fraction of the price, preserving your existing layout while achieving a fresh, modern feel. This works surprisingly well with various cabinet materials, including wood, laminate, and even some metal cabinets.
If you're looking to visualise your kitchen transformation before starting your project, consider using free online kitchen design tools. These tools allow you to experiment with different layouts, colours, and materials, helping you make informed decisions before purchasing any supplies. This resource from Plan Cuisine 3D Gratuit : Top Logiciels 2025 by Gepetto can be invaluable for planning your paint project.
This approach offers a significant cost saving of 50-90% compared to purchasing new cabinets. It’s an environmentally friendly option that allows for creative colour expression and coordinates well with other budget-friendly improvements. For example, you can pair freshly painted cabinets with updated hardware, new countertops, or a vibrant backsplash to create a cohesive and stylish kitchen. Imagine transforming your dated kitchen into a modern masterpiece simply by changing the colour of your cabinets!
Examples of this technique abound, showcasing its transformative power. Designer Joanna Gaines famously used navy blue painted cabinets with brass hardware to revitalise a dated kitchen on 'Fixer Upper'. Similarly, HGTV's 'Hidden Potential' featured a stunning kitchen makeover using a two-toned approach (white upper cabinets, green lower cabinets) for under $600. These examples highlight the potential of paint to elevate even the most tired-looking kitchens. Learn more about Paint Cabinet Refresh for colour inspiration specific to the NZ region.
While painting cabinets is a budget-friendly and impactful kitchen renovation idea, it's important to be aware of the pros and cons. The advantages include significant cost savings, instant modernisation of your kitchen's appearance, and the ability to express your personal style through colour. However, thorough preparation is crucial for lasting results. This includes removing doors and hardware, sanding and priming surfaces thoroughly, and using high-quality cabinet paint like Benjamin Moore Advance or Sherwin-Williams ProClassic. Applying thin coats with a foam roller ensures a smooth, professional finish. Remember to allow for proper drying time (24+ hours) between coats. This process can be time-intensive if done correctly, and it may not increase your home value as much as brand-new cabinets would. Also, severely damaged cabinets might not be suitable for this method, and some materials might require specific primers.
For optimal results, consider these tips: remove all doors and hardware before painting, sand and prime surfaces meticulously, use a high-quality cabinet paint designed for durability, apply thin coats with a foam roller for a smooth, professional finish, and allow ample drying time between coats. By following these guidelines, you can achieve a stunning cabinet transformation that will breathe new life into your kitchen.
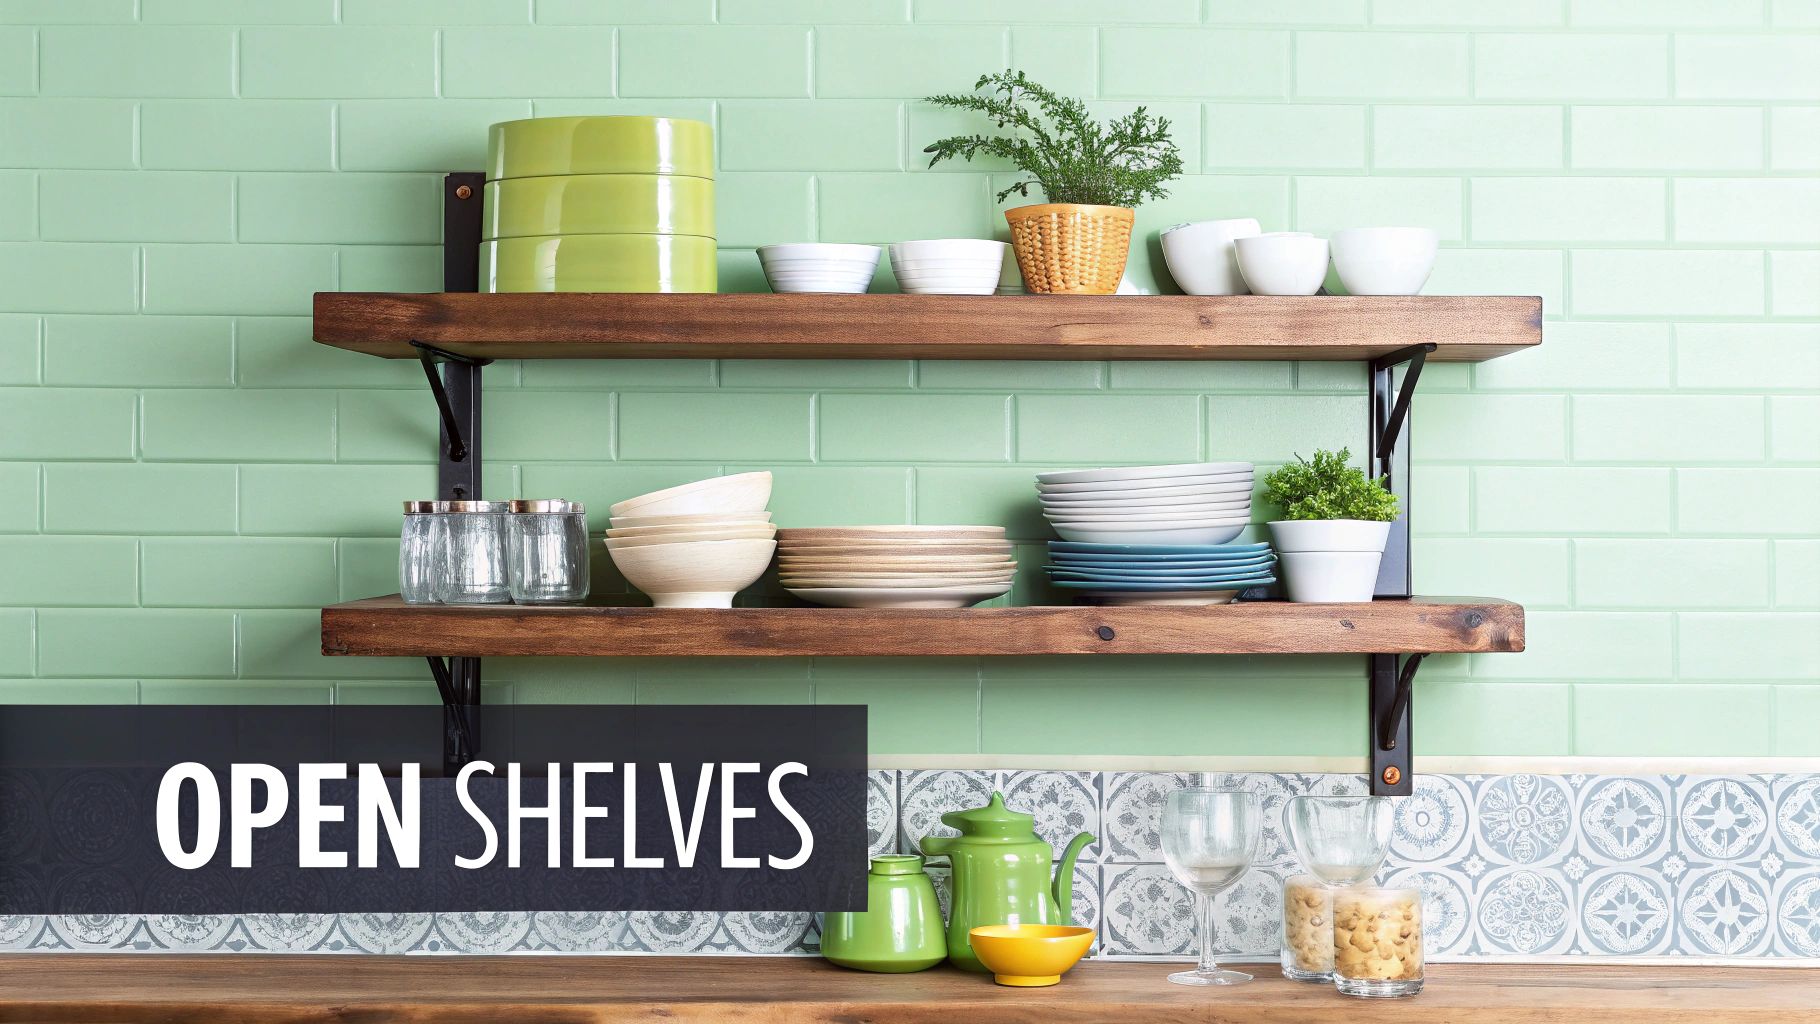
2. Open Shelving Installation
Open shelving is a fantastic kitchen renovation idea for budget-conscious Kiwis looking to create a modern and spacious feel without breaking the bank. This cost-effective update involves removing some or all of your upper cabinets and replacing them with floating shelves. These shelves become a stylish display for your dishes, glassware, cookbooks, and decorative items, adding personality and visual interest to your kitchen. This approach significantly reduces renovation costs compared to installing brand new cabinetry, making it a winner for budget renovations.
This method offers various material options, from the warmth of natural wood to the sleekness of metal and glass, allowing you to personalise the look to match your existing kitchen decor. You can customise the spacing and configuration of the shelves, typically installing them at the same height as the former cabinets. One of the best aspects of this kitchen renovation idea on a budget is that it's often a DIY-friendly project achievable with basic tools. You can even install the shelving incrementally as your budget allows, making it even more accessible. Learn more about Open Shelving Installation for further inspiration and practical advice. This is a great resource, especially for those tackling a small kitchen renovation in NZ.
For example, think of Joanna Gaines' signature farmhouse kitchens, often featuring reclaimed wood open shelving displaying pristine white dishes. Or consider Emily Henderson's clever budget kitchen makeover where she utilised affordable IKEA EKBY JÄRPEN shelves with concealed brackets for a clean, modern look. These examples highlight how open shelving can be both stylish and budget-friendly.
Tips for Successful Open Shelving:
-
Affordable Materials: Use cabinet-grade plywood with edge banding for a custom look without the hefty price tag.
-
Secure Installation: Ensure shelves are securely installed using proper wall anchors or by locating and attaching them to studs.
-
Cohesive Display: Maintain a cohesive color scheme and style for the items you display to create a visually appealing arrangement.
-
Avoid Clutter: A key to successful open shelving is to avoid overcrowding. Keep shelves 30-40% empty to maintain a sense of spaciousness.
-
Visual Grouping: Group similar items together for greater visual impact and a sense of organisation.
Pros:
-
Significantly less expensive than new cabinetry
-
Creates a sense of visual spaciousness, especially beneficial in smaller NZ kitchens
-
Allows you to display attractive kitchenware, adding personality to your space
-
Provides easy access to frequently used items
-
Can be installed incrementally as budget allows
Cons:
-
Exposed items require regular dusting
-
Requires thoughtful organisation to avoid a cluttered appearance
-
Reduces closed storage space, which might necessitate decluttering
-
May not appeal to all future homebuyers
-
Not ideal for storing unattractive or seldom-used kitchen items
Open shelving deserves its place on this list of kitchen renovation ideas on a budget because it offers a significant visual upgrade at a fraction of the cost of traditional renovations. It's a stylish, practical, and relatively easy DIY project that can transform your kitchen from drab to fab without emptying your wallet.
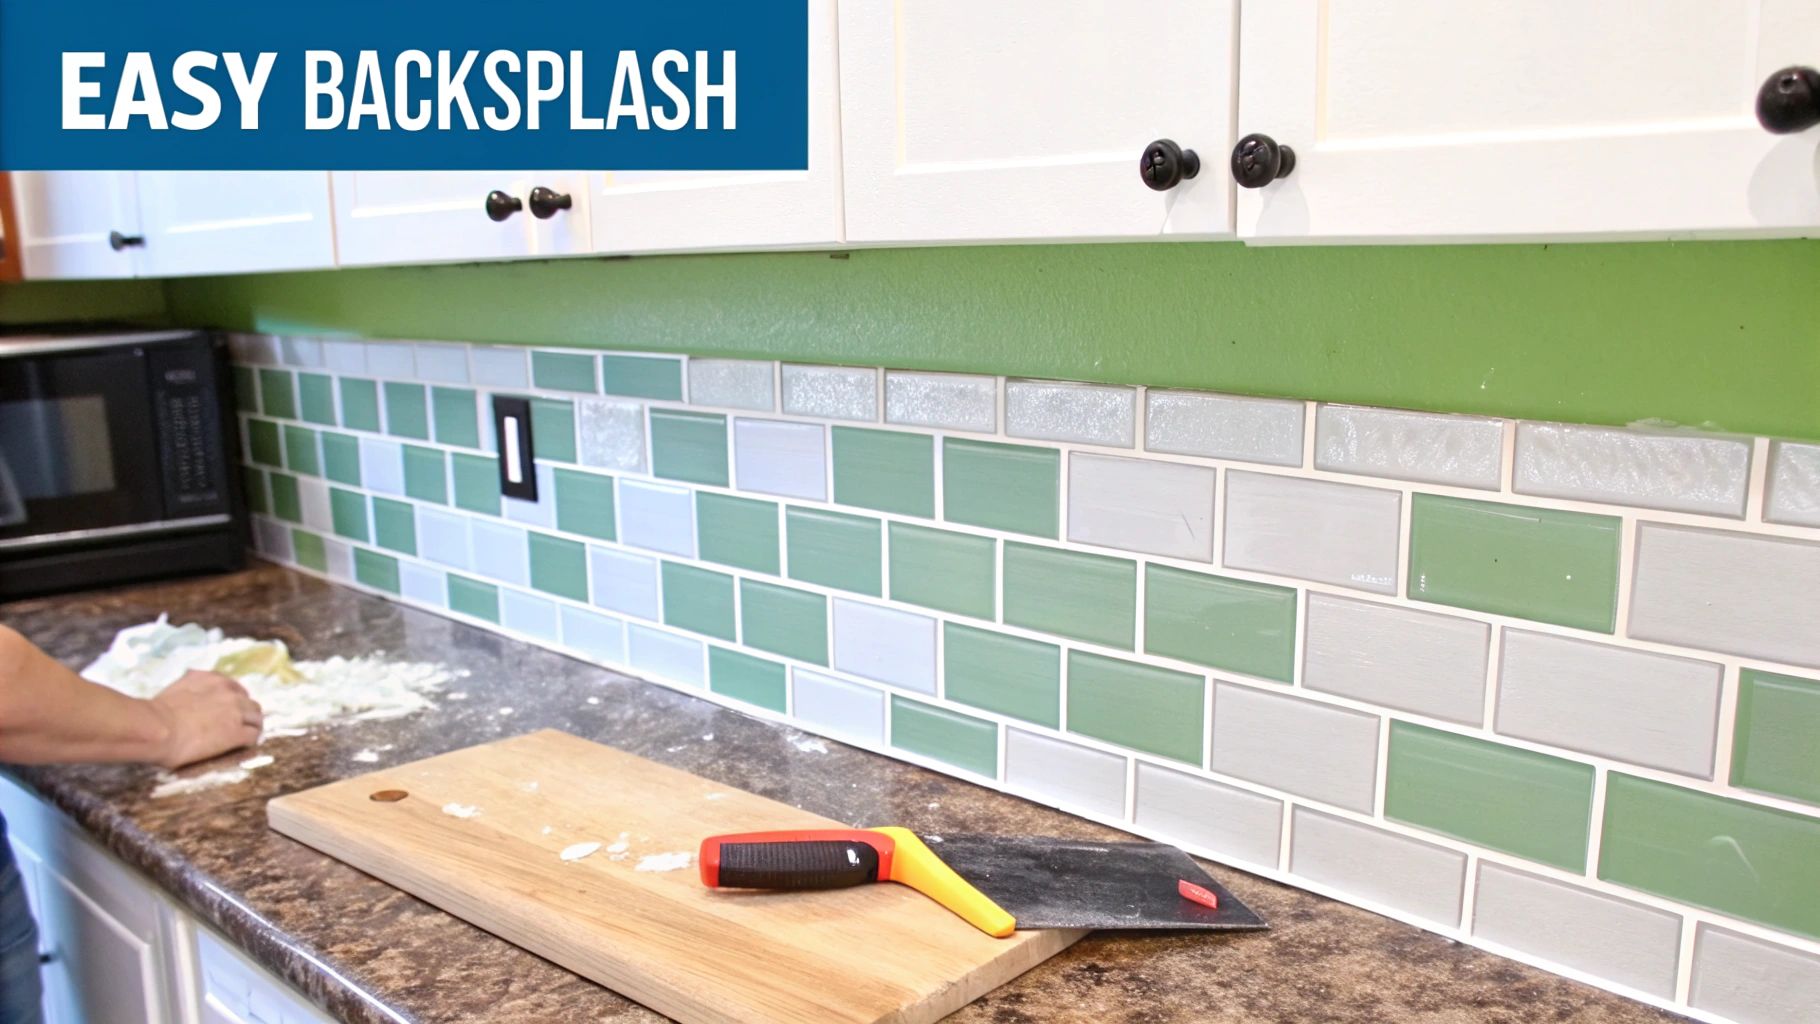
3. Peel-and-Stick Backsplash
Looking to revamp your kitchen without breaking the bank? Peel-and-stick backsplash tiles offer a fantastic budget-friendly alternative to traditional tiling, providing a stylish update without the hefty price tag and demanding installation process. These clever tiles mimic the look of ceramic, glass, or even metal tiles at a fraction of the cost. They adhere easily to your existing backsplash, transforming your kitchen in a matter of hours, not days. This makes them a perfect kitchen renovation idea on a budget, especially appealing to NZ homeowners and renters alike.
Peel-and-stick tiles are made from various materials, including vinyl, gel, metal, and glass composites. Available in a wide range of colours, patterns, and textures – from classic subway tile to intricate mosaics – they offer design flexibility for any kitchen style. The self-adhesive backing eliminates the need for grout and specialised tools, making installation a breeze. This DIY-friendly approach puts a kitchen refresh within reach of even the most novice renovator. This ease of application is a major reason why this solution deserves a spot on our budget-friendly kitchen renovation ideas list.
For example, the blogger 'I Heart Organising' showcased a stunning kitchen transformation using Smart Tiles' subway tile pattern for under $100, proving its effectiveness as a budget-friendly solution. Similarly, Apartment Therapy featured a renter-friendly makeover using Tic Tac Tiles in a chic marble pattern. These real-world examples highlight the versatility and affordability of peel-and-stick backsplash.
Why choose peel-and-stick backsplash?
-
Cost-Effective: Significantly cheaper than traditional tile installation.
-
Easy Installation: No grout, no special tools, just peel and stick. Perfect for DIY enthusiasts and renters.
-
Time-Saving: Transform your kitchen in hours rather than days.
-
Variety: Available in a wide range of styles, colours, and materials.
-
Removable: Ideal for renters or those who like to change their décor frequently.
Pros & Cons:
-
Pros: Fraction of the cost, no grout required, easy installation, renter-friendly, versatile designs.
-
Cons: Less durable than ceramic tile, may peel in high-humidity areas (consider using a sealant in splash-prone areas), limited heat resistance near ranges (not recommended directly behind a gas cooktop), some may look less authentic.
Tips for Successful Installation:
-
Clean Thoroughly: Ensure the wall surface is clean, dry, and free of grease using a degreaser.
-
Plan & Measure: Use a level and chalk line to ensure straight lines and accurate placement.
-
Precise Cutting: Cut tiles with sharp scissors or a utility knife for a clean finish.
-
Apply from Bottom Up: Start from the centre and work your way outwards and upwards for a seamless look.
-
Smooth Out Air Bubbles: Use a credit card or plastic smoother to eliminate air bubbles and ensure proper adhesion.
Popular brands available in NZ include Smart Tiles, Tic Tac Tiles, and Aspect Peel & Stick Tiles, often found at retailers like Home Depot and Wayfair. Peel-and-stick backsplash offers a practical, affordable, and stylish solution for any homeowner or renter wanting to update their kitchen without the commitment and cost of traditional tiling, making it a worthwhile consideration for your kitchen renovation ideas on a budget.
4. Countertop Refinishing: A Budget-Friendly Kitchen Transformation
Looking for a cost-effective way to revamp your kitchen in NZ without breaking the bank? Countertop refinishing offers a compelling solution for kitchen renovation ideas on a budget. This process involves applying specialised coatings directly over your existing countertops – be it laminate, tile, or solid surface – to mimic the look of premium materials like granite, marble, or even metallic finishes. It's a clever way to completely transform your kitchen's aesthetic while preserving the underlying structure of your counters. This approach can save you roughly 60-70% compared to the cost of a full countertop replacement. Modern refinishing products are remarkably durable and realistic, offering a viable and attractive alternative to tearing out and replacing your existing surfaces.
The multi-layer application process typically involves a base coat, decorative coats (which can achieve various stone looks, solid colours, or metallics), and a protective topcoat for heat and stain resistance. Because it works with your existing sink and fixtures, there’s no demolition required, meaning a significantly faster transformation – typically 2-3 days compared to weeks for a full replacement. This speed and minimal disruption make it an ideal kitchen renovation idea on a budget for busy Kiwi homeowners.
Several popular products facilitate this process, including Giani Countertop Paint, Rust-Oleum Countertop Transformations, Daich SpreadStone, Leggari Products, and Beyond Paint Countertop Refinishing Kit. DIY blogger 'The Handmade Home,' for instance, used a Giani Stone Paint Kit to achieve a faux marble finish on dated laminate counters for only $150. Even popular renovation shows like HGTV's 'Flip or Flop' have showcased the cost-saving power of countertop transformations, with one episode featuring Rust-Oleum Countertop Transformations saving a homeowner $2,800 compared to installing granite.
Pros:
-
Significant Cost Savings: Enjoy 60-70% cost savings compared to full replacement.
-
No Demolition: Avoid the mess, dust, and disruption of demolition.
-
Fast Transformation: Complete the project in just 2-3 days.
-
Works with Existing Fixtures: No need to replace your sink or fixtures.
-
Extends Countertop Life: Gives structurally sound countertops a new lease on life.
Cons:
-
Durability: Not as durable as natural stone or quartz.
-
Professional Application Recommended: DIY can be challenging, especially for seams.
-
Potential for Wear: May show wear sooner than premium materials.
-
Odour During Application: Some products emit strong odours during application.
Tips for Successful Countertop Refinishing:
-
Thorough Cleaning: Clean and degrease the surfaces thoroughly before starting.
-
Curing Time: Follow the product's curing times precisely.
-
Protection: Use cutting boards and trivets even after refinishing.
-
Thin Coats: Apply multiple thin coats for better results than one thick coat.
-
Professional Help: Consider hiring a professional for tricky areas like seams.
Countertop refinishing deserves its place on this list of budget-friendly kitchen renovation ideas because it offers a dramatic visual upgrade without the hefty price tag of replacement. It's a practical and efficient way to modernise your kitchen in NZ, whether you're a homeowner on a budget, a renter looking for a temporary upgrade, or simply someone seeking a quick and easy kitchen refresh. It's a smart choice for anyone looking to maximise their renovation budget while minimising disruption.
5. Cabinet Hardware Upgrade
Looking for kitchen renovation ideas on a budget? A cabinet hardware upgrade is a surprisingly effective way to refresh your kitchen's appearance without breaking the bank. This simple swap can dramatically modernise your cabinetry without requiring costly structural changes. It's a fantastic focal point that elevates the entire kitchen's aesthetic, making it one of the most impactful budget-friendly kitchen updates you can undertake. This quick and easy project deserves a place on this list due to its high impact and minimal investment.
This upgrade involves simply replacing existing knobs, pulls, and hinges with newer, more stylish options. The beauty of this project is its adaptability. Hardware is readily available in a vast array of styles, finishes, and price points, making it suitable for any budget and design preference. Whether you're aiming for a modern farmhouse look, a sleek minimalist vibe, or a classic traditional style, there's hardware out there to match. Common finishes available in NZ retailers include brushed nickel, matte black, brass, and bronze. You can even coordinate your cabinet hardware with your faucets and light fixtures for a cohesive and polished look.
Features and Benefits:
-
Easy Installation: Most cabinet hardware is a direct replacement for existing pieces, requiring only a screwdriver for installation. Standardised sizing makes finding compatible hardware straightforward for most cabinets.
-
Design Variety: Choose from hundreds of designs, from sleek bar pulls to ornate knobs, ensuring you find the perfect fit for your kitchen's aesthetic.
-
Affordable Update: Cabinet hardware is an extremely budget-friendly way to achieve a significant visual impact.
-
Quick Project: The entire upgrade can often be completed in just 1-2 hours.
-
Reversible Change: If you change your mind down the line, it's easy to switch back to your original hardware.
Pros and Cons:
Pros:
-
Immediate visual impact
-
Extremely budget-friendly
-
Can be completed in 1-2 hours
-
Easily reversible
-
No specialised skills required
Cons:
-
May highlight other outdated elements in your kitchen
-
Some cabinets may have non-standard hole spacing, requiring extra effort to find compatible hardware or potentially drilling new holes.
-
Quality can vary significantly depending on the price point
-
Doesn't address structural cabinet issues
-
Hardware alone can't completely fix severely dated cabinets
Examples of Successful Implementations:
-
The Young House Love bloggers showcased a client's kitchen transformation using affordable brass pulls from the Amazon Basics collection for a total cost of only $85.
-
Studio McGee, a renowned interior design firm, featured a project where white cabinets were rejuvenated with stylish matte black T-bar pulls sourced from Build.com. These examples highlight the power of a simple hardware swap in transforming a kitchen's aesthetic.
Actionable Tips for NZ Homeowners:
-
Count: Count all your cabinets and drawers before you start shopping to ensure you purchase the correct quantity.
-
Measure: Bring an existing piece of hardware to the store to ensure accurate size matching.
-
Consider Backplates: If you're changing styles and the new hardware doesn't cover the existing holes, consider using backplates for a clean finish.
-
Size Appropriately: Choose drawer pulls that are approximately 1/3 the width of the drawer for optimal visual balance.
-
Bulk Buying: Save money by buying hardware in bulk packs from hardware stores like Mitre 10 or Bunnings.
When and Why to Use This Approach:
A cabinet hardware upgrade is ideal for homeowners in NZ wanting to refresh their kitchen's look without a major renovation. It's perfect for those working with a limited budget or renting and wanting to personalise their space without making permanent changes. This approach is also excellent for homeowners who are generally happy with their cabinets' structure but want to update their style.
Popularised by brands like Anthropologie, Restoration Hardware, CB2, Wayfair, Pottery Barn, and even budget-friendly options like Amazon Basics, stylish cabinet hardware is accessible to everyone. Learn more about Cabinet Hardware Upgrade (While this link focuses on cleaning appliances, it highlights the importance of maintaining and upgrading kitchen elements for a fresh look). This simple upgrade offers remarkable value and can truly transform the heart of your home.
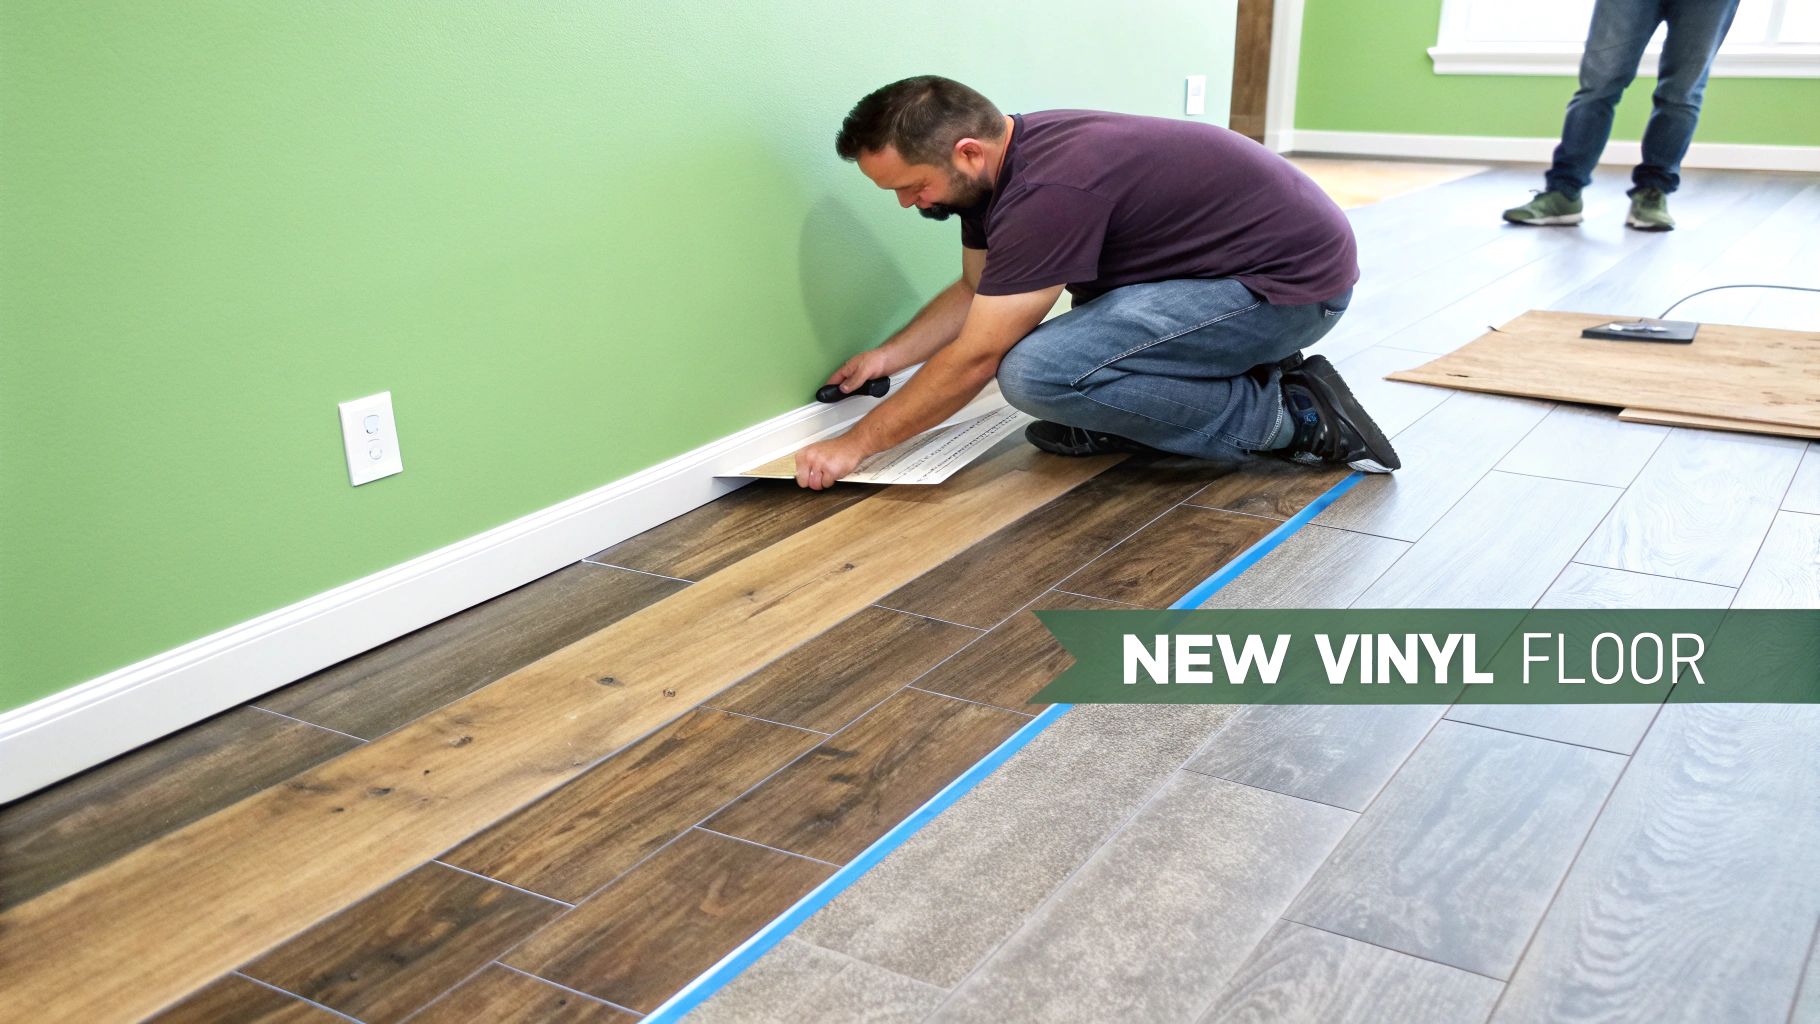
6. Vinyl Flooring Installation
Looking for a kitchen renovation idea on a budget that doesn't compromise on style? Vinyl flooring installation is a fantastic option for achieving a modern, updated look without breaking the bank. Modern luxury vinyl flooring (LVF) offers the appearance of high-end materials like hardwood, stone, or tile at a significantly lower price point, making it a perfect choice for budget-conscious renovators in NZ. This cost-effective flooring solution comes in planks (LVP) or tiles (LVT), offering versatility in design and installation.
Today's vinyl flooring boasts realistic textures and impressive water resistance. The simple installation methods, often featuring floating click-lock systems, allow for DIY installation directly over many existing floors, saving you the cost of professional installation and subfloor preparation. Some premium vinyl flooring products even come with a built-in underlayment for added comfort and sound absorption. Whether you're drawn to the classic appeal of wood, the elegance of stone, or unique decorative patterns, vinyl flooring provides a wealth of options to match your kitchen's aesthetic.
Why Vinyl Flooring Deserves a Spot in Your Budget Renovation:
Vinyl flooring's popularity stems from its remarkable balance of affordability, durability, and style. It's typically 30-70% less expensive than natural materials, making it a budget-friendly choice for kitchen renovation ideas on a budget. The ability to install directly over existing flooring (in many cases) further reduces costs and simplifies the renovation process. Furthermore, vinyl is softer underfoot than ceramic tile, providing more comfort during those long hours spent in the kitchen. It’s also extremely low maintenance, requiring minimal effort to keep it clean and looking its best.
Features and Benefits:
-
Waterproof Options: 100% waterproof options are available, making vinyl flooring an ideal choice for kitchens prone to spills and moisture.
-
Durable Wear Layers: Wear layers ranging from 6-20 mil thickness provide varying levels of durability and scratch resistance.
-
Easy Installation: Click-lock or glue-down installation options cater to different skill levels and subfloor conditions.
-
Built-in Underlayment: Premium products often include a built-in underlayment for added comfort and sound insulation.
-
Variety of Styles: Wood, stone, and decorative patterns are available to suit various design preferences.
Pros and Cons:
Pros:
-
Significantly cheaper than natural materials.
-
Can often be installed over existing flooring.
-
DIY-friendly installation.
-
Softer underfoot than ceramic tile.
-
Extremely low maintenance.
Cons:
-
Can be damaged by heavy furniture dragging.
-
May dent under extreme weight.
-
Quality varies significantly by price point.
-
Some products may emit VOCs initially.
-
May not add as much home value as natural materials.
Examples of Successful Implementation:
Designer Jenna Sue showcased the affordability and style of vinyl flooring by installing NuCore Luxury Vinyl from Floor & Decor in a gray wood pattern for just $2.79/sq ft. Similarly, HGTV's 'Home Town' featured a stunning kitchen renovation using LifeProof Luxury Vinyl from Home Depot at $3.29/sq ft. These examples demonstrate how vinyl flooring can create a high-end look without a high-end price tag.
Tips for Vinyl Flooring Installation:
-
Purchase Extra: Buy 10% extra flooring to account for waste and potential future repairs.
-
Acclimate Flooring: Allow the flooring to acclimate to the room's temperature and humidity for 48 hours before installation.
-
Use Spacers: Maintain an expansion gap at the walls using spacers during installation.
-
Stagger Joints: Stagger end joints by at least 6 inches for a professional and visually appealing result.
-
DIY Demolition: Save money by removing your old flooring yourself before installing the new vinyl.
Popular Brands in NZ: While some brands mentioned above might not be readily available, keep an eye out for similar options offered by local retailers. You might want to learn more about Vinyl Flooring Installation to see what suits your needs best. Popular international brands include LifeProof, NuCore, COREtec, Pergo, Armstrong, and Shaw Floors. Remember to check availability and comparable products within the NZ market.
7. DIY Concrete Countertops
Looking for a dramatic kitchen upgrade without breaking the bank? DIY concrete countertops offer a stunning, industrial-chic aesthetic for a fraction of the cost of professional installations, making them a fantastic kitchen renovation idea on a budget. For Kiwi homeowners seeking a unique and durable surface, concrete countertops provide a customisable and high-end look at roughly 20% of the price.
This approach involves building forms, typically from melamine board for a smooth finish, over your existing counters or on a temporary surface. You then mix a specialised concrete blend designed for countertops—these modern mixes often include additives for reduced cracking and improved workability—pour it into the forms, and finish the surface. Finally, sealing is crucial for durability and stain resistance.
How it Works:
You can either cast the countertops in place directly over your existing counters (after protecting them) or precast them on a separate surface and then install them. Typical countertop thickness ranges from 1.5-2 inches, and you can customise the shape to fit any kitchen layout. One of the most appealing aspects is the ability to incorporate decorative elements like coloured glass, stones, or even paua shell for a distinctly New Zealand touch. Colour options are vast, achieved through pigments or stains added to the concrete mix. Finally, various finishing techniques, from high-gloss polished to a more rustic textured look, allow you to personalise your countertop's style.
Examples:
DIY blogger Jenise Erickson famously created her kitchen countertops with a Countertop Solutions mix for just $350 USD, demonstrating the impressive affordability of this method. Designer Leanne Ford also showcased DIY concrete counters on HGTV's "Restored by the Fords," using white concrete pigment for a clean, modern look.
Why Choose DIY Concrete Countertops?
This method deserves a place on our budget-conscious list due to its remarkable combination of cost-effectiveness, customisation, and durability. It’s perfect for NZ homeowners who enjoy DIY projects and desire a truly unique kitchen.
Pros:
-
High-end look at budget price: Achieve the coveted concrete countertop look for significantly less than professional installation.
-
Completely customisable shapes and colours: Design your dream countertop to perfectly match your kitchen’s style and layout.
-
Extremely durable when properly sealed: Concrete countertops are resistant to scratches, heat, and stains when sealed correctly.
-
Heat resistant: Place hot pots and pans directly on the surface without worry.
-
Makes a dramatic design statement: Concrete countertops instantly elevate a kitchen's aesthetic with their modern, industrial vibe.
Cons:
-
Labor intensive DIY project: This project requires time, effort, and some DIY skills.
-
Requires multiple days from start to finish: The process involves several steps, including curing time for the concrete.
-
Will develop character/patina over time: Concrete will naturally age and develop a unique patina, which some may view as a pro or con.
-
Requires regular sealing maintenance: Resealing is necessary to maintain the countertop's durability and stain resistance.
-
Heavy final product: Concrete countertops are heavy, requiring sturdy cabinets and potentially assistance during installation.
Tips for Success:
-
Build sturdy forms with melamine board for a smooth finish.
-
Use concrete specifically formulated for countertops, readily available from NZ suppliers.
-
Reinforce with rebar or wire mesh for added strength.
-
Vibrate the forms after pouring to eliminate air bubbles and ensure a dense, even surface.
-
Apply multiple coats of a quality food-safe sealer, such as Cheng Food-Safe Sealer, for optimal protection.
Popularised By:
The rise in popularity of DIY concrete countertops is attributed to resources like the Concrete Countertop Institute, Cheng Concrete, Fu-Tung Cheng, Buddy Rhodes Concrete Products, and the development of GFRC (Glass Fiber Reinforced Concrete) techniques. These resources offer valuable information and products specifically designed for DIY concrete countertop projects. With careful planning and execution, DIY concrete countertops can be a rewarding and budget-friendly way to transform your kitchen in New Zealand.
8. Light Fixture Replacement
One of the most impactful kitchen renovation ideas on a budget is light fixture replacement. Updating your outdated ceiling lights, pendants, and under-cabinet lighting can dramatically transform your kitchen's ambiance and functionality without requiring a complete overhaul. This approach is especially effective for modernising kitchens where a full renovation isn't feasible, as strategically placed lighting draws the eye and can distract from other dated elements. It’s a simple upgrade that deserves a spot on this list because of its high impact and minimal investment.
Modern fixtures often utilise LED technology, providing improved illumination and energy efficiency compared to older halogen or incandescent bulbs. They also serve as statement design elements, adding a touch of contemporary style. From industrial chic to charming farmhouse, the wide range of available styles allows you to personalise your kitchen's look. Many fixtures also offer dimming capabilities, giving you greater control over the mood and atmosphere. Improved task lighting, particularly under cabinets, makes food preparation safer and more enjoyable.
Examples of Successful Implementation:
-
The Young House Love bloggers famously replaced a single outdated fixture over their island with three stylish glass pendants from CB2 for just $99 each.
-
Designer Emily Henderson showcased how to elevate a budget kitchen with $45 industrial pendants from Amazon and $25 LED under-cabinet lighting, proving impactful upgrades don't have to break the bank.
Actionable Tips for Readers:
-
Safety First: Always turn off the power at the breaker box before starting any electrical work.
-
Document Everything: Take photos of the wiring connections before disconnecting the old fixtures to make re-wiring easier.
-
Height Matters: Consider standard height guidelines (30-36 inches above counters for pendants) to ensure optimal functionality and visual appeal.
-
Task Lighting is Key: Add inexpensive puck lights under your cabinets for improved task lighting and a polished look.
-
Bargain Hunting: Look for open-box items or sales at home improvement stores like Mitre 10 or Bunnings for significant savings.
Pros:
-
High visual impact for minimal investment
-
Can be installed in a matter of hours
-
Improves both aesthetics and functionality
-
Most replacements can utilise existing wiring
-
Energy-efficient LED options reduce utility costs
Cons:
-
May require basic electrical knowledge (if unsure, consult a qualified electrician)
-
Some heavier pendant fixtures may require additional support
-
Quality can vary dramatically by price point, so do your research. Learn more about Light Fixture Replacement - although this article focuses on appliances, the principles of researching quality and features apply to lighting as well.
-
May highlight other outdated elements in your kitchen if not carefully considered
-
Limited impact in poorly designed kitchens
Popularised By: Brands like Rejuvenation, West Elm, CB2, Pottery Barn, Schoolhouse Electric, and Wayfair offer a vast selection of stylish and affordable lighting options. Many of these are available online, offering convenient access for NZ homeowners.
By carefully selecting and installing new light fixtures, you can significantly enhance your kitchen's aesthetic appeal and functionality without a major renovation expense. This is a particularly valuable kitchen renovation idea on a budget for renters or homeowners looking for a quick and impactful update.
Budget Kitchen Reno Ideas Comparison
|
Idea |
🔄 Implementation Complexity |
💡 Resource Requirements |
📊 Expected Outcomes |
⚡ Ideal Use Cases |
⭐ Key Advantages |
|---|---|---|---|---|---|
|
Paint Cabinet Refresh |
Moderate; requires prep, sanding, priming |
Minimal tools, quality paint, time (weekend) |
Dramatic visual makeover; modernises kitchen |
Budget-conscious DIYers; cabinets in good condition |
Cost-effective, eco-friendly, customisable colour options |
|
Open Shelving Installation |
Moderate; removal + wall prep + mounting |
Basic tools, shelving materials, anchors |
Spacious, modern look; easy access to items |
Small kitchens; display-focused storage |
Inexpensive, visually spacious, incremental installation |
|
Peel-and-Stick Backsplash |
Low; peel and apply adhesive tiles |
No special tools; clean surface needed |
Quick backsplash upgrade; no grout needed |
Renters; quick weekend projects |
Fast installation, removable, low cost |
|
Countertop Refinishing |
Moderate to high; multi-layer coating process |
Specialised coatings, some skill or pro |
Transforms surface; 60-70% cost savings |
Existing counters in decent shape |
Preserves counters, fast turnaround, budget-friendly |
|
Cabinet Hardware Upgrade |
Very low; simple screwdriver replacement |
Hardware purchase only |
Immediate visual update; modernises look |
Any kitchen needing quick facelift |
Fast, budget-friendly, reversible |
|
Vinyl Flooring Installation |
Moderate; click-lock or glue-down install |
Flooring materials, spacers, basic tools |
Durable, water-resistant floor; hardwood look |
Budget flooring upgrade over existing floor |
Affordable, waterproof, DIY-friendly |
|
DIY Concrete Countertops |
High; casting, finishing, sealing required |
Concrete mix, forms, sealers, multiple days |
Custom, durable industrial look |
DIYers wanting unique, durable counters |
High-end style at low cost, customisable |
|
Light Fixture Replacement |
Low to moderate; electrical knowledge helpful |
Fixtures, basic tools, possibly electrician |
Improved lighting, ambience, efficient use |
Updating aesthetics and functionality |
High impact, energy efficient, quick installation |
Ready to Refresh Your Kitchen?
Renovating your kitchen doesn't have to break the bank. As we've seen, clever kitchen renovation ideas on a budget, from a simple cabinet paint refresh and peel-and-stick backsplash to more involved projects like DIY concrete countertops and vinyl flooring installation, can make a world of difference. By focusing on cost-effective solutions like open shelving, upgrading cabinet hardware, and replacing light fixtures, you can significantly elevate your kitchen’s look and feel without a complete overhaul. Mastering these budget-friendly approaches empowers you to create a stylish and functional kitchen tailored to your taste and needs, ultimately increasing the enjoyment and value of your home. Whether you’re a homeowner in Auckland or renting a flat in Wellington, these tips can help you achieve the kitchen of your dreams.
A refreshed kitchen enhances more than just the aesthetics of your home; it improves functionality, boosts your home's value, and creates a more inviting space for cooking and entertaining. Ready to bring your kitchen renovation ideas on a budget to life? Explore Folders' impressive range of appliances, lighting, and other kitchen essentials to complete your dream kitchen transformation without emptying your wallet. Visit Folders today and discover incredible deals that will help you create a stunning and affordable kitchen.