

Your NZ Guide to Waste Disposal Units
Ever wondered what that whirring sound is under the kitchen sink? A waste disposal unit is a game-changer for modern kitchens, designed to shred food scraps into tiny pieces that simply wash away down the drain. It's a brilliant way to make kitchen clean-up a breeze and cut down on the amount of rubbish you send to the kerb.
Think of it less like a blender and more like a high-powered grater. This handy device is a cornerstone of smart, efficient food waste management in today's homes.
How a Waste Disposal Unit Really Works
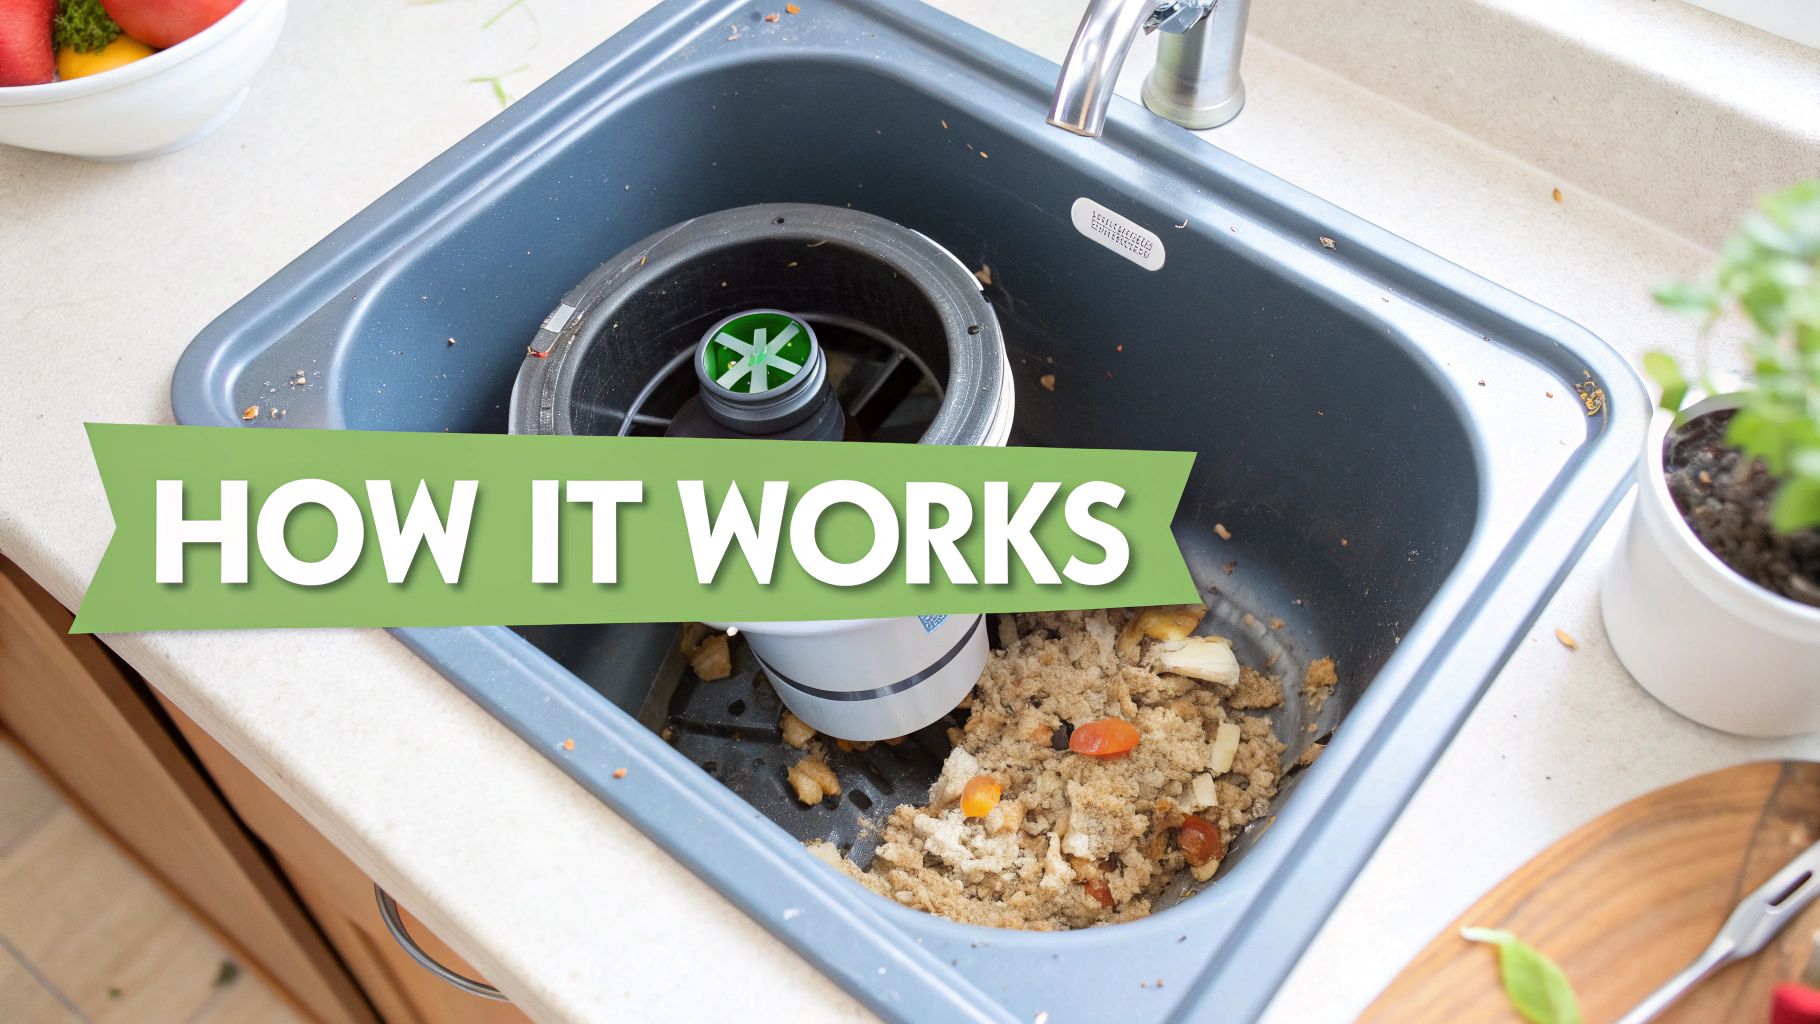
It’s a common myth that a waste disposal unit is full of sharp, spinning blades. The truth is actually much safer and cleverer than that. Instead of blades, the unit uses blunt, swivelling metal lugs that are mounted on a spinning plate.
When you flick the switch, this plate spins incredibly fast. Centrifugal force flings the food scraps outwards against the wall of the grinding chamber, which is lined with a stationary, serrated ring—kind of like a cheese grater. The lugs then force the waste against this textured surface, grinding and mashing it into a fine pulp.
The Key Components Inside
At the core of every waste disposal unit, you'll find a few key parts working in harmony to get the job done. Once you know what they are, the whole process makes perfect sense.
- The Motor: This is the engine of the operation, providing the power to spin the turntable. Its strength is measured in horsepower (HP), and a higher HP motor means it can tackle tougher food scraps without breaking a sweat.
- The Grinding Chamber: This is where the magic happens. It’s the main body of the unit that houses the spinning plate and the grind ring.
- The Impeller Lugs: These are the blunt metal hammers that do all the hard work, pushing and pulverising the food waste against the chamber walls.
The secret to a waste disposal unit isn’t cutting, but crushing. It acts like a miniature, high-speed pulveriser, turning solid food scraps into a liquid slurry that can be easily flushed away with a bit of cold water.
This simple but powerful mechanism is why a good quality waste disposal unit can handle most soft food scraps you throw at it. Keeping it in top shape is pretty straightforward, too.
Choosing the Right Waste Disposal Unit
Finding the right waste disposal unit is a game-changer for any kitchen. The best one for you really depends on a few things: how big your household is, how often you cook, and what level of safety you're comfortable with. Not all units are built the same, so let's break down the key differences to help you pick a winner for your sink.
The first big choice you'll face is the feed type. Here in New Zealand, continuous feed models are the most popular, and for good reason—they're incredibly convenient. You just flick a wall switch, turn on the tap, and you can keep adding food scraps as it runs. It makes cleaning up after a meal quick and seamless.
Then you have batch feed models, which are designed with safety as the top priority. These disposals will only switch on when a special magnetic stopper is placed over the drain. This clever design means no accidental start-ups, making it a great option for families with curious little ones or anyone who wants that extra peace of mind.
This infographic lays out the key features to weigh up when you're making your decision.
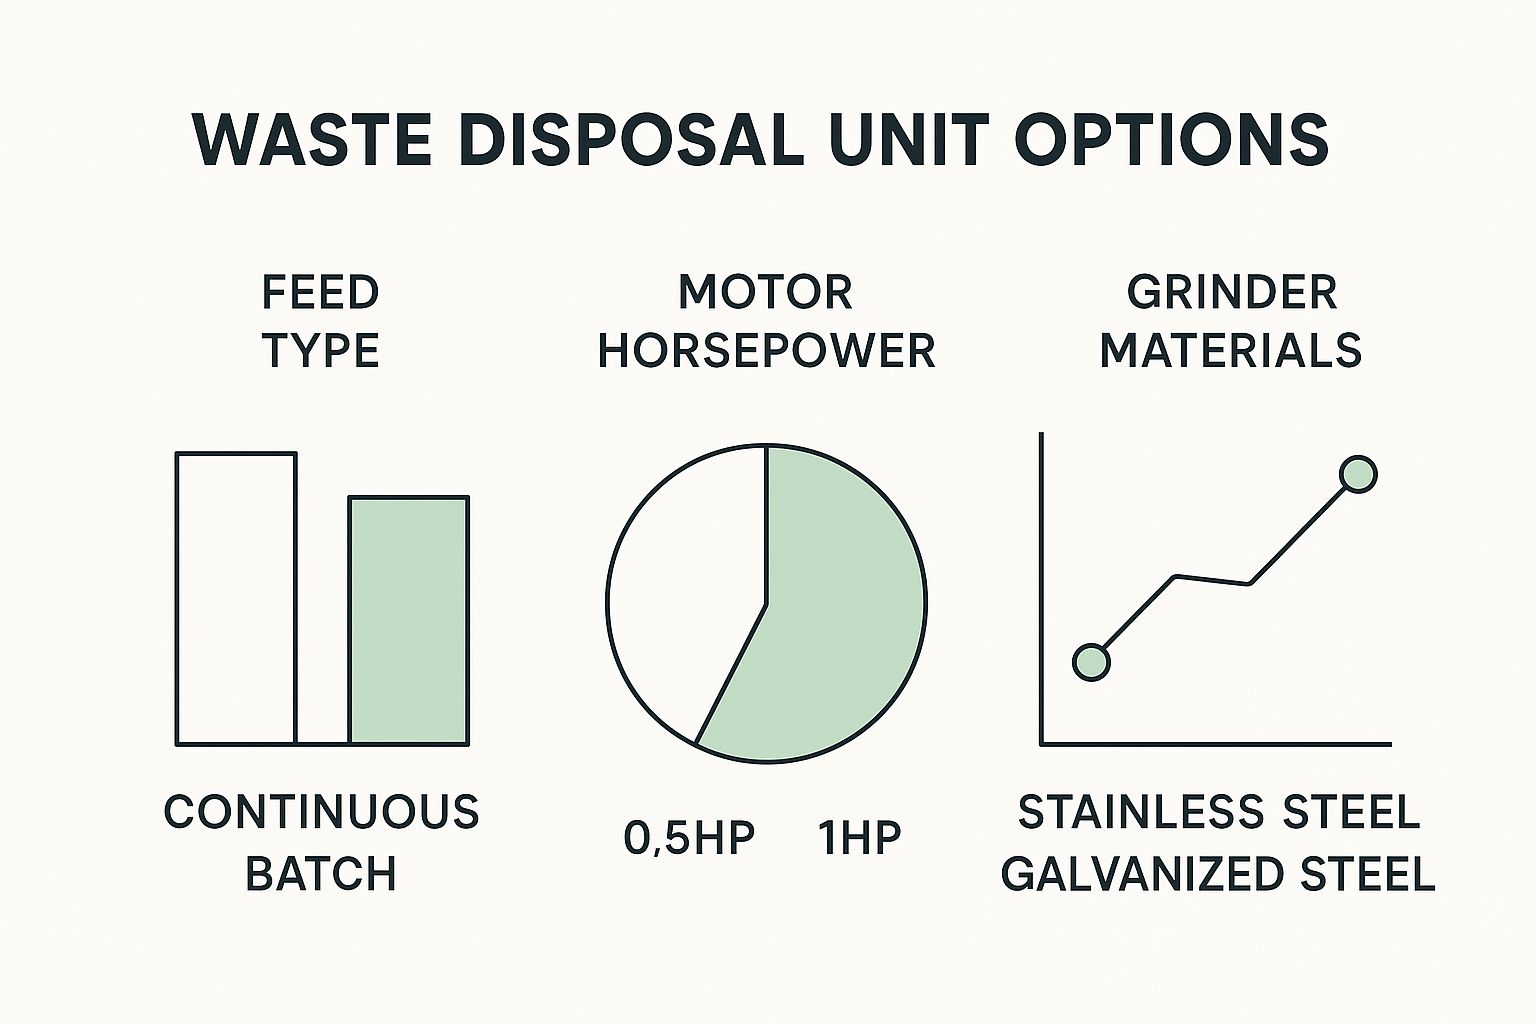
As you can see, it's all about finding that sweet spot between convenience, power, and long-term performance that fits your kitchen's daily grind.
Comparing Continuous Feed vs Batch Feed Models
To make it even clearer, let's look at a side-by-side comparison of the two main types of waste disposal units. This should help you decide which style is the best fit for your kitchen and lifestyle.
| Feature | Continuous Feed | Batch Feed |
|---|---|---|
| Operation | Activated by a wall or air switch; runs continuously. | Activated by a special magnetic stopper; runs in batches. |
| Convenience | Excellent for handling large amounts of waste quickly. | Slower, as you can only process one batch at a time. |
| Safety | Good, but the opening is accessible while running. | Superior, as the stopper covers the opening during operation. |
| Installation | Typically requires a separate switch to be installed. | Simpler installation as the switch is built into the stopper. |
| Best For | Busy kitchens, frequent cooks, and fast clean-ups. | Households with children or high safety concerns. |
Ultimately, a continuous feed model offers speed and efficiency, while a batch feed unit provides an unmatched level of safety. Your daily habits will be the best guide here.
Motor Power and Grinding Materials
Beyond how you feed it, the motor's horsepower (HP) is what really determines how well the unit tackles food waste.
- 0.5 to 0.75 HP: This is plenty for smaller households or kitchens where cooking is less frequent. These units are perfect for soft food scraps but might not be too happy with tougher stuff.
- 1.0 HP or more: If you have a large family or you're a passionate home cook, this is the way to go. A more powerful motor can chew through fibrous veggies, fruit pits, and even small bones with ease, which means fewer jams and a much longer life for your disposal.
The material used for the grinding components is another huge factor in how long your unit will last. While galvanised steel is a common and budget-friendly choice, stainless steel is the clear winner for durability. It offers far better resistance to corrosion, ensuring your waste disposal unit stands the test of time.
The Environmental Impact in New Zealand
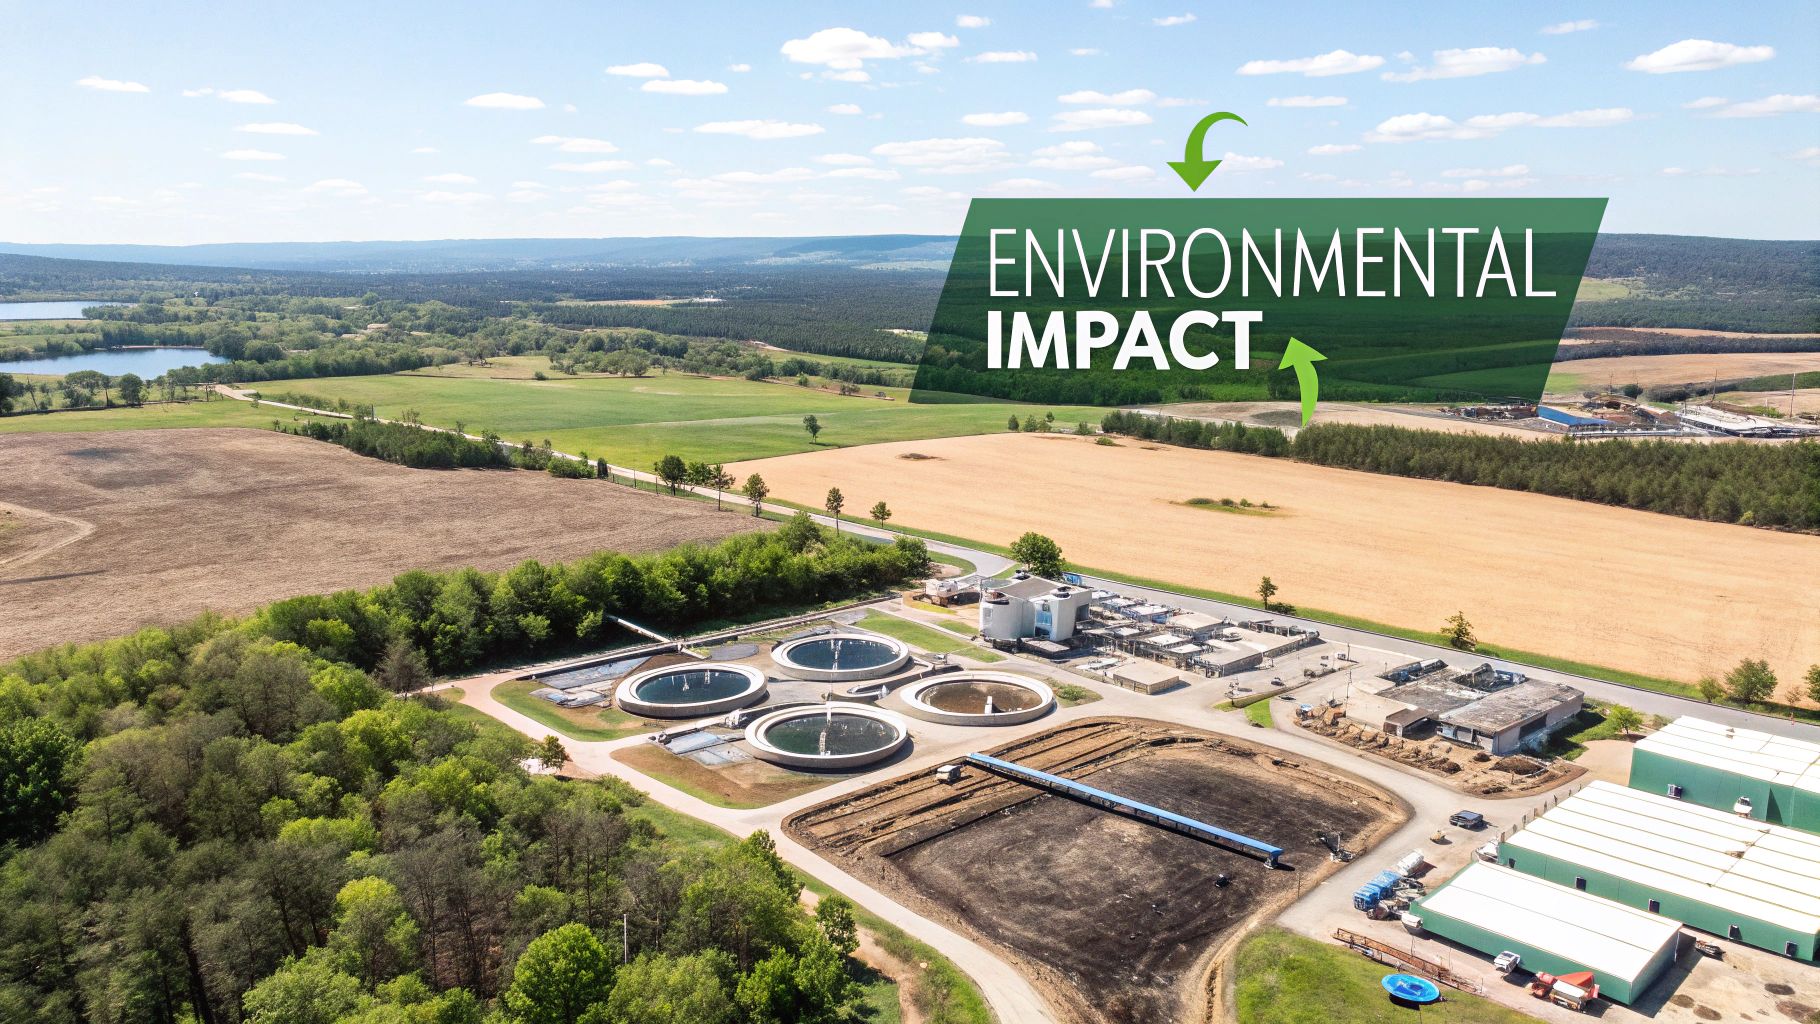
Here in New Zealand, we're rightly proud of our clean, green image. So, it's only natural to ask: is a waste disposal unit good or bad for the environment? The truth is, it's not a simple yes or no answer. There are strong arguments on both sides of the coin.
On one hand, these units are a fantastic tool for dealing with organic waste. By grinding up food scraps and sending them down the drain, you can stop a surprising amount of rubbish from ever reaching the landfill.
This is a huge environmental win. When food scraps sit in a landfill, they break down without oxygen and release methane, a greenhouse gas that's far more damaging to our atmosphere than carbon dioxide.
The Landfill Diversion Benefit
A key benefit is turning a landfill problem into a valuable resource. When the ground-up food waste reaches a modern wastewater treatment plant, the organic solids can be processed and converted into biosolids. This nutrient-rich material is often used as a fertiliser for farming or to help rehabilitate land, effectively closing the loop.
A 2019 report from WasteMINZ found that around 15% of Kiwi households use a food waste disposer. The Ministry for the Environment also points out that when used properly, these units could divert 30-40% of a home's organic waste from landfills, which is a big deal for cutting down methane emissions.
The Wastewater System Challenge
However, the eco-friendly story isn't always that straightforward. The main hurdle is the extra strain these units put on our local wastewater systems. Not every town or city's infrastructure is built to handle the increased volume of organic solids coming from hundreds or thousands of homes.
This is why some councils, like Wellington, have had to restrict or even ban new installations—it’s to stop their treatment plants from being overwhelmed. Before you rush out and buy a unit, it's absolutely vital to check your local council's rules to make sure your wastewater system can cope.
Making an informed choice helps align your home's efficiency with broader environmental goals. Ultimately, the decision to use a waste disposal unit or explore alternatives ties into a larger effort to learn how to reduce your environmental footprint and live more sustainably.
Installing Your Waste Disposal Unit
So, you've got your new waste disposal unit. The next step is getting it fitted. If you're handy with basic plumbing and feel comfortable with simple electrical work, this can be a really satisfying weekend project. But safety is non-negotiable. The very first thing you must do is shut off the power to that circuit at your home's main switchboard. No exceptions.
The job itself involves a few key steps: mounting the new unit under your sink, connecting it to the drain pipes, and making sure every seal is completely watertight. If you have a dishwasher, you'll need to connect its outlet hose too. For a confident DIYer, it's straightforward enough, but it does demand a keen eye for detail.
Even small mistakes here can cause big headaches. A poorly sealed connection can lead to slow leaks that damage your cabinetry over time, while a loose wire is a serious safety risk. If you're not 100% confident, getting a professional in is money well spent for peace of mind.
DIY or Call a Professional?
This is the big question. Should you roll up your sleeves or call in a plumber? It really boils down to your own skills, what tools you have on hand, and how comfortable you are with the task. A professional can usually have the whole job done in about an hour, giving you the assurance it’s installed safely and correctly.
Before you decide, ask yourself a few honest questions:
- Plumbing Experience: Do you know your way around P-traps and pipe fittings? Are you confident you can get a perfect, leak-proof seal?
- Electrical Knowledge: Are you comfortable handling wiring and making sure the unit is properly earthed for safety?
- The Right Tools: Do you have everything you need, like plumber's putty, pipe wrenches, and a good set of screwdrivers?
If you're hesitating on either the plumbing or the electrical side of things, hiring a licensed professional is always the smartest and safest choice. A botched installation can end up costing you far more in repairs later on.
Ultimately, getting the setup right from the start is what matters most. If this installation is part of a bigger job, like setting up a new kitchen or moving into a new home, our ultimate NZ checklist for appliance setup can be a huge help in keeping everything organised.
Keeping Your Unit Running Smoothly
A little bit of care goes a long way in making sure your waste disposal unit has a long and happy life. Just like any other hard-working appliance in your kitchen, some simple, regular attention will help you steer clear of jams, nasty smells, and the headache of calling for repairs.
The golden rule? Always have cold water running before you start, while it's grinding, and for about 30 seconds after you’re finished. Cold water is key because it helps solidify any fats or grease, letting the unit chop them up and flush them away instead of having them coat the inside of your pipes.
And when it comes to cleaning, you can forget the harsh chemicals. A natural approach is usually the best and safest bet for both your unit and your plumbing.
What to Put Down (and What to Avoid)
Knowing what your unit can handle is the most important part of owning one. Trying to grind the wrong things is the fastest way to cause a clog or burn out the motor.
Good to Go:
- Most soft food scraps, like cooked veggies or fruit.
- Small fruit pits and chopped-up citrus peels are great—they even help to deodorise the unit.
- General plate scrapings and small bits of leftovers.
Best to Avoid:
- Fibrous vegetables like celery stalks, corn husks, and artichokes. Their stringy fibres can get tangled around the impellers and cause a jam.
- Grease, oil, and fat. These might be liquid when you pour them, but they'll solidify further down the drain and create stubborn clogs.
- Coffee grounds and eggshells. They don’t sound so bad, but they can build up into a thick, gritty sludge that blocks your pipes.
- Expandable foods like pasta and rice. They’ll soak up water and swell, creating a serious blockage.
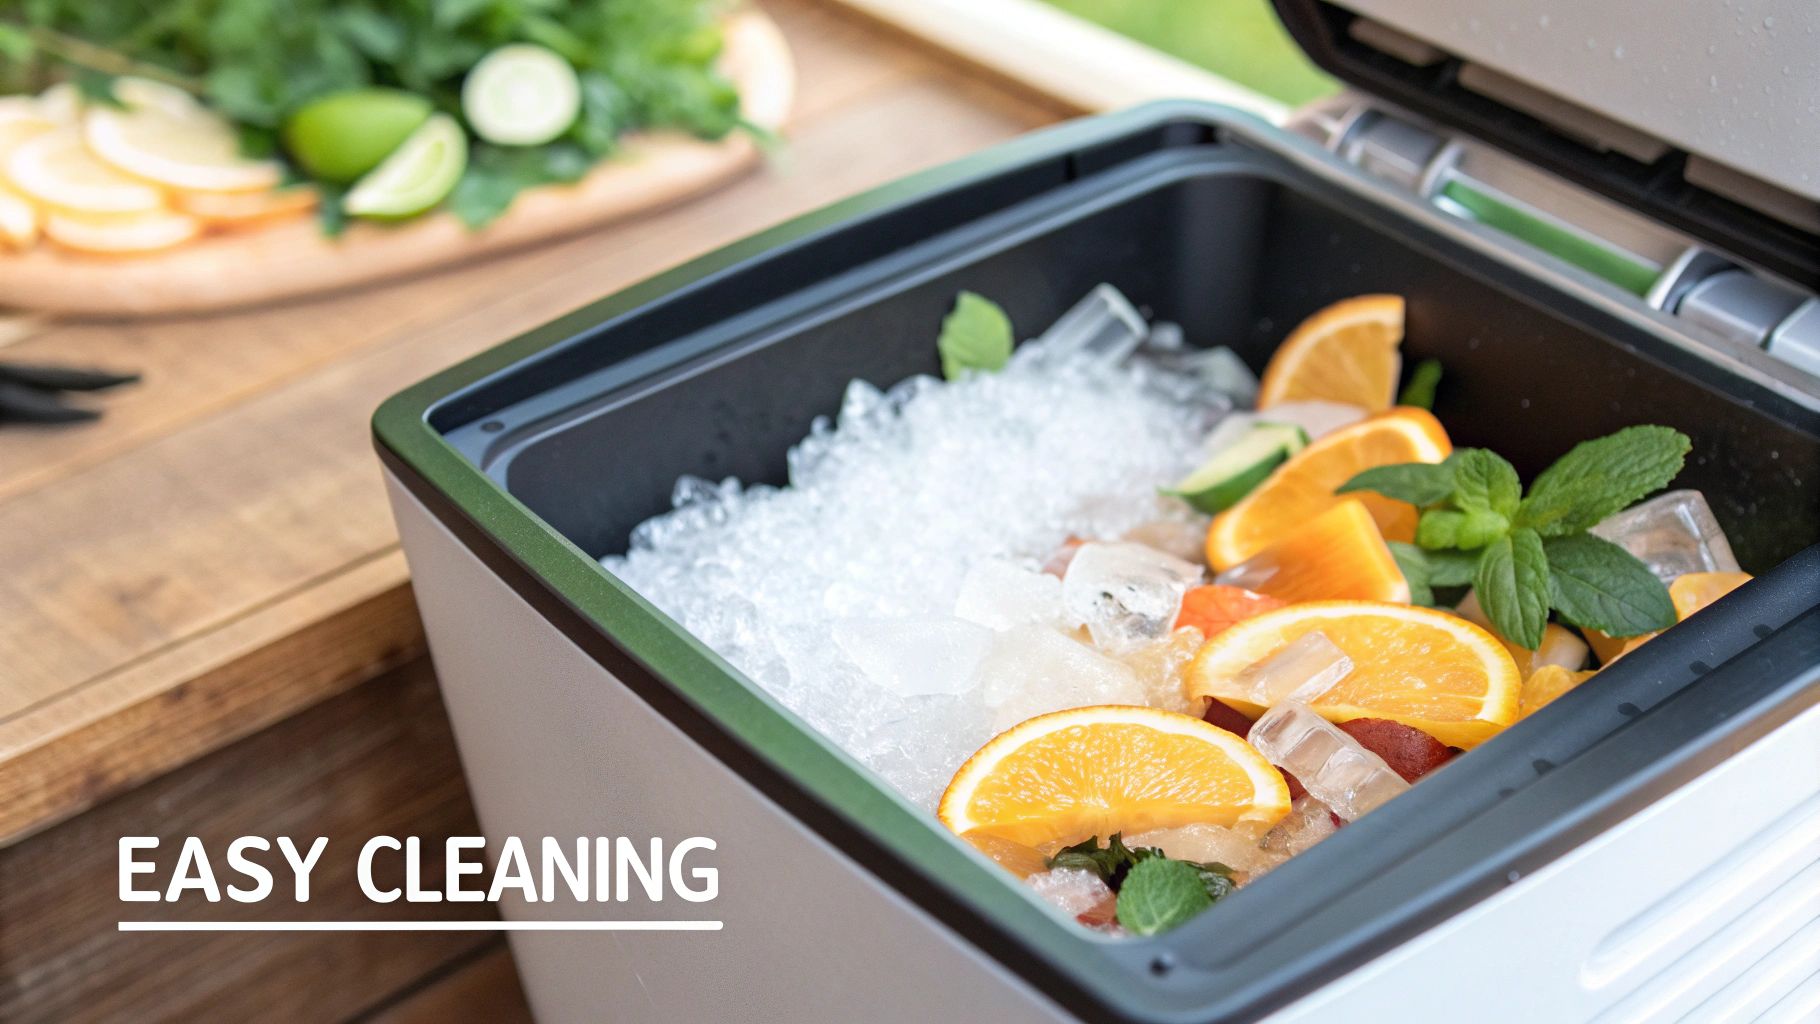
Here's a great tip for a quick clean: once a month, toss a tray of ice cubes down the unit and grind them up. The ice acts as a powerful scourer, clearing away built-up gunk and even helping to sharpen the grinding elements. For extra freshness, follow it up with some baking soda and a splash of white vinegar to fizz away any lingering odours.
Of course, a clean sink is just one part of a tidy kitchen. For a full rundown, check out our handy kitchen deep cleaning checklist.
And if you ever find your unit is just humming or seems completely jammed, don't panic. You might not need a new one. Often, a quick reset is all it takes to get it working again. You can easily learn how to reset a humming or jammed garbage disposal yourself.
Got Questions About Your Waste Disposal Unit? We’ve Got Answers.
Even after you get the hang of how a waste disposal unit works, a few questions are bound to pop up. That's completely normal. These gadgets are a staple in most modern Kiwi kitchens, so let's run through some of the common things people wonder about.
First up, the noise. Let's be honest, some older models could sound like a jet engine taking off under your sink. Thankfully, technology has moved on. Many newer units are built with quietness in mind, using clever sound-dampening insulation and anti-vibration mounts to keep the racket down.
If a peaceful kitchen is a must-have for you, keep an eye out for models that highlight "quiet operation" or "sound reduction" features. It makes a huge difference.
Common Worries and Easy Fixes
Noise aside, people often have practical questions about what to do when things don't go to plan. Here’s a look at a couple of common scenarios and how to sort them out.
-
Can I have one if I’m on a septic tank? You sure can, but you need to be smart about it. Make sure you choose a model specifically designed for septic systems. These units often use enzymes to help break down food waste properly, so you don't overwhelm your tank with solids. A standard model could lead to more frequent—and expensive—pump-outs. Always check the manufacturer's specs.
-
Help! A spoon fell down the drain! First thing's first: turn off the power immediately at the wall switch. To be extra safe, flick the switch at your circuit breaker too. Whatever you do, never put your hand down the drain. Once you're certain the power is off, grab a pair of tongs or long-nosed pliers and fish it out.
If you can't see the rogue utensil or the unit still seems jammed after you've pulled it out, it's time to call in a professional. Don't risk hurting yourself or damaging the unit; a qualified plumber will get it sorted safely.
Ready to upgrade your kitchen sink? Check out the fantastic range of top-quality waste disposal units we have at Folders. Pop over to our online store to find the perfect model for your home.